Time settings on a qbox – Autocue QBox User Guide User Manual
Page 37
Section 4: QBox Configuration and Operation
Time settings on a QBox
Connecting QBox to an existing network
QBox
Installation & Operation
Guide
Issue #: 090924 ©2003-2009 Autocue Group Ltd
29
www.autocue-qtv.com
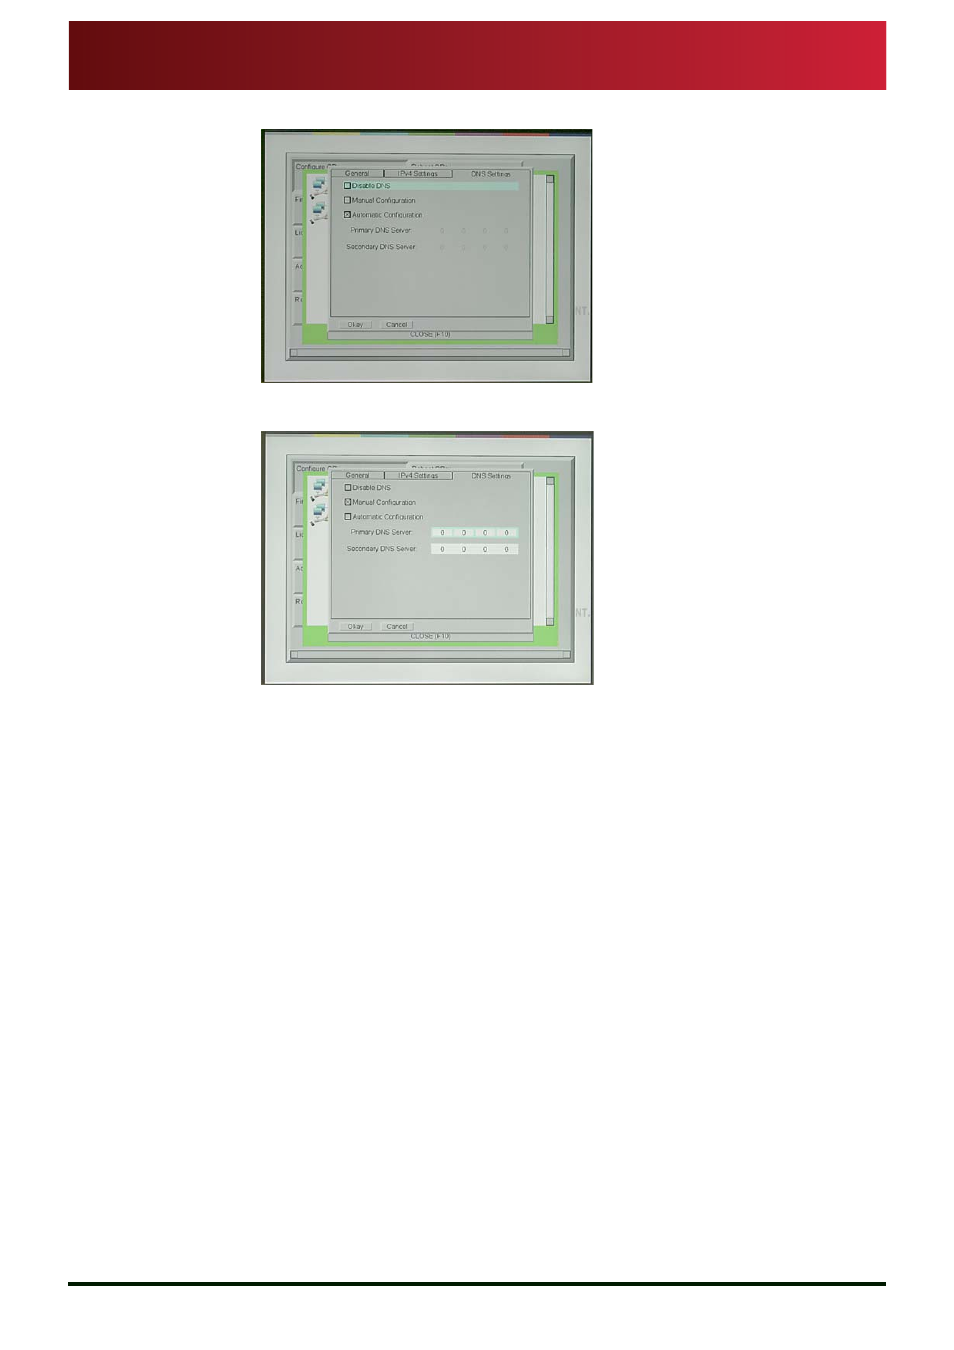
15.Press the
C t r l and P a g e D o w n key to get to the D N S S e t t i n g s page.
16.Select
M a n u a l C o n f i g u r a t i o n by pressing the T a b key and then the S p a c e bar.
The
P r i m a r y D N S S e r v e r field is highlighted.
17.Press the
T a b key until the P r i m a r y D N S S e r v e r field is selected.
18.Enter an IP address for the
P r i m a r y D N S S e r v e r and then press the T a b key.
19.In the selected
S e c o n d a r y D N S S e r v e r field, enter the IP address for the secondary
DNS server. Press the
T a b key until O K is selected and then press E n t e r . A message
indicating that the network interface has been restarted is displayed.
20.Repeat these steps for each of the QBoxes added to the network, ensuring that you
have enough vacant ports on the hub/switch and available RJ45 cables to connect
them all.
4.5:
Time settings on a QBox
Time for QMaster and QBoxes is calculated using Universal Coordinated Time (UTC) but the
appearance of the time displayed on screen is determined by the time zone setting of the QBox
and the operating system of the computer running the QMaster software.
If you want all devices to show the same time, they must all be set to the same time zone.