Using automated reverse telecine on a single clip, Removing 2:3:3:2 or 2:3:2:3 pull, Down with cinema tools – Apple Cinema Tools 3 User Manual
Page 190: Removing 2:3:3:2 or 2:3:2:3, Pull-down with cinema tools, Removing 2:3:3:2 or 2:3:2:3 pull-down with, Cinema tools, Scribed in
190
Chapter 11
Working With 24P Video and 24 fps EDLs
Removing 2:3:3:2 or 2:3:2:3 Pull-Down With Cinema Tools
Clips captured from digital video camcorders that shoot 24P, such as the Panasonic
AG-DVX100 camcorder, have the pull-down pattern (also called cadence) information
embedded in a way that Cinema Tools can read. When you use the Reverse Telecine
feature, if Cinema Tools detects this cadence information, the Automated Reverse
Telecine dialog appears. It’s a simplified version of the regular Reverse Telecine dialog.
You can use automated reverse telecine to remove the pull-down either from one clip
at a time, or from a group (batch) of clips.
Using Automated Reverse Telecine on a Single Clip
To remove the pull-down in a single clip:
1
Choose File > Open Clip, then select the clip in the dialog.
2
In the Clip window, click Rev Telecine.
3
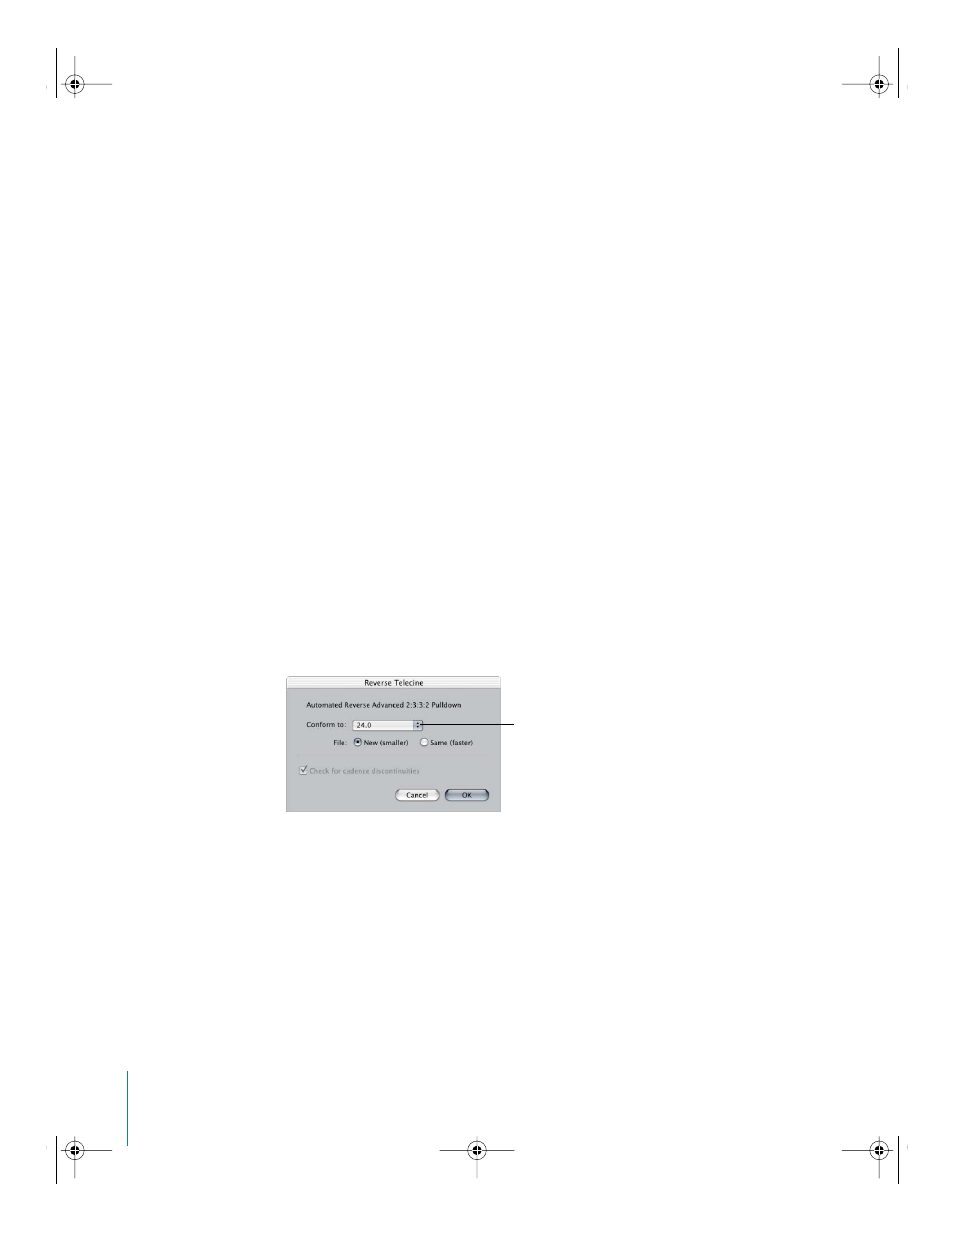
Choose a frame rate from the “Conform to” pop-up menu:
 23.98: This frame rate is useful if you want to later use the Final Cut Pro pull-down
feature that lets you output 23.98 fps video as 29.97 fps video. (See “
Patterns You Can Apply to 23.98 fps Video
” on page 194 for more information.)
 24.0: You may want to conform and edit the clips at this rate if you plan to include
them in a project that contains other clips that are exactly 24 fps.
Note: If the audio and video are contained in the same clip, and you choose 24.0
from this pop-up menu, the Reverse Telecine feature increases the audio speed by a
very small percentage so that it is in sync with 24 fps instead of 23.98 fps.
Choose a frame rate
from the pop-up menu.
UP01101.Book Page 190 Thursday, March 10, 2005 3:16 PM