Apple Cinema Tools 3 User Manual
Page 182
182
Chapter 11
Working With 24P Video and 24 fps EDLs
A new sequence opens in the project, containing the edits of the EDL, all indicating the
media is offline. The Browser contains a list of the media used in the edit. You can then
use Final Cut Pro’s Media Manager to capture the clips for the online edit. See the
Final Cut Pro documentation for details on capturing clips, importing EDLs, and
configuring the Import Options dialog.
Importing NTSC EDLs
To import an NTSC EDL for use with a 24P project, you first need to convert the NTSC
30 fps EDL to 24 fps. This makes it possible for you to perform an offline edit of your
downconverted 24P video on an NTSC system and export an EDL that can be
converted and used by an online Final Cut Pro system.
Note: Cinema Tools does not support converting PAL EDLs to 24 fps.
To convert an NTSC EDL to 24 fps, you need the EDL file to be converted in the CMX
3600 format. You do not need a Cinema Tools database.
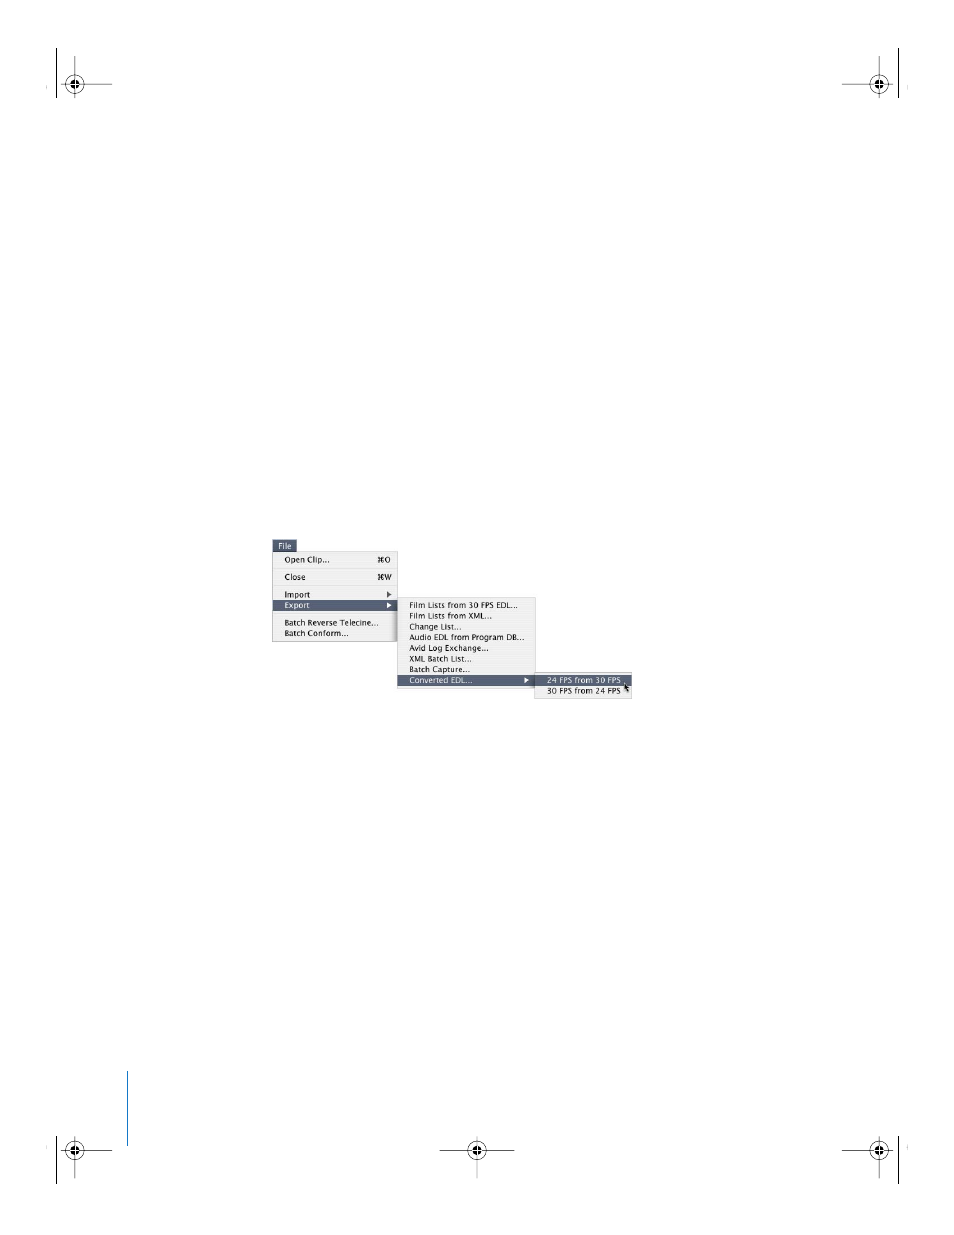
To convert an NTSC EDL to 24 fps:
1
In Cinema Tools, choose File > Export > Converted EDL > 24 FPS from 30 FPS.
2
In the dialog that appears, locate and choose the EDL file to convert.
3
In the next dialog, choose the name and location of the new file to be created, then
click Save.
The new EDL file is identical to the original, with the exception of the timecode values
and effects durations which have been converted to match the new frame rate.
Important:
24P timecode is always non-drop frame, and the NTSC timecode to be
converted must also be non-drop frame. Cinema Tools does not prevent you from
converting an NTSC drop frame-based EDL, but instead treats it as if it were non-drop
frame. The exported 24 fps EDL will contain errors, and Cinema Tools inserts a warning
message into the EDL.
You can now import the 24 fps EDL into Final Cut Pro using the process described in
“
UP01101.Book Page 182 Thursday, March 10, 2005 3:16 PM