Adding and editing markers, Adding marker region artwork – Apple GarageBand '08 User Manual
Page 86
86
Chapter 10
Tutorial 8: Creating Podcasts
Adding and Editing Markers
You can add markers to a podcast, making it an enhanced podcast. When you add a
marker to a podcast, it appears in the podcast track as a marker region. Marker regions
show how long the artwork or URLs you add to a marker last. You can move them or
resize them to change their duration.
To add a marker:
1
Move the playhead to the place where you want to add the marker.
2
Click the Add Marker button.
The marker appears in the editor, and the start time for the marker appears in the Time
column in the marker’s row. The marker also appears as a marker region in the podcast
track. As with other regions in the timeline, you can edit marker regions to control
when artwork and URLs appear and how long they are visible when you play the
podcast.
To move a marker region, do one of the following:
 In the podcast track, drag the marker region to a new position.
 In the editor, click the start time for the marker region and enter a new start time.
To resize a marker region:
m
Drag either the left or right edge of the marker region to the point where you want to
resize it.
You can’t loop a marker region.
Adding Marker Region Artwork
You can add artwork to individual marker regions. When you play the podcast, the
marker region artwork appears from the start to the end of the marker region.
To add artwork to a marker region:
1
Open the Media Browser, then click the Photos button.
2
In the Media Browser, locate the artwork you want to add.
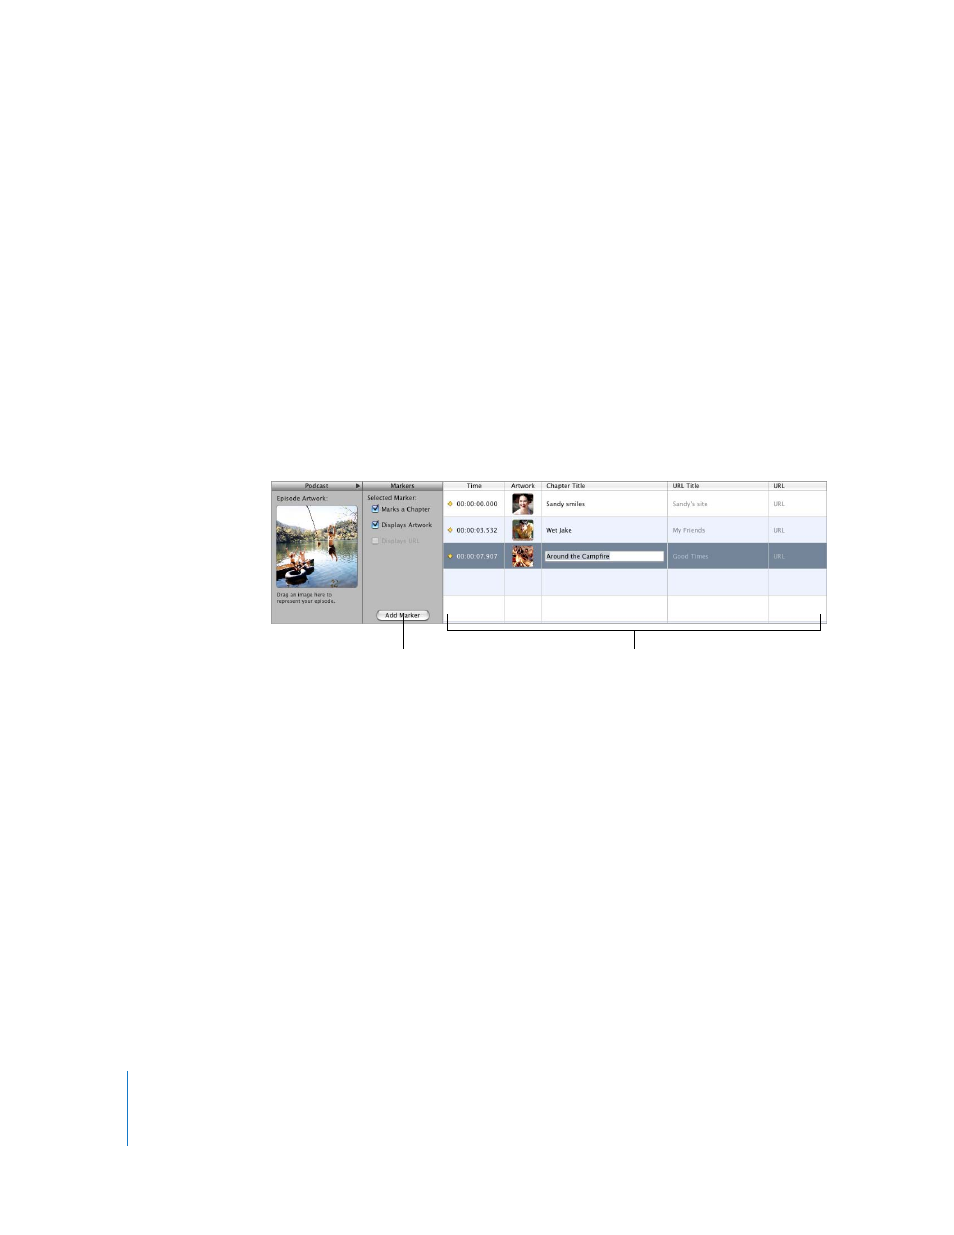
Click here to
add a marker.
Edit the start time for markers and
add artwork, URLs, URL titles, and
chapter titles in the marker list.