Quick start guide – Brady TLS 2200 User Manual
Page 12
4
TLS2200
T M
Thermal Transfer Printer User’s Guide
Quick Start Guide
This section guides you through the process of creating a label. Read the rest of this
manual for detailed information on each of these steps, as well as other functions not listed
here.
Note: It is suggested that you read Appendix 2: Glossary of Terms before you read
this guide. This appendix acquaints you with the terms found in this manual that
are used within the specific context of the TLS2200
TM
printer.
Summary of Steps
Following is a summary of the steps needed to create a label. A complete description of
each step follows later in this section.
Step
Purpose of Step
Page
1
To charge the battery
4
2
To install the battery.
5
3
To turn the power on.
5
4
To select the marker and ribbon.
6
5
To install the ribbon cartridge.
7
6
To remove the marker roll.
8
7
To install the marker roll.
8
8
To type text.
8
9
To edit text.
10
10
To print the label.
12
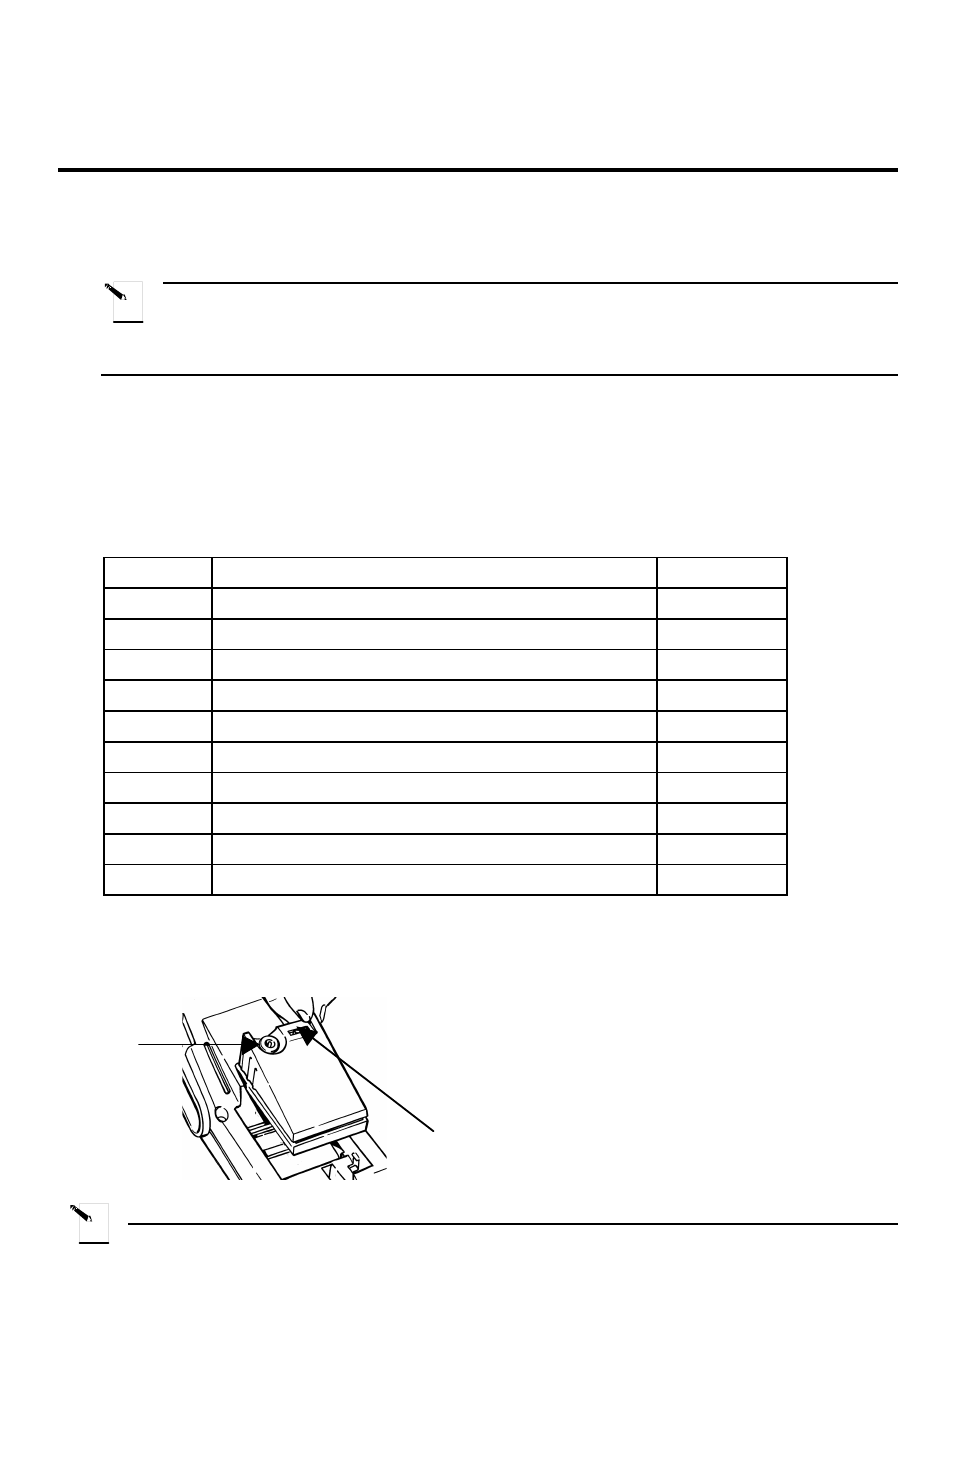
Step 1.
Charge the Battery
Note: The battery pack is shipped in an uncharged condition. Charge the battery for a
minimum of five hours before operating the printer solely on battery power.
You can charge the battery pack while the battery power switch is turned on or off. The
Battery
Power
Switch.
(I)
=On
(O)
Battery
Charger
Jack.