2 analog input signal calibration – Pulsafeeder Pulsar DLC XP RC User Manual
Page 31
27
The display is now displaying the current stroke setting (e.g., 100%), and the amount of fluid
discharged from the pump the last time this operation was performed (e.g., 26.4157 Gallons). Based
on this information, fill the calibration column in the system to the proper level to avoid running the
pump dry during calibration.
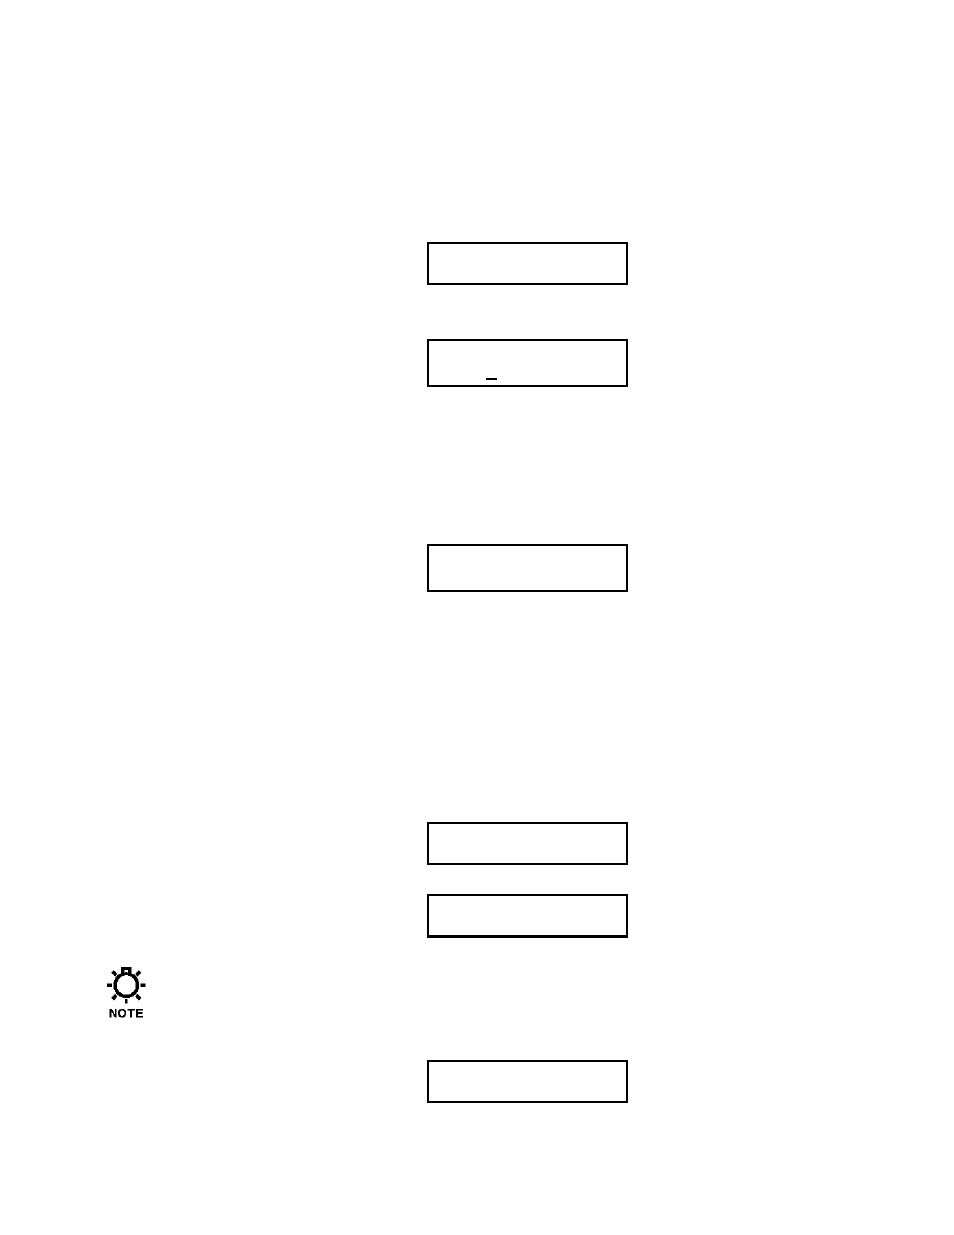
9. When you are ready, press [ENTER]. This will start the pump motor for a period of 60 seconds. The
display will show a 60 second timer and its count down toward 0 seconds. During this time, the
pump is operating at the first calibration stroke length setting.
TIMER 60 SEC
26.415 G
10. At the end of 60 seconds, the pump motor will automatically turn off. The display will automatically
change to prompt the user to enter the new measured flow rate.
ENTER VALUE 100%
26.415 G
Read the new measured flow rate from the calibration column. Enter the new value using [UP] and
[DOWN]. Press [ENTER] to accept this value and the cursor moves to the next position. Continue to
use [UP] and [DOWN] and press [ENTER] to accept your selections.
11. If a 2 through 5 point calibration was selected, the DLC – XP will automatically proceed to the next
stroke length setting and repeat steps 6,7, and 8 as described above. After the DLC – XP has
completed the above referenced process for all stroke length settings, it prompts the user to accept the
data collected in the above referenced steps:
CONFIRM CHANGE?
YES
12. Press [ENTER] to accept the calibration. If you do not want to accept the new calibration curve,
press [UP] o scroll to {NO} and press [ENTER]. The DLC will display a {PLEASE WAIT} message
while it performs the Least Squares curve fit to the data points and calculates the new flow curve.
The display will then return to its original operating mode.
7.1.2
Analog Input Signal Calibration
The DLC will accept analog input signals of 0-20 mA, 4-20 mA, 1-5 mA, or 1-5 volts. The analog
input signal should be calibrated to each system.
1. Press [CAL]. Press [UP] to scroll to {CALIBRATE / ANALOG IN}. Press [ENTER] to go to the
Calibrate Analog Input sub-menu.
CALIBRATE
ANALOG IN
2. The display shows the previous 0% and 100% analog signal values:
0% = 4 mA
100% = 20 mA
If you would like to skip the calibration and change only the Signal Ratio, press both [UP] and
[DOWN] simultaneously. Skip to step 5.
3. Press [ENTER]. The display prompts you to input the minimum analog signal value, 0%.
INPUT ANALOG MIN
0% = XX mA