Pulsafeeder MPC User Manual
Installation, operation & maintenance manual
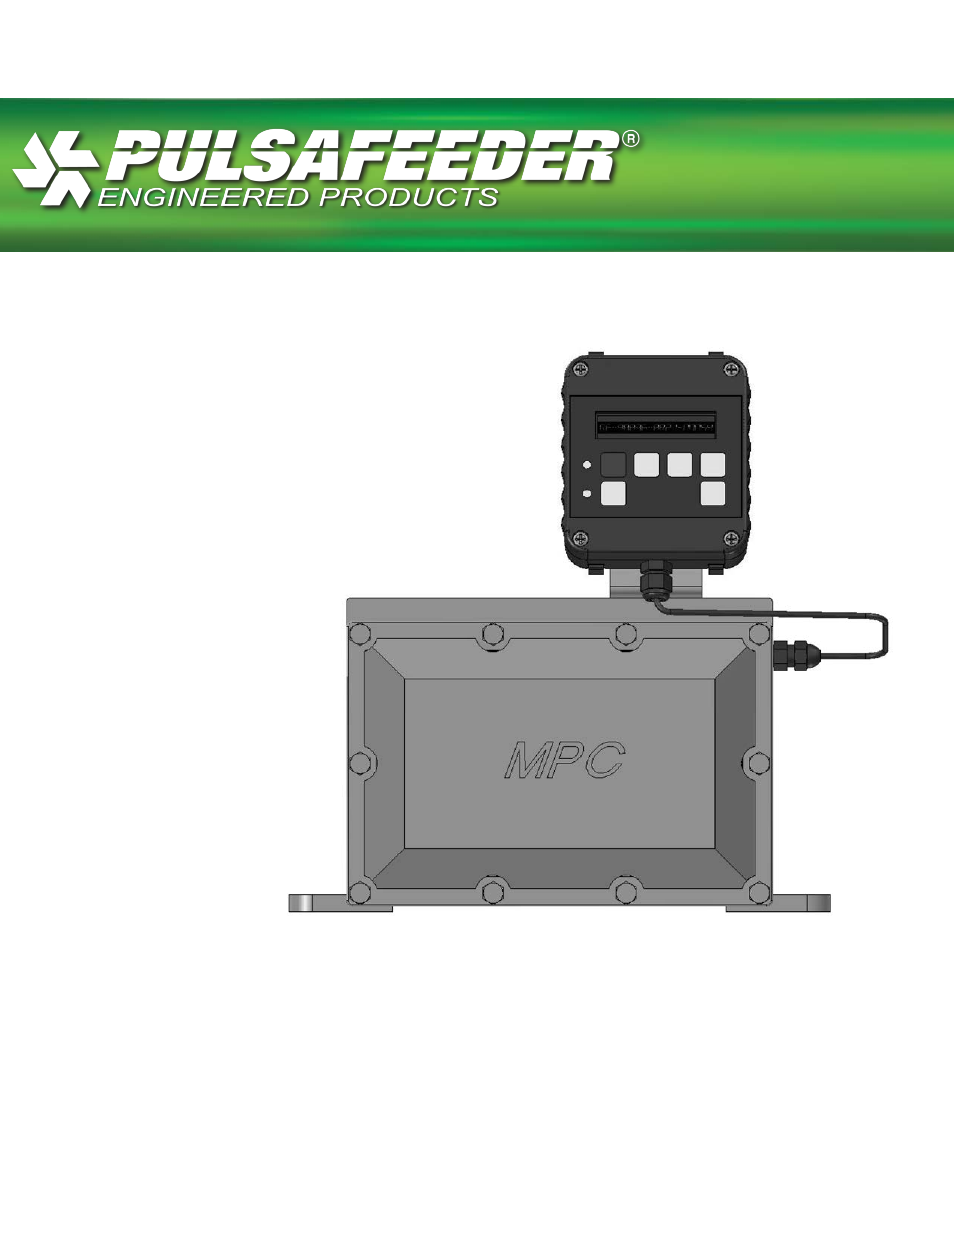
Table of contents
Document Outline
- 1. Introduction
- 2. Forward
- 3. Description
- 4. Safety Considerations
- 5. Pump Suitability to Site of Installation
- 6. Transport and Storage
- 7. Storage Instructions
- 8. Installation and Wiring
- 8.1 Location
- 8.2 Installation Notes
- 8.3 Installation guidelines for EMC compliance
- 8.4 Electrical Wiring
- 8.4.1 Make the high voltage connections (ref. Section 8.4.7). These will allow you to operate the MPC and attached Pulsafeeder pump.
- 8.4.2 Decide which low voltage Inputs and Outputs (e.g., 4-20mA in) will be used and make those connections (ref. Section 8.4.8).
- 8.4.3 Power-up and test the MPC to confirm the connections and check for proper operation.
- 8.4.4 Configure the software via the menu system for the desired operational conditions. Depending on the anticipated function, users may need to enter settings for the following:
- 8.4.5 Analog input signals, so the MPC can accept a process input signal.
- 8.4.6 Power Wiring Information
- 8.4.7 Power Wiring Diagram
- 8.4.8 Control Input/Output Signal Wiring
- 8.5 Check Wiring and Close Access Cover
- 8.6 Confirm Correct Incoming Power
- 9. Start Up and Operation
- 10. Input/Output Setup
- 11. Alarm and Error Messages
- 12. Extending your Hand-Held Controller
- 13. Specifications
- 14. Menu Maps
- 15. Factory Default Values
- 16. Retrieval of Setup Information
- 17. Special Keypress Access
- 18. Troubleshooting Guide
- 19. Maintenance & Spare Parts