Installing sfp and sfp+ transceivers, Figure 52. removing a dust plug from a sfp slot, Chapter 4: cabling the network ports 92 – Allied Telesis x610 Series Layer 3 User Manual
Page 92
Chapter 4: Cabling the Network Ports
92
Installing SFP and SFP+ Transceivers
Review the following guidelines before installing an optional SFP or SFP+
transceiver in a switch:
A transceiver can be hot-swapped; the switch can be powered on
when you install it. However, you should always disconnect the cables
first before removing a transceiver.
You must install the transceiver before you connect the cables to it.
Fiber optic transceivers are dust sensitive. When a fiber optic cable is
not installed, or when you store the transceiver, always keep the plug
in the optical bores. When you do remove the plug, keep it for future
use.
Unnecessary removal and insertion of a transceiver can lead to
premature failure.
Warning
A transceiver can be damaged by static electricity. Be sure to
observe all standard electrostatic discharge (ESD) precautions,
such as wearing an antistatic wrist strap, to avoid damaging the
device.
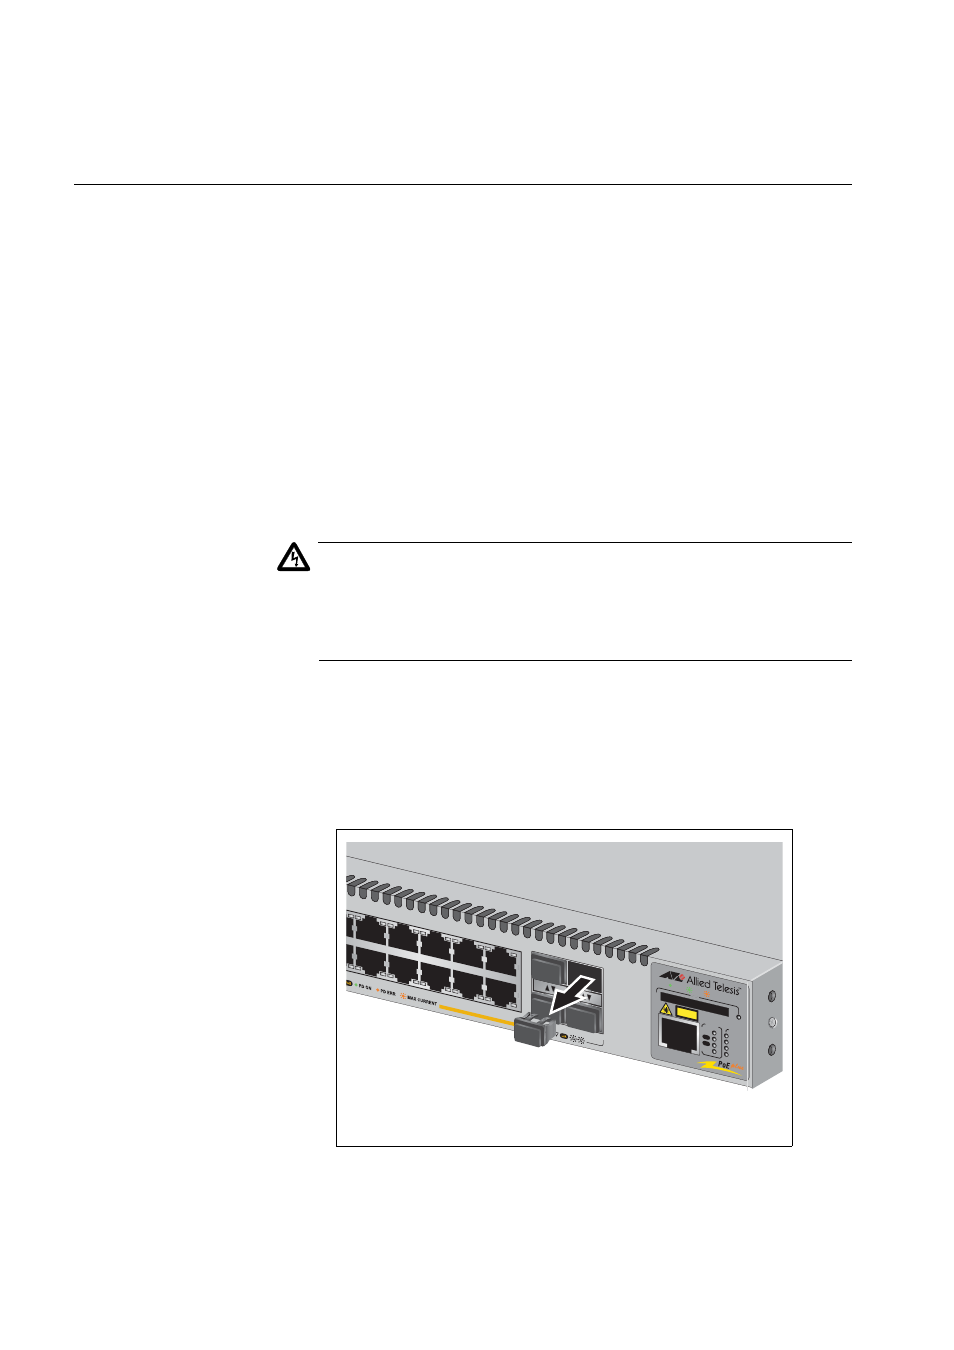
The procedure to install SFP and SFP+ transceivers is the same. The
following instructions describe how to install an SFP transceiver in an
x610 switch:
1. Remove the dust plug from a transceiver slot on the switch, as shown
in Figure 52.
Figure 52. Removing a Dust Plug from a SFP Slot
22
S
FP
2
3
21
24
15
17
19
21R
16
1
8
20
22R
24R
2
3
R
1000
/
100
SD
STATUS
FAULT
MASTER
RPS
PWR
PRES
MSTR
L/A
L/A
CLASS 1
LASER P
RODUCT
1
2
STACK
BU
S
Y
READY
FAULT
CON
S
OLE
2081