7 manual calibration, Manual calibration – Thermo Fisher Scientific CyberScan DO 600 User Manual
Page 77
69
2.7 Manual Calibration
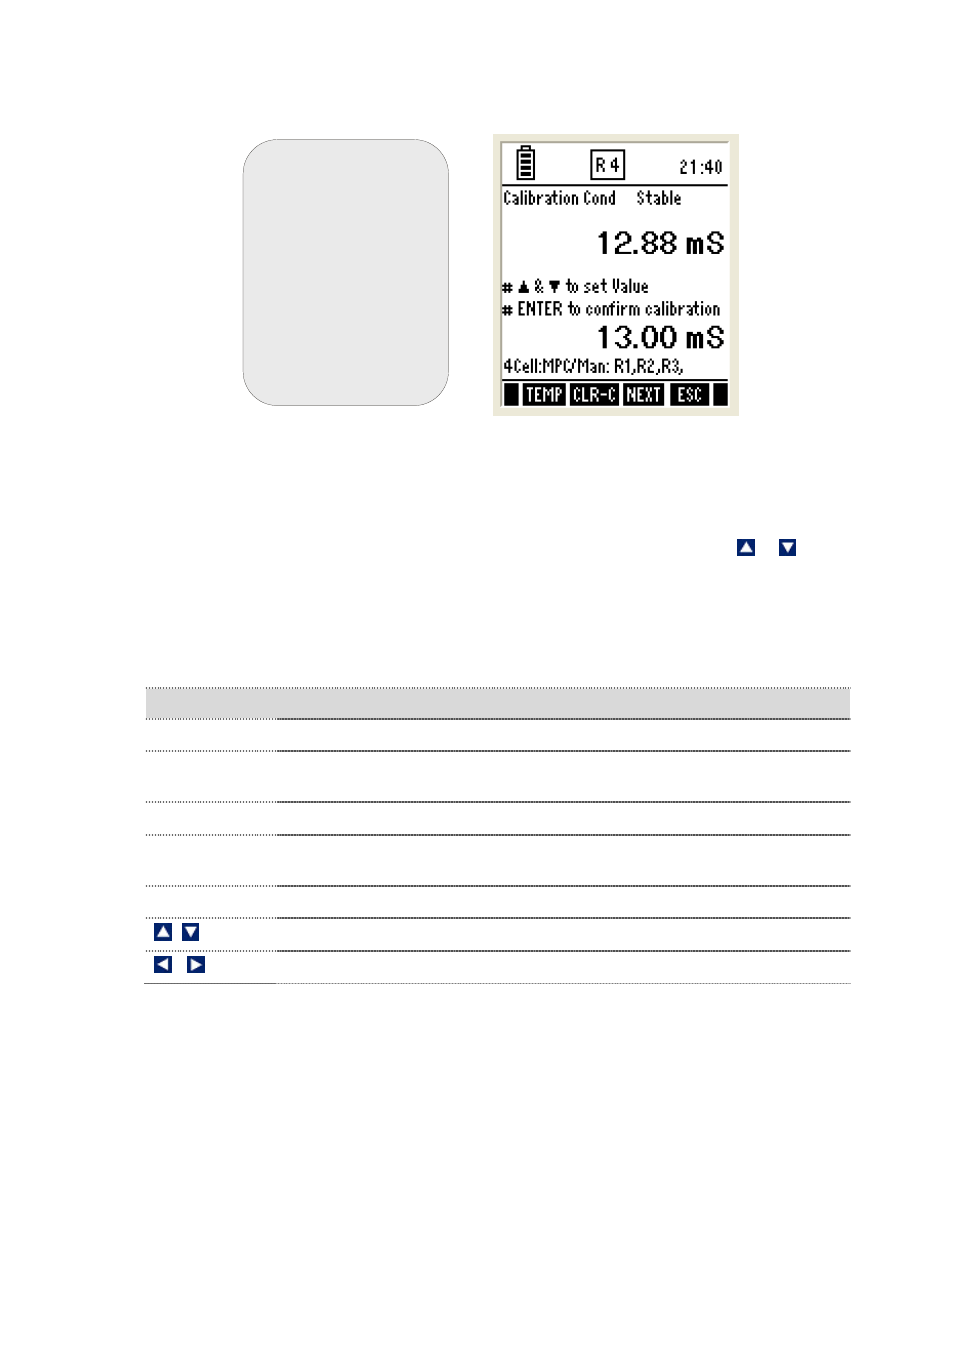
Figure 31 : Conductivity Calibration Screen
1. The upper display shows the conductivity reading of the solution with
respect to previous calibration (if any) & lower display shows the
conductivity reading of the solution without any calibration. Use & keys
to adjust the upper display of the conductivity value of your custom solution.
2. Press ENTER key to confirm the calibration.
3. Press ESC (F4) to go to measurement mode.
4. For multi point calibration, select multi point in Setup page to calibrate.
Function Keys available in Conductivity Calibration mode:
TEMP (F1)
Goes to temperature calibration
CLR-C (F2)
Clears previous calibration (if any) after ENTER key is pressed in
confirmation screen
NEXT (F3)
Shows calibration report
ESC (F4)
Exits from calibration and goes back to conductivity measurement
mode
ENTER
Confirms the calibration
Increases/decreases conductivity cell reading
(Not functional)
2.8 Automatic Calibration (For Conductivity Calibration)
In the Automatic Calibration mode, the meter is capable of accepting either
single-point or up to 4 points for multi-point calibration with a maximum of 1
point per specific measurement range. Select automatic calibration mode in the
Conductivity Setup screen. Press (F2) to start calibration and the meter displays
cell adjustment screen as mentioned in the above section.
The following screen is displayed after cell adjustment screen, if you have
selected ‘Auto’ in Calibration mode and ‘MULTI’ in Calibration Point:
Note: If you wish to
completely re-calibrate
the meter, you need to
clear previous
calibration data. Press
CLR-C (F2) key to
clear previous
calibration. The meter
shows you
confirmation screen.
Press ENTER key to
confirm deleting
previous calibration.