2 motherboard installation, 8 internal peripheral device connections, 1 sata drive connection – IEI Integration KINO-DQM871 User Manual
Page 84: Nternal, Eripheral, Evice, Onnections, Figure 4-10: sata drive cable connection
KINO-DQM871 Mini-ITX SBC
Page 68
power supply unit, the cooling fan of a power supply can also help generate airflow
through the board surface.
4.7.2 Motherboard Installation
To install the KINO-DQM871 motherboard into the chassis please refer to the reference
material that came with the chassis.
4.8 Internal Peripheral Device Connections
This section outlines the installation of peripheral devices to the onboard connectors.
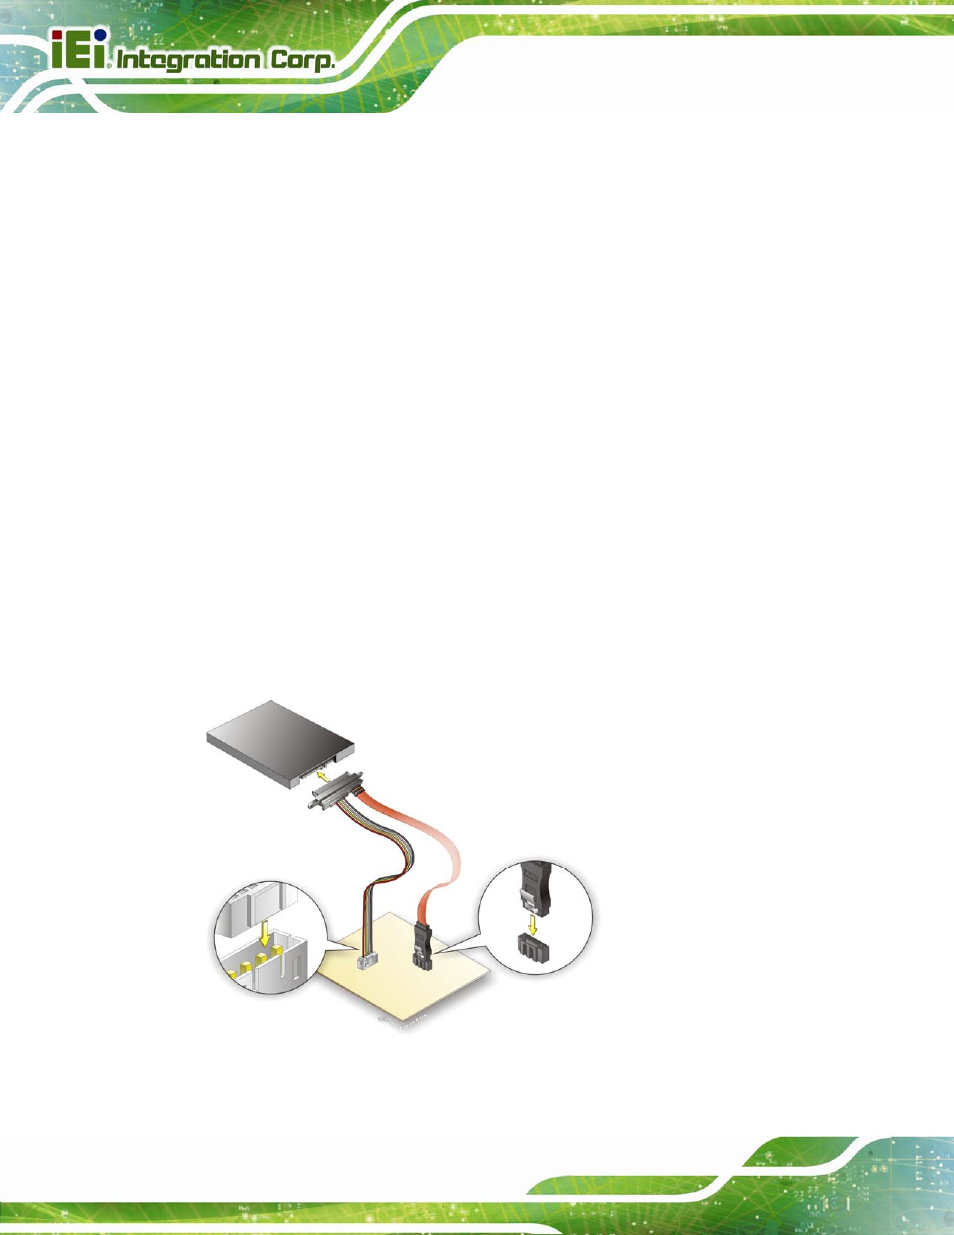
4.8.1 SATA Drive Connection
The KINO-DQM871 is shipped with two SATA drive cable. To connect the SATA drive to
the connector, please follow the steps below.
Step 1:
Locate the SATA connector and the SATA power connector. The locations of
the connectors are shown in Chapter 3.
Step 2:
Insert the cable connector. Insert the cable connector into the on-board SATA
drive connector and the SATA power connector. See Figure 4-10.
Figure 4-10: SATA Drive Cable Connection