How to record a take, Ow to, Ecord a – EVS INSIO Version 1.1 - October 2010 User's Manual User Manual
Page 71
Issue 1.1.B
INSIO Version 1.1 – User Manual
EVS Broadcast Equipment – October 2010
62
H
OW TO
R
ECORD A
T
AKE
To record a take for a scene with or without the Auto Save mode, proceed as
follows:
1.
Select the episode you want to work on from the drop-down list in the
Episode field or with the Episode
buttons.
2.
Select the scene you want to work on from the drop-down list in the Scene
field or with the Scene
buttons.
3.
You can select which cameras will be active when recording a clip.
From the list of cameras:
•
deselect the cameras you do not want to record the take by clearing the
check box on the corresponding line(s),
•
select the cameras you want to record the take by selecting the check box
on the corresponding line(s)
OR
•
tap the Check All button to select all the cameras.
4.
Tap the Start/In button to start recording the take.
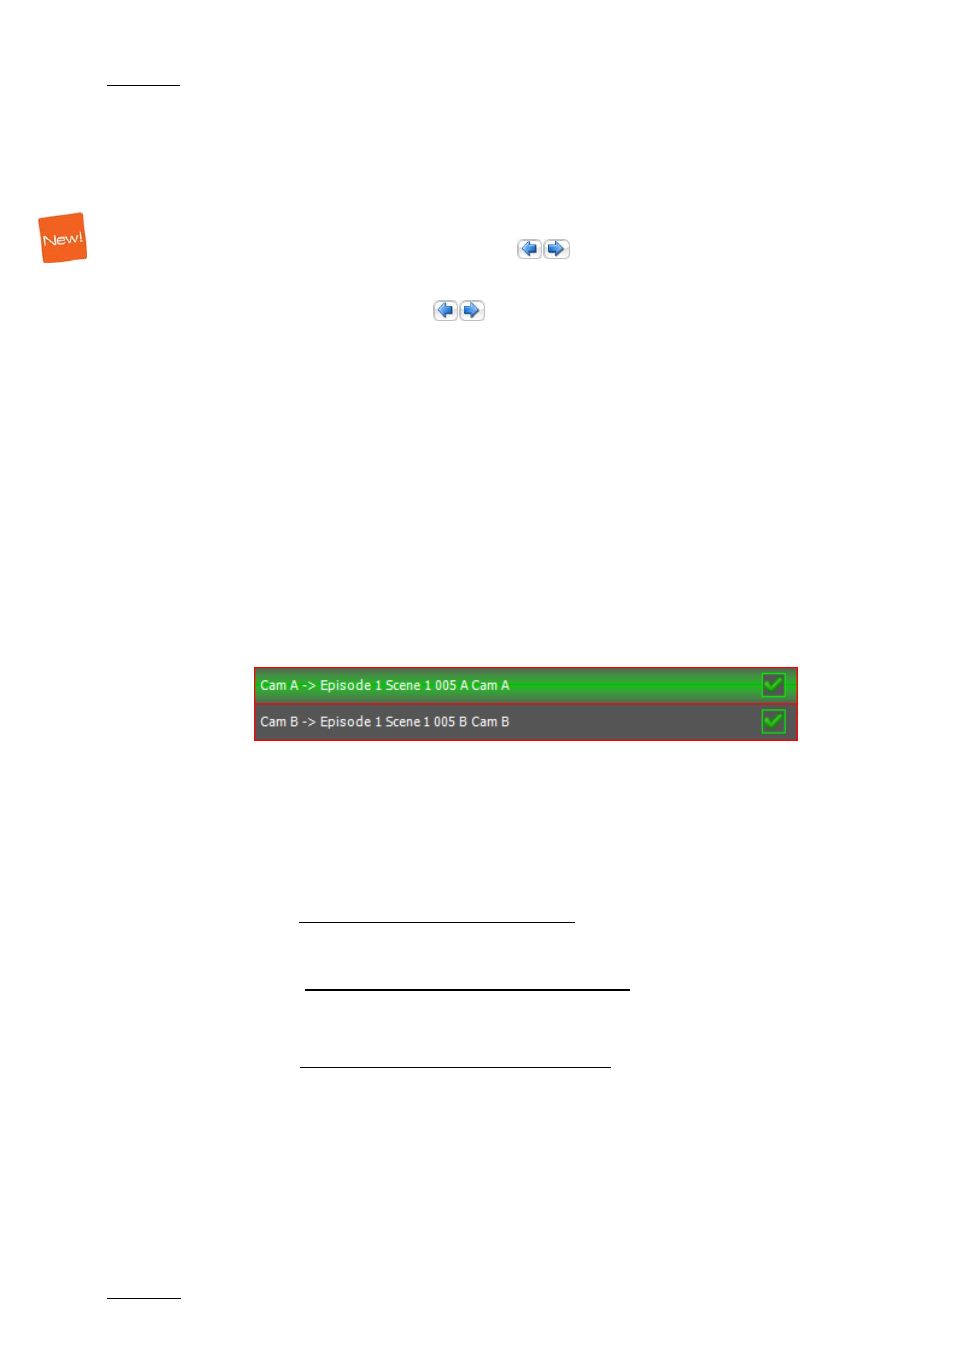
A clip is being recorded by each of the selected cameras and the clip
names, as defined in Setup > User > Predefined Configurations >
General, are displayed next to the camera names:
5.
In case the actors need to repeat their lines within an ongoing take, tap the
Locator button each time they start again, provided that the Locator button
function has been enabled in the Setup > User > General tab.
Refer to section 3.2 ‘User General Settings’ on page 10.
6.
Tap the Stop/Out button when the take is done to stop recording the clips.
7.
If the Auto Save mode has been activated, the clips are automatically saved
on the server for all the previously selected cameras. The Start/In button is
available again for a new take and the take number is increased by 1 unit.
If the Auto Save mode has not been activated, you will then be able to
deselect cameras from which you do not want to keep the recorded clip, if
any, by clearing the check box on the corresponding camera line(s).
8.
If the Auto Save mode has not been activated, tap the Save button to save
the selected recorded clips for the take.
The clips from all the selected cameras are then saved on the server. The
Start/In button is available again for a new take and the take number is
increased by 1 unit.
The recorded clips are displayed in the Clip List tabs.