Defining an isa board – NEC MH4500 User Manual
Page 139
System Setup Utility B-7
3.
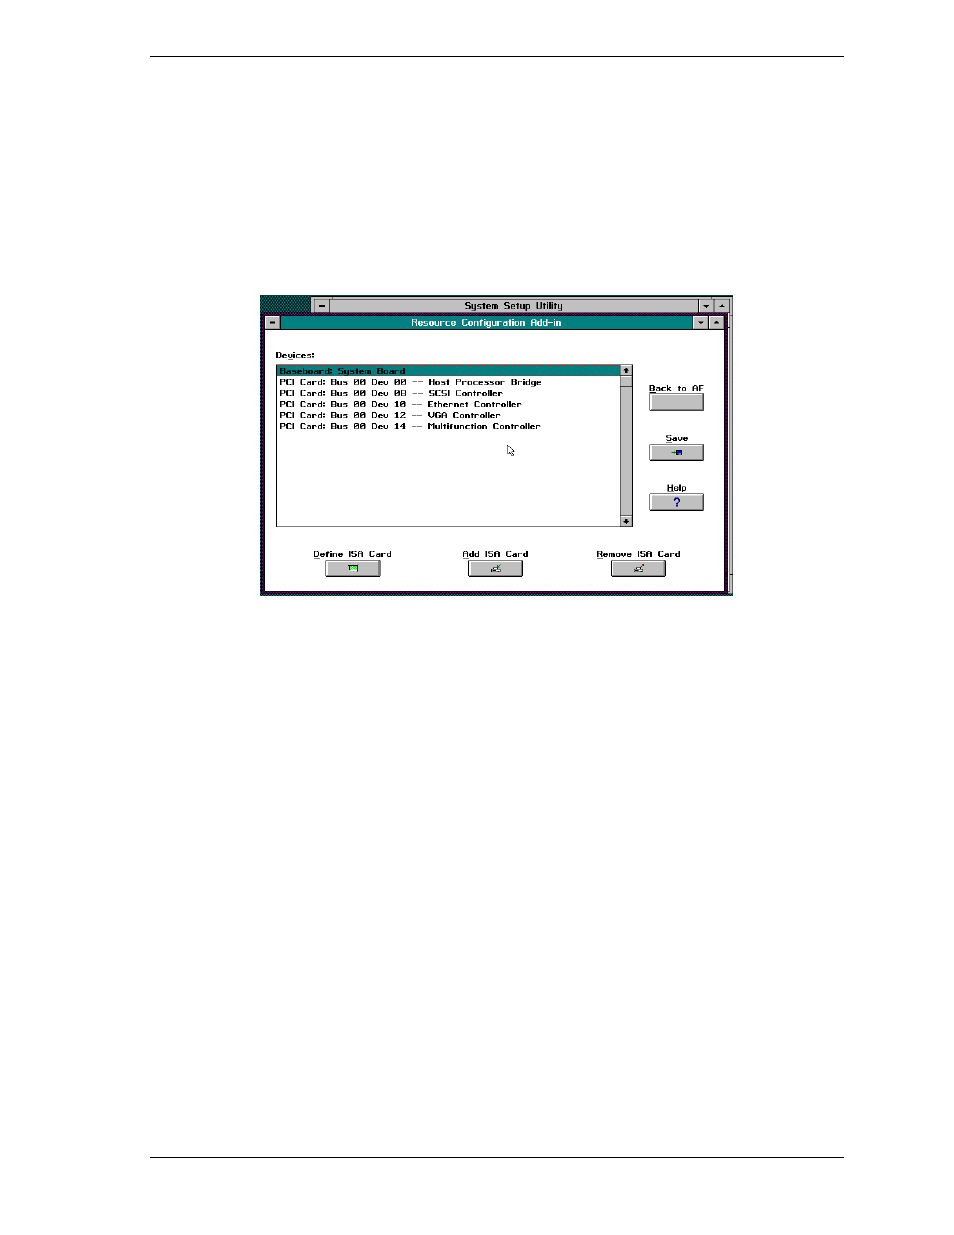
To configure a device, click on it or select its name in the Devices section of
the RCA window (see the following figure). Press the spacebar or
Enter
.
4.
Make configuration changes and click
OK
to return to the RCA window.
Repeat steps 3 and 4 to configure additional devices.
5.
Save all the changes made by clicking
Save
. Saving writes your current
configuration to nonvolatile storage where it’s available to the system after
every reboot.
6.
Close the RCA window and return to the Main Menu by clicking
Close
.
RCA Window
Defining an ISA Board
An ISA board usually comes with a vendor-created .CFG file that specifies the
resources the board requires to function properly. If the .CFG file is unavailable,
you must manually create it or define the board through the SSU. Defining an
ISA board consists of specifying the name of the board and the resources it
consumes. This allows the RCA to consider the ISA card resource requirements
when the RCA tries to resolve conflicts.
1.
From the SSU main window, launch the RCA by selecting the “Resources”
task under the RCA heading in the task box.
2.
When the RCA window appears, click Define ISA Card.
3.
To add or remove ISA card resources, click the appropriate resource buttons,
select the desired value, and click Add or Remove.
4.
After you complete the necessary information, click Save.
5.
To edit a board, click Load to retrieve the card information. After making
changes, click Save.
6.
To create a board, click New.
7.
To remove a current definition of a board, click Delete.