Creating a cycle program – HEIDENHAIN TNC 320 (77185x-01) User Manual
Page 52
First Steps with the TNC 320
1.3
Programming the first part
1
52
TNC 320 | User's Manual
HEIDENHAIN Conversational Programming | 3/2014
Creating a cycle program
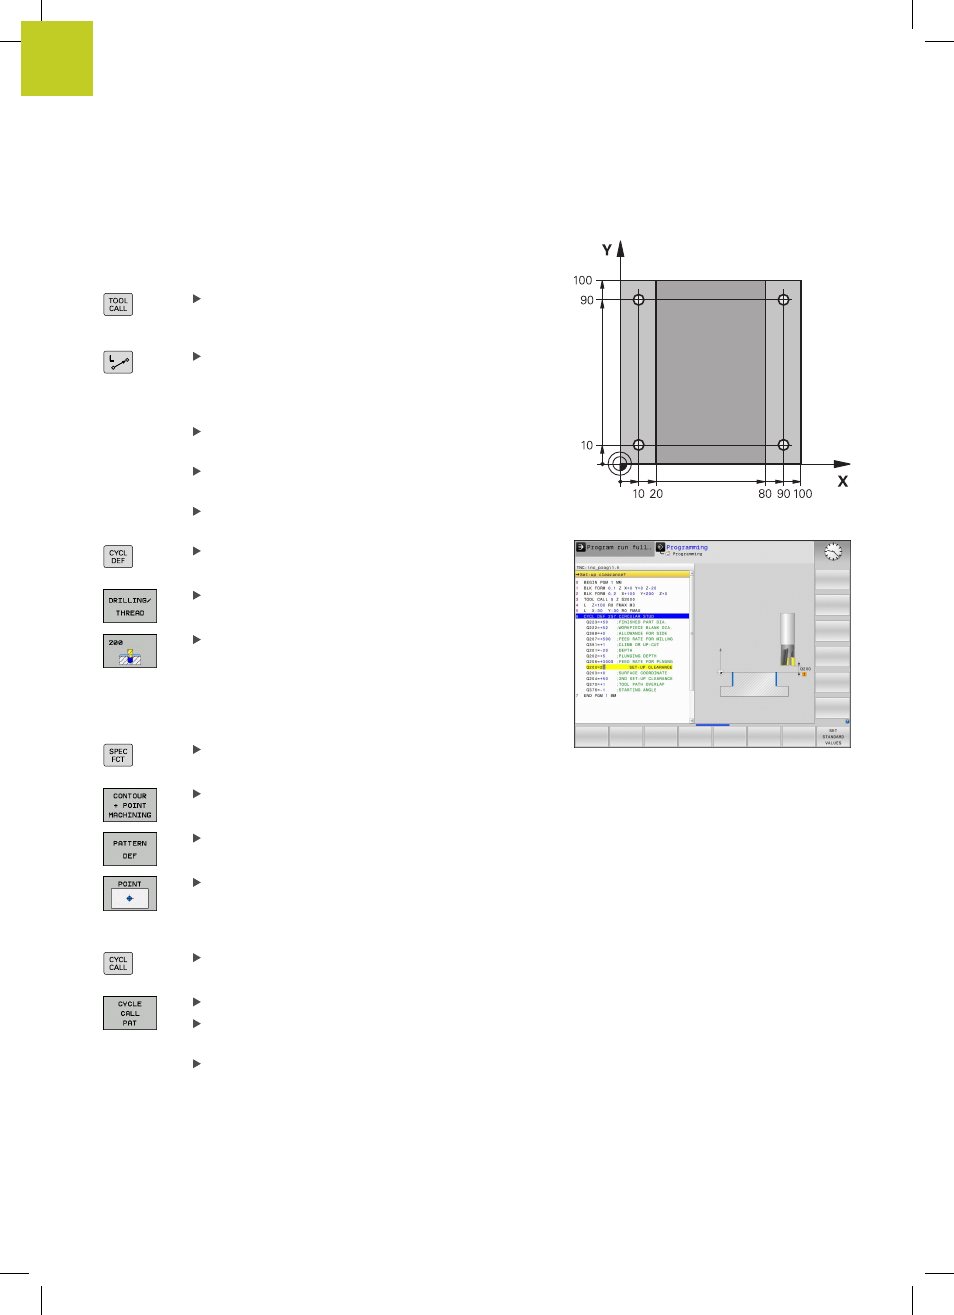
The holes (depth of 20 mm) shown in the figure at right are to be
drilled with a standard drilling cycle. You have already defined the
workpiece blank.
Call the tool: Enter the tool data. Confirm each of
your entries with the
ENT key. Do not forget the
tool axis
Retract the tool: Press the orange
Z axis key in
order to get clear in the tool axis, and enter the
value for the position to be approached, e.g. 250.
Press the
ENT key
Radius comp.: Confirm RL/RR/no comp? with the
ENT key: Activate no radius compensation
Confirm
feed rate F=? with the ENT key: Move at
rapid traverse (
FMAX)
Confirm
Miscellaneous function F=? with the END
key: The TNC stores the entered positioning block
Call the cycle menu
Display the drilling cycles
Select standard drilling cycle 200: The TNC starts
the dialog for cycle definition. Enter all parameters
requested by the TNC step by step and conclude
each entry with the
ENT key. In the screen to the
right, the TNC also displays a graphic showing the
respective cycle parameter
Call the menu for special functions
Display the functions for point machining
Select the pattern definition
Select point entry: Enter the coordinates of the 4
points and confirm each with the
ENT key. After
entering the fourth point, save the block with the
END key
Display the menu for defining the cycle call
Run the drilling cycle on the defined pattern:
Confirm
Feed rate F=? with the ENT key: Move at
rapid traverse (
FMAX)
Miscellaneous function M? Switch on the spindle
and coolant, e.g.
M13 and confirm with the END
key: The TNC stores the entered positioning block