Maintenance, Seat removal (roadmaster), Seat installation (roadmaster) – Polaris 2016 INDIAN Chief Classic User Manual
Page 120

118
Maintenance
Seat Removal (ROADMASTER)
1. Remove the left side cover to access the tool kit.
2. Remove the trunk. See page 56.
3. Disconnect the trunk harness from the main harness.
4. Locate the seat mount
brackets under the
edge of the driver’s
seat. Remove the seat
mount bolt from each
side of the seat.
5. Remove the rear
bracket bolt, washer
and nylon grommet
from the passenger
portion of the seat.
6. Lift the rear of the seat
and unplug the seat
heater.
7. Pull the seat rearward to disengage the front mounting
tab of the seat from the frame mount. Do not allow the
seat mount brackets to contact the rear fender.
Seat Installation (ROADMASTER)
1. Position the seat by inserting the seat mounting tab from
rear to front into the mount on the top of the frame.
2. Reconnect the seat heater.
3. Rotate the rear of the seat downward and position the
side mount seat brackets onto the frame. Do not allow
the seat mount brackets to contact the rear fender.
4. On each side, thread the seat mount bolt through the
seat mount bracket and into the frame. Torque seat bolts
to specification.
Torque: 18 ft-lbs (13.5 Nm)
5. Gently raise the rear bracket and reinstall the nylon
grommet. Thread the rear bracket bolt and washer
through the bracket and nylon grommet. Torque the bolt
to specification.
Torque: 96 in-lbs (10.8 Nm)
6. Reconnect the trunk harness to the main harness.
7. Reinstall the trunk. See page 56.
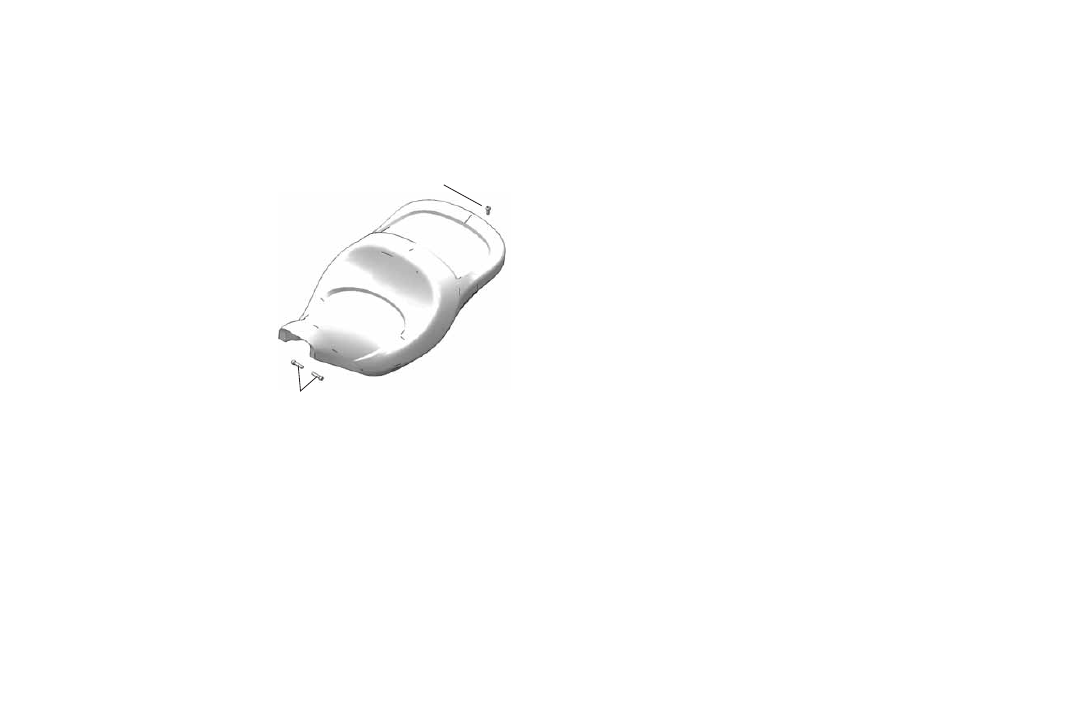
Seat Mount Bolts
Rear Bracket Bolt
- 2016 INDIAN Chief Vintage 2016 INDIAN Dark Horse 2016 INDIAN Roadmaster 2016 INDIAN Chieftain 2013 INDIAN Chief Classic 2013 INDIAN Chief Vintage 2013 INDIAN Chieftain 2014 INDIAN Chief Classic 2014 INDIAN Chief Vintage 2014 INDIAN Chieftain 2015 INDIAN Chief Classic 2015 INDIAN Chief Vintage 2015 INDIAN Chieftain 2015 INDIAN Roadmaster
