Replacing or adding a vsc, Replacing or adding a vsc -30 – Grass Valley PRS 250 RAID Storage System User Manual
Page 76
Chapter 3 Servicing the System
3-30
RAID Instructions
Replacing or Adding a VSC
You can replace a failed VSC or add a new one while the storage chassis is powered
up. However you must complete Steps 2 through 6 within two minutes to avoid
automatic thermal shutdown of the storage chassis. Before you begin to replace or add
a VSC, make sure that you understand all the steps in the following procedure.
NOTE: In order for the RAID Storage chassis to operate, two VSCs must be
functional at all times
To replace or add a VSC:
1. Unpack the VSC module and place it within reach of the storage chassis.
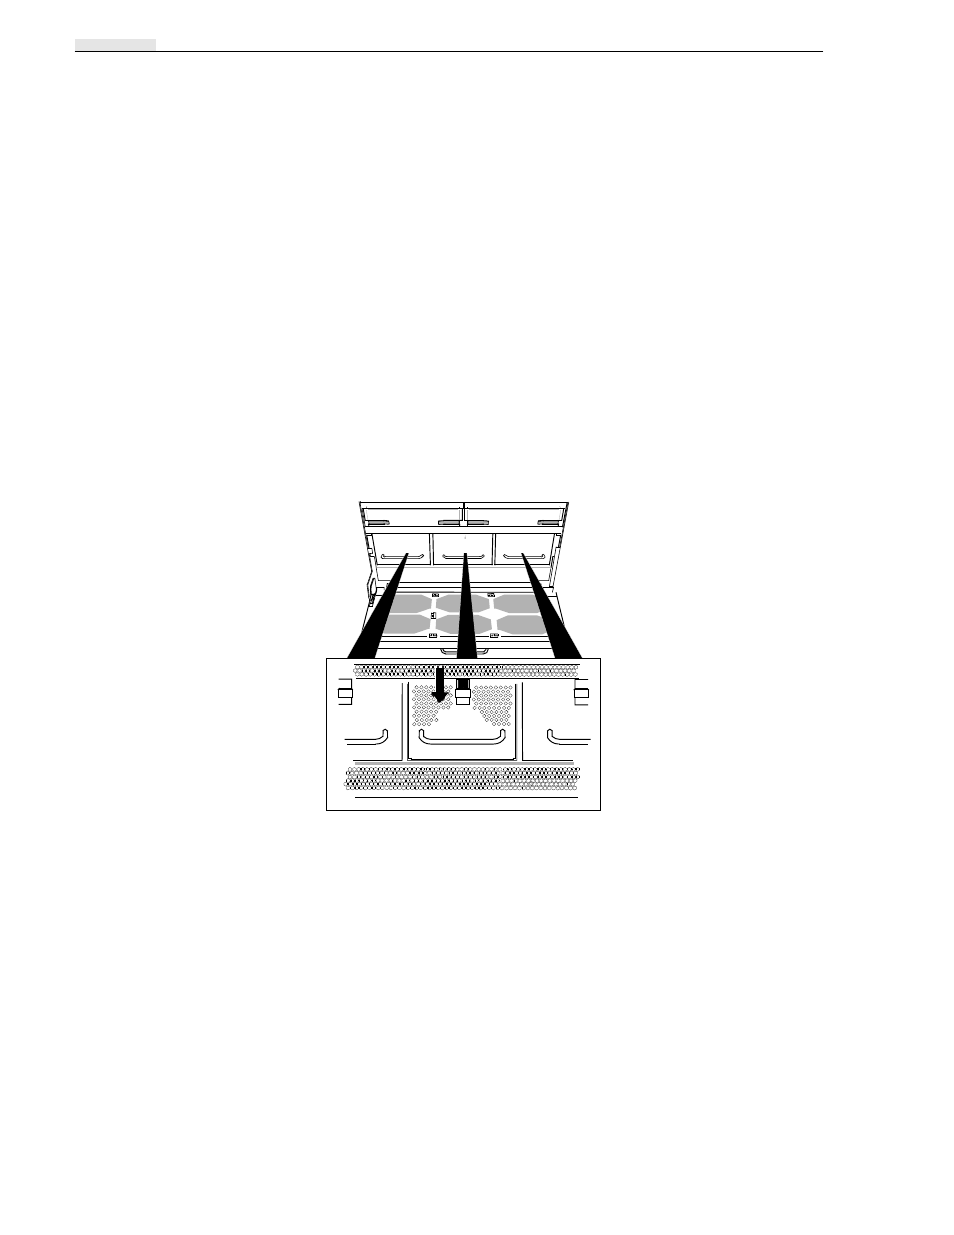
2. Open the fan module.
3. If you are replacing a failed VSC, remove the VSC and then skip to Step 5.
Removing a VSC
4. If you are adding a VSC, remove the VSC filler module by pushing down on its
latch and pulling it out of the slot by its latch.
A VSC filler module looks similar to a VSC without its handle.
CAUTION: To maintain proper cooling, never operate the storage chassis with an
empty VSC slot. Save the filler module to fill the slot in case you need to operate the
storage chassis with a VSC removed temporarily.
VSC A
VSC C
VSC B
Grasp VSC by handle,
hold down latch, and
pull VSC out of slot.