Grass Valley PRS 250 RAID Storage System User Manual
Page 65
Replacing or Adding a Disk Module
RAID Instructions
3-19
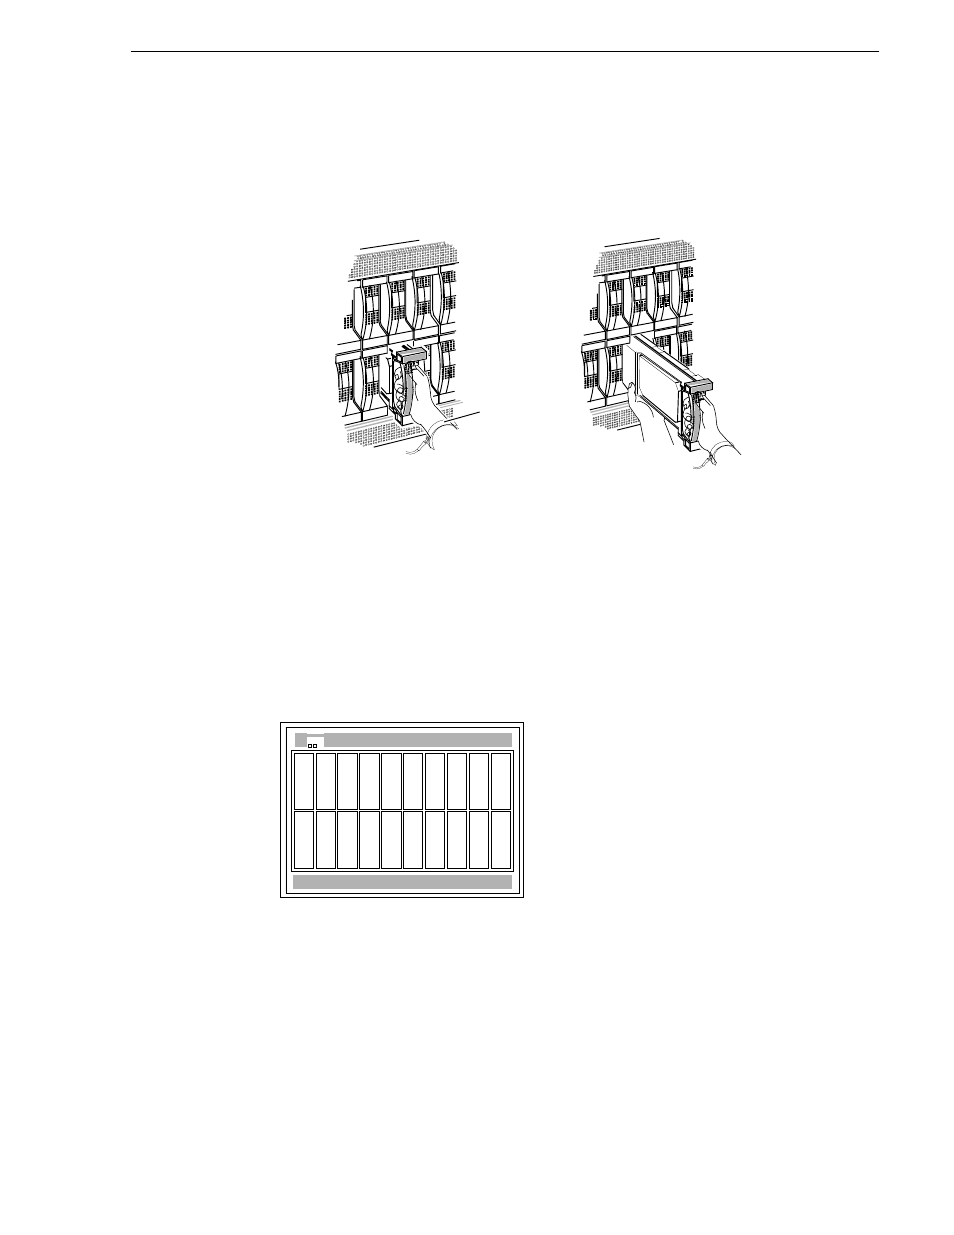
Removing a disk module
CAUTION: When removed from the chassis, a disk module is extremely sensitive
to shock and vibration. Even a slight jar can severely damage it.
4. On the label on the top of the disk module, write the ID number for the slot (A3,
for example) from which you removed the drive. For the slot ID numbers, refer to
the figure below or the slot matrix, which you attached to the storage chassis when
you installed it.
Disk module slot locations
If you are installing a replacement disk module immediately — Go to Installing
a Disk Module.
If you are not installing a replacement disk module immediately — Remove and
store the ESD wrist band, and skip to Removing or Installing a Disk Filler Module to
install a disk filler module in the empty slot.
ESD wrist
band
A.Grasp the disk module handle and
quickly and smoothly pull it part
way out of chassis.
B.Support disk module
with free hand and pull
it free of chassis.
A0
B0
C0
D0
A2
B2
C2
D2
E2
E0
A1
B1
C1
D1
A3
B3
C3
D3
E3
E1