Ch 3 - file menu [in gauge window, File menu, New (clone) project – Measurement Computing eZ-TOMAS rev.11.0 User Manual
Page 25: Initialize project
File Menu
[In Gauge Window]
3
New (Clone) Project …… 3-1
Note: The File Menu discussed in this chapter is located
in the Gauge Window’s menu bar. It is not to be
confused with the Plot Window’s File Menu.
Initialize Project ….. 3-1
Open Project …… 3-2
Save As …… 3-2
Erase History Data …… 3-3
Erase Alarm Log …… 3-4
Print …… 3-4
Exit …… 3-4
New (Clone) Project –
Creates a Copy of a Project and its Data
Cloning a project keeps all of the values from the original project.
The New (Clone) Project option opens the Save As window. The first step in
creating a new project is to select or create a Folder where the new project’s files
should be saved. Enter a filename for the project, then click the <Save> button.
Note that the “Save As” window that is accessed via the New (Clone) Project
selection is not the same Window that results from clicking the “Save As” option
in the Gauge Window’s File pull-down menu. The later is for saving one of
three backup formats. These are: Entire Project, Partial Project, and Gauge Data
(ASCII). After selecting one of the three formats and clicking the
the Save As window will appear.
Using the Save As Window to
Create a New Project
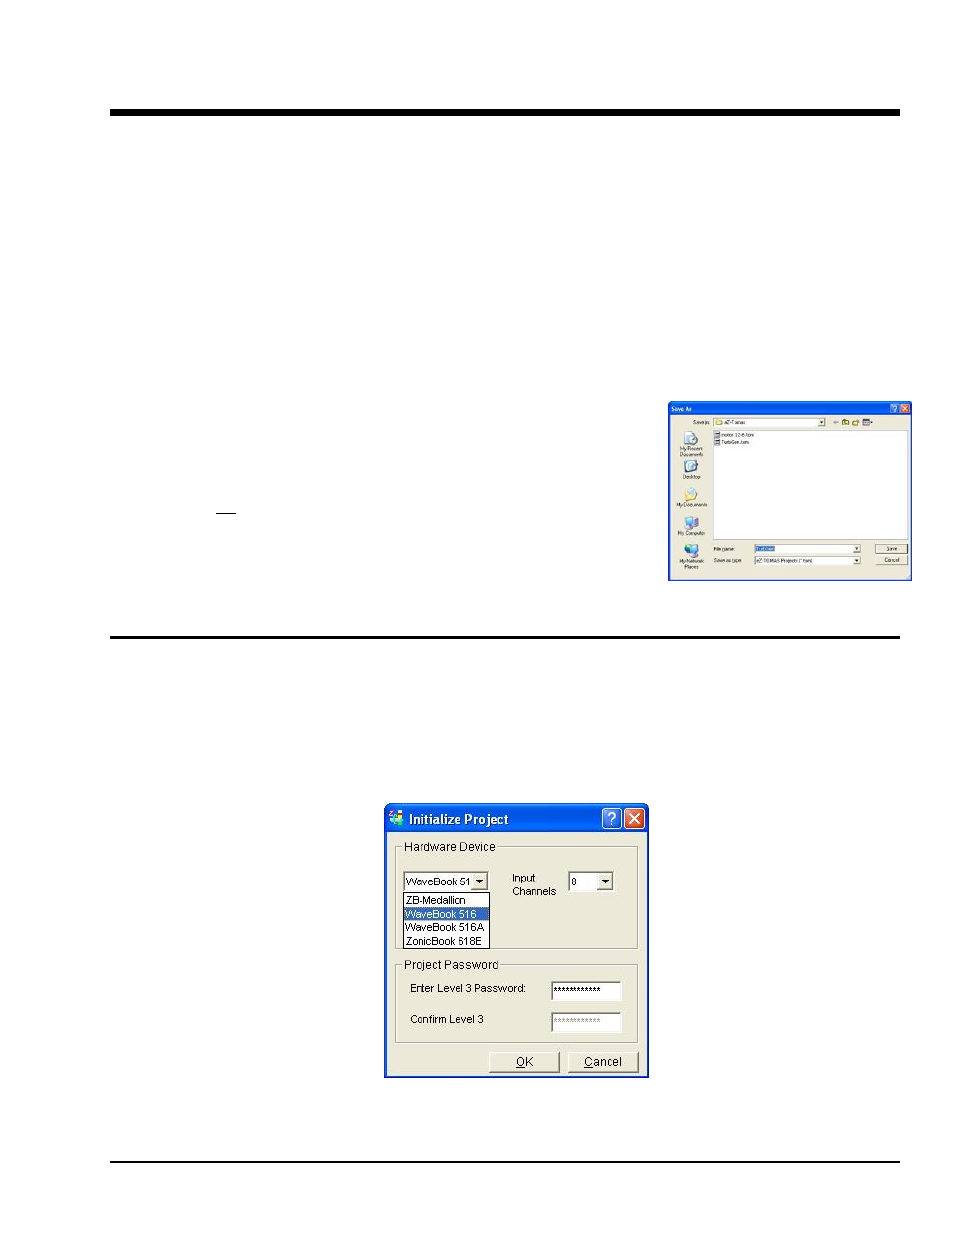
Initialize Project –
Creates a New Project and Sets the Number of Available Channel Inputs
When a project is initialized you are essentially starting with a “clean slate.” No data is carried over as when a
project is cloned.
To inform eZ-TOMAS as to what type of hardware will be used, select “Initialize Project” from the Gauge Window’s
File pull-down menu. The resulting window allows you to select a Hardware Device and the applicable number of input
channels. Chapter 2 includes an example.
Initialize Project
eZ-TOMAS
958794
File Menu 3-1