1 show tab, 13 modes of operation – LSC Lighting CLARITY LX Series v.1 User Manual
Page 21
Clarity
Desktop Clarity
Operator Manual
Page 11
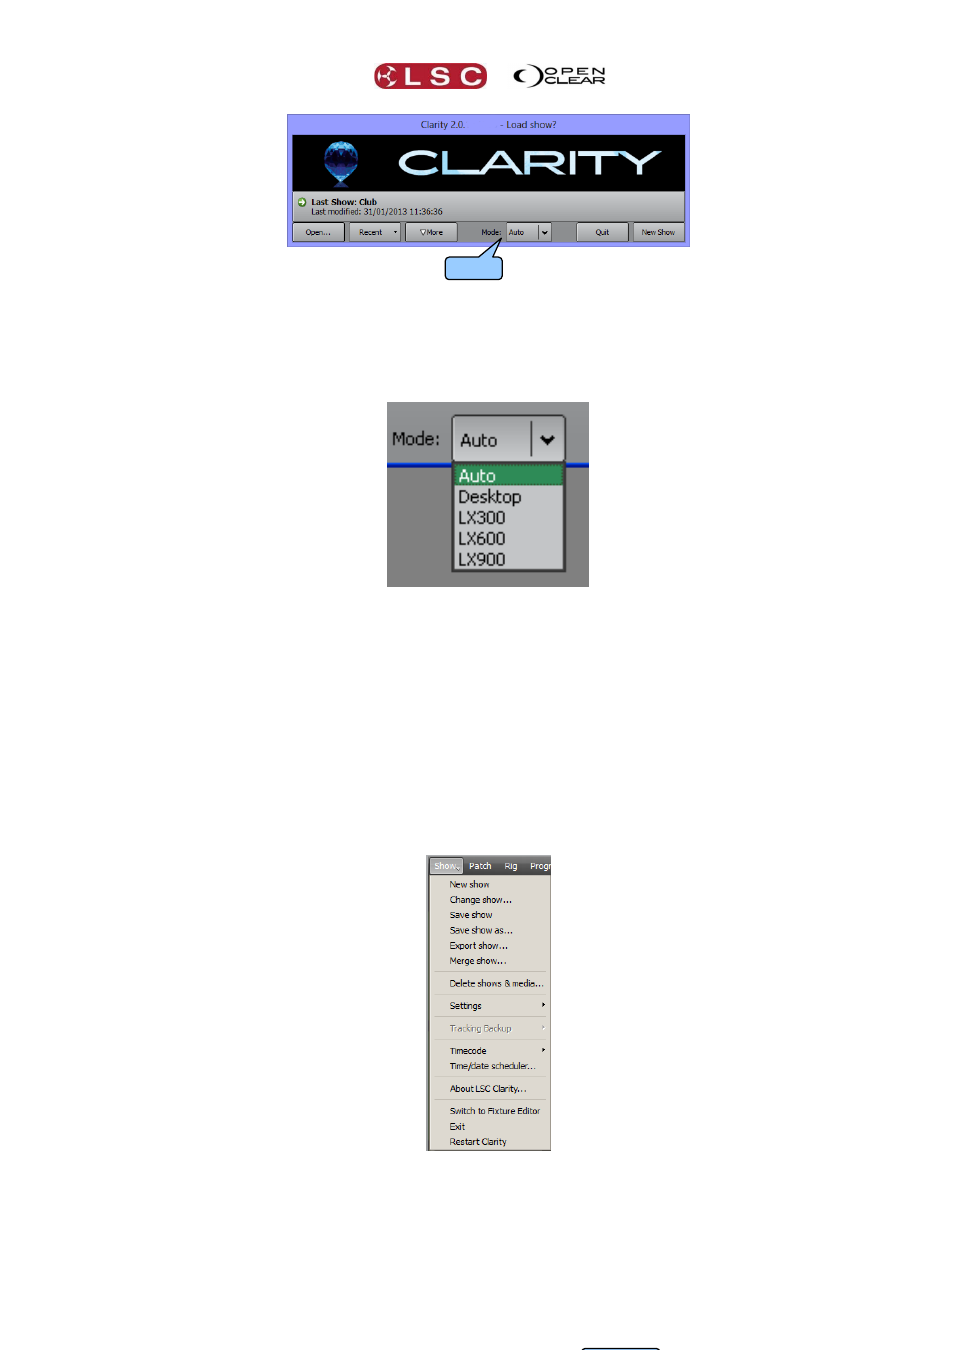
The Mode: function allows you to run Clarity as a normal desktop version or to emulate a console
version of Clarity (LX300, LX600 or LX900) on your computer. If “Mode” is left as Auto, then the
mode is determined from the show file that is loaded. For example, if you load a show saved on
a LX600 then Clarity will start up in LX600 emulation mode. Clicking the dropdown box allows
you to make a selection.
Selecting a console mode is particularly useful when you are creating or editing a show on the
desktop version that will be loaded onto a console version of Clarity. Once you have made your
selection………
Clicking Last Show loads the last show to be saved.
Clicking Open shows a standard file navigator allowing you to select any show.
Clicking Recent opens a drop down box containing your most recent shows.
Clicking New Show starts a new show.
3.12.1 Show Tab
When Clarity is running you can always start a new show, change to an existing show, save or
rename a show from the Show tab on the top toolbar. Selecting “Change show…” allows you to
also change the “Mode” as described above and below.
3.13 MODES OF OPERATION
Clarity's top toolbar is available in all modes of operation and has tabs allowing you to switch
between the main windows of: Patch, Rig, Programmer, Palettes, Control Booth,
Performance, Levels and Intensity Levels. These windows are un-dockable to suit multi-
monitor set-ups or multiple windows. Double clicking on a tab will un-dock the window allowing
Mode: