9 selecting media in a pixel source, 10 adding and deleting pixel sources, 11 viewer – LSC Lighting CLARITY LX Series v.1 User Manual
Page 122
Matrix
Clarity
Operator Manual
Page 112
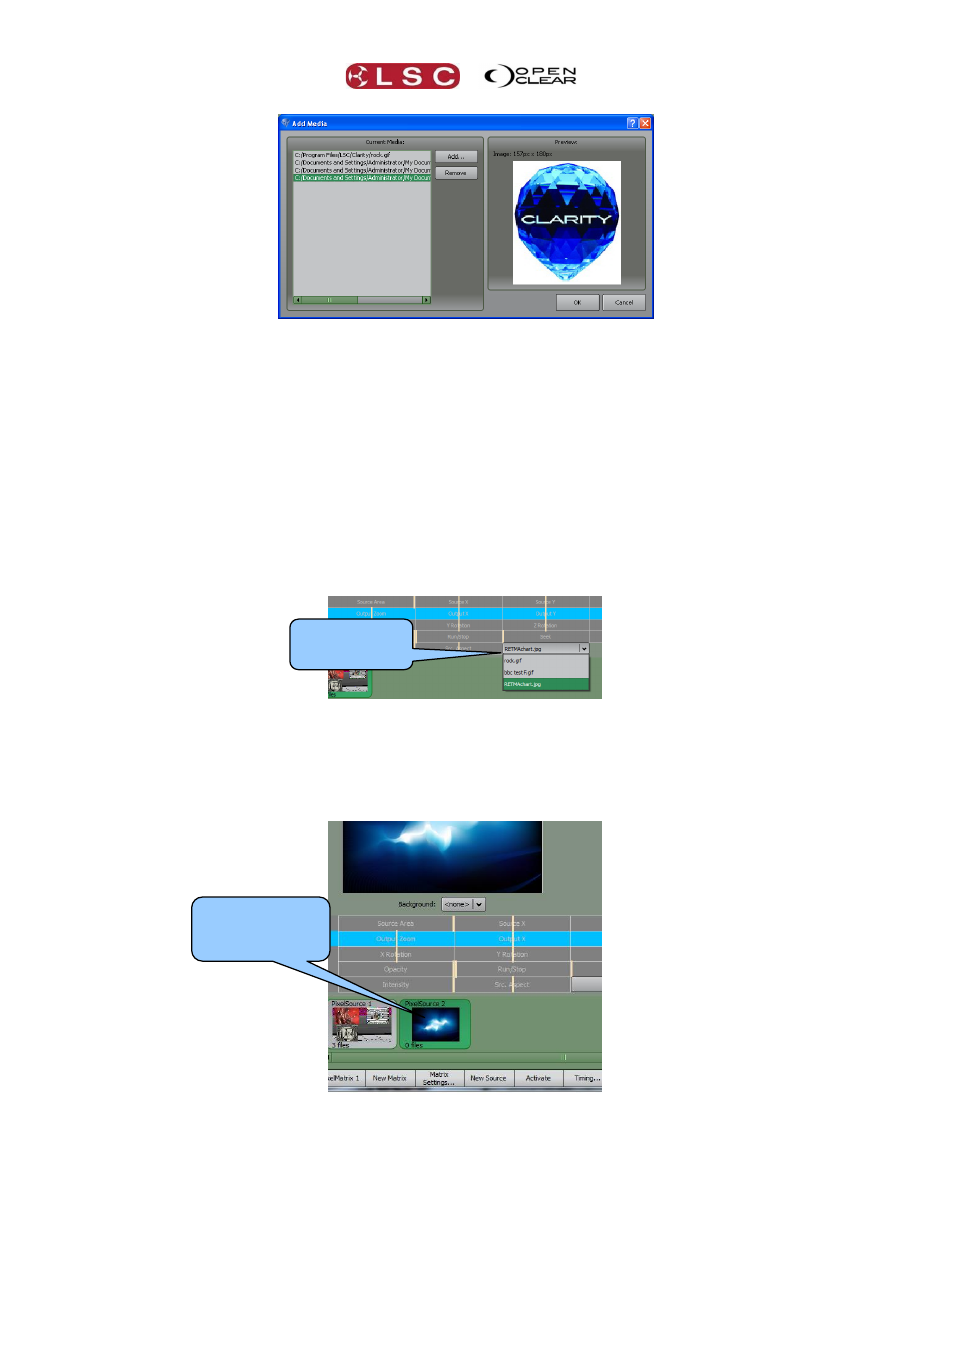
The media files currently assigned to the Pixel Source (if any) are shown on the left.
To add media click Add... then select the file.
Clicking on a file in the Current Media pane shows a preview in the Preview pane.
To delete media, select the file then click Remove.
When finished click OK.
Note: When media is added to Clarity from elsewhere (audio files, images/movies, rig
backgrounds), Clarity automatically adds it to the Clarity media folder. See section 30 for more
details.
17.9 SELECTING MEDIA IN A PIXEL SOURCE
To select any one of the loaded media for a Pixel Source, select the Pixel Source by clicking on
it then click on the drop down box at the bottom of the transform controls and select the
required media.
17.10 ADDING AND DELETING PIXEL SOURCES
To create a new Pixel Source click New Source. The new pixel source appears at the bottom of
the pane and it is automatically selected. Media is added to the new source as describe above.
Clicking on a pixel source selects that pixel source.
To delete a Pixel Source click on that Pixel Source then click Delete Source or right click on
the Pixel Source and select Delete.
17.11 VIEWER
Clicking Viewer activates the viewer window which allows you to see exactly what will be sent
out to the pixel matrix. Images will not be shown on the output until the Pixel Source has been
activated. See below for details.
Select Media for
Pixel Source
Click on a
PixelSource to
select it