Assembly – Harken 1036 MKIII Jib Reefing & Furling User Manual
Page 41
Assembly
January 2000
Unit 3 MKIII
21
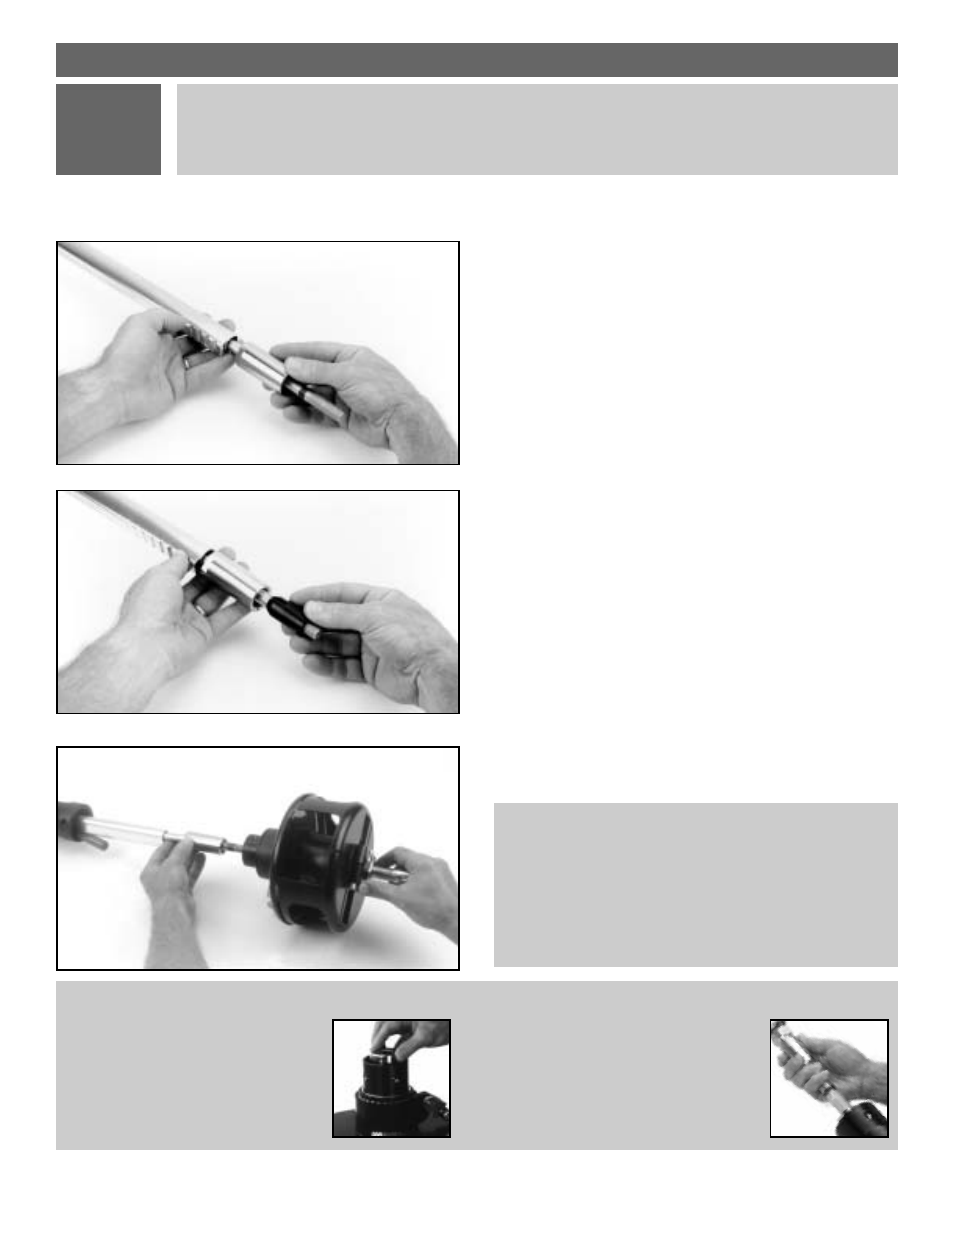
In this step, the drum is attached and the unit is readied for installation on the boat.
6
Do NOT use the plastic locking cylinder.
Thread the locking collar onto the drum
assembly as far as it will go.
At no time should more than 3
1
/
2
" (90 mm)
of thread be exposed at either the top or
the bottom of the turnbuckle.
Thread the drum assembly onto the
stay until the colored mark on the
threads does not show.
Slip the locking collar onto the stay over the threaded
stud with the threaded end of the collar down.
Slip the plastic locking cylinder onto the threaded stud
and into the locking collar, split end first.
Thread the drum assembly onto the stay until the
colored mark on the threads does not show.
The coloring on the threads warns of insufficient
thread engagement. It is provided only for your con-
venience and may wear off. The only positive means
to insure proper thread engagement is to measure
the exposed threads. At no time should more than
3
1
/
2
" (90 mm) of thread be exposed at either the
top or the bottom of the turnbuckle.
Norseman/Sta-Lok and Rod Instructions