Operation – Harken 882 MKIII Jib Reefing & Furling User Manual
Page 62
Operation
Headstay Tension o Backstay Adjusters
October 2001
Unit 1 MKIII
31
■
Backstay Adjusters
Backstay adjusters allow headstay tension to be varied to change sail shape to
match the conditions. They permit a very tight headstay to be eased when the
boat is not in use. For best performance, consider adding a backstay adjuster,
either a block and tackle, a mechanical adjuster like those offered by Harken, or
a hydraulic adjuster.
Remember to keep the headstay tight for best performance when furling or
reefing.
If your boat is fitted with an adjuster be sure that it is tensioned before the hal-
yard is tensioned. If not, the backstay adjuster may adjust halyard tension and
could damage the sail or furling system.
Racing boats often slack the headstay completely when sailing downwind.
Check to be sure that the foil does not jam against the upper headstay terminal
when the backstay is released. It may be necessary to shorten the foil slightly
to prevent this.
Tip: Before adjusting headstay tension, completely slack the backstay,
mainsheet and vang.
■
Spinnaker Halyards
Spinnaker halyards occasionally cause problems
with furling.
On many boats it will not be possible to attach the
spinnaker halyard to the bow pulpit or it may be
"sucked" into the jib when you are furling.
On some boats the spinnaker halyard lays across the
headstay and will catch on the halyard swivel, foils or
jib halyard. It may be necessary to install a masthead
bail to move the spinnaker halyard block forward and
to one side to prevent problems.
Many boats with external halyards will find it necessary
to flip both ends of the spinnaker halyard behind the
spreaders to prevent fouling with the furling system.
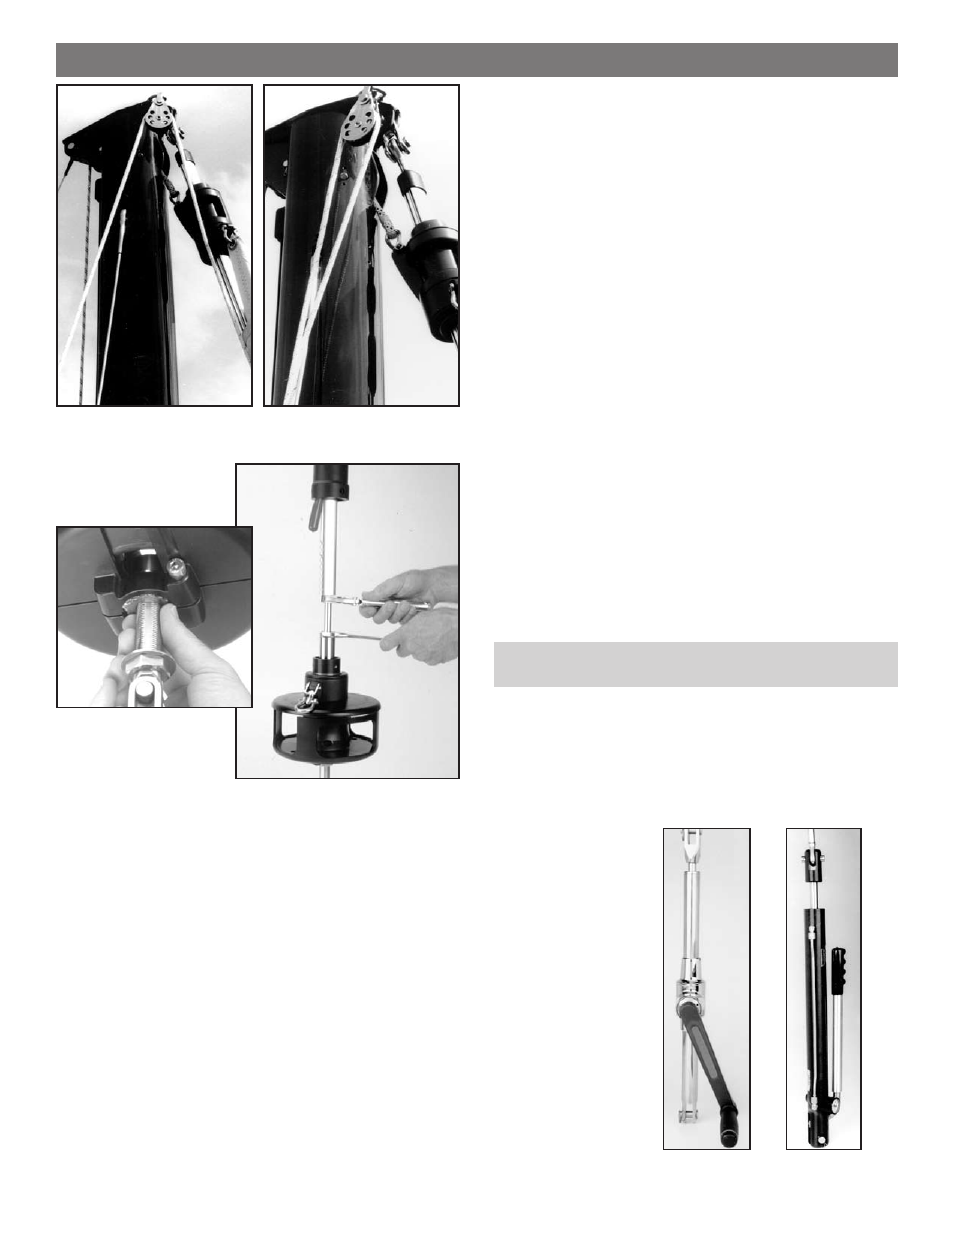
■
Headstay Tension
A furling system will work best if the headstay is tight.
A loose headstay is difficult to rotate and can cause
unusual wear on the foil joints.
To adjust headstay tension, remove the sail and furling
line from the unit. Remove the two screws at the top of
the torque tube and remove the three screws at the base
of the torque tube. Secure the torque tube up near the
feeder. Unlock the turnbuckle by following the instruc-
tions on page 24 in reverse order. Refer to pages 22
through 25 for detailed instructions for tensioning
and relocking your turnbuckle.