Assembly – Harken 882 MKIII Jib Reefing & Furling User Manual
Page 38
Assembly
November 2001
Unit 1 MKIII
19
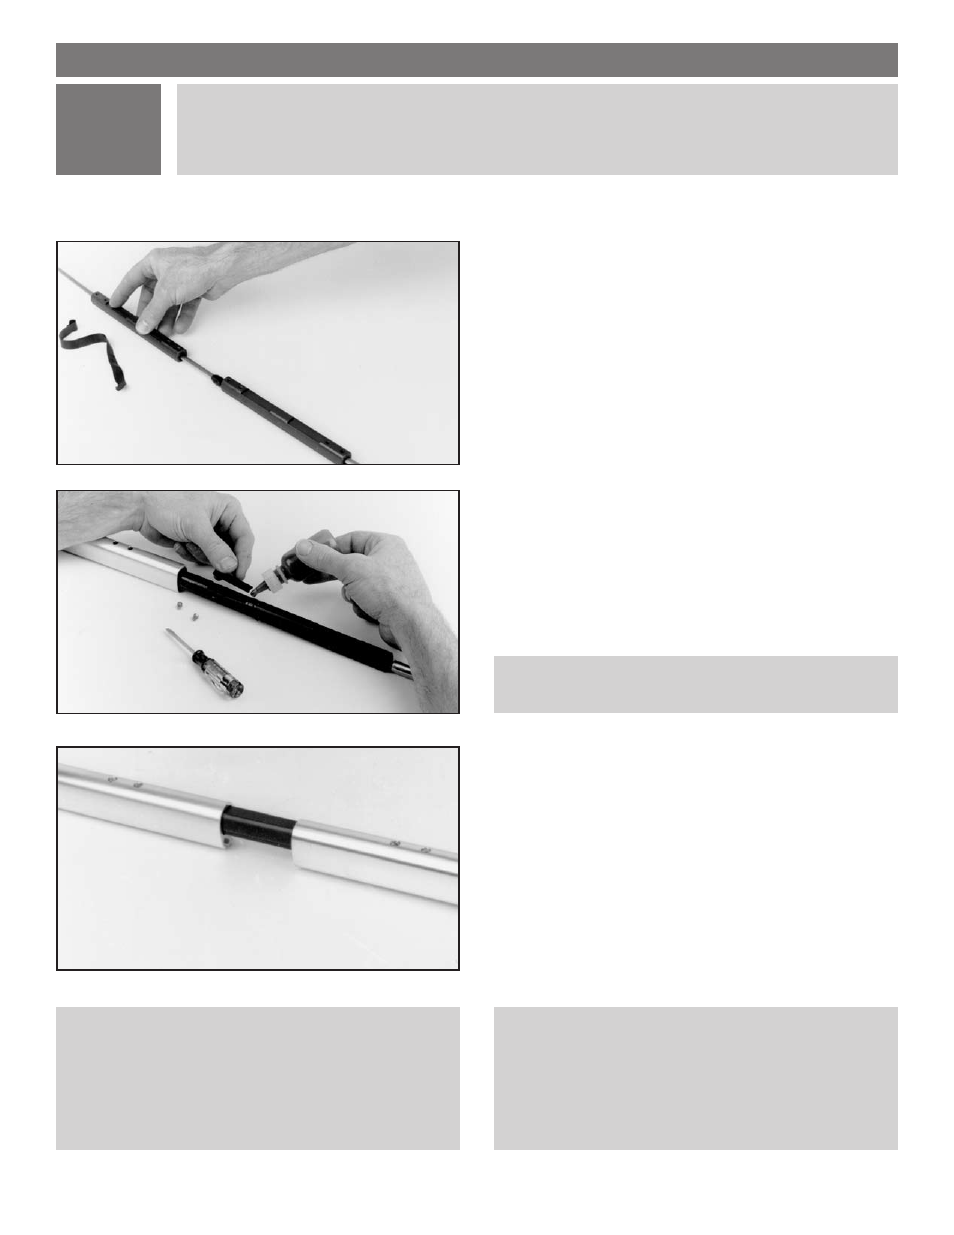
In this step, you complete assembly of the main body of the headstay foil using the
techniques learned in Steps 2 and 3.
4
Tip: The bottom foil is either the standard 24" (610 mm) bottom foil,
or a shortened 18
1
/
2
" (470 mm) bottom foil. See pages 13 and 14.
There are no sail grooves in the bottom foil.
Norseman/Sta-Lok Instructions
Because the lower end of the wire is open you will simply slide
the foils and connectors up to the top foil and assemble as
described. DO NOT secure the bottom foil to the exposed long
connector until after the Norseman or Sta-Lok threaded stud
has been assembled.
Rod Instructions
Rod installations are identical to swaged wire at this point. You
may find that the rod is difficult to lay flat and two people may
be required to hold the rod straight while foils are slipped up
the headstay. The curves in the rod may make it more difficult
to slide extrusions over the connectors. The straighter the rod
can be held, the more easily foils will pass over connectors.
Free one connector and slide it towards the top of the
headstay.
Attach this connector to the foil above using red Loctite,
a plastic wedge, and screw as described in Step 2.
Slide a 7' (2.13 m) foil over the threaded stud and
connectors and to the top of the headstay.
Attach this foil to the connector above using red Loctite,
a plastic wedge, and screws as described in Step 3.
Repeat this process until all of the 7" (178 mm) regular
connectors have been used.
Attach the 8
7
/
8
" (225 mm) long bottom connector and
the short bottom foil in the same manner using the
two wedges.
When the bottom foil is properly attached a 1
7
/
8
" (48 mm)
gap will remain between the bottom foil and the first
7' (2.13 m) foil extrusion.
1
7
/
8
" Gap
(48 mm)
Ecartement des lévres 48 mm
Lücke 48 mm
Spazio 48 mm