HITEC Eclipse 7 Pro User Manual
Page 41
39
Simple Transmitter Setup – Aerobatic Airplane (ACRO)
if the aileron stick move left or right (surface move up or
down), elevator working direction should be same as like right
aileron.
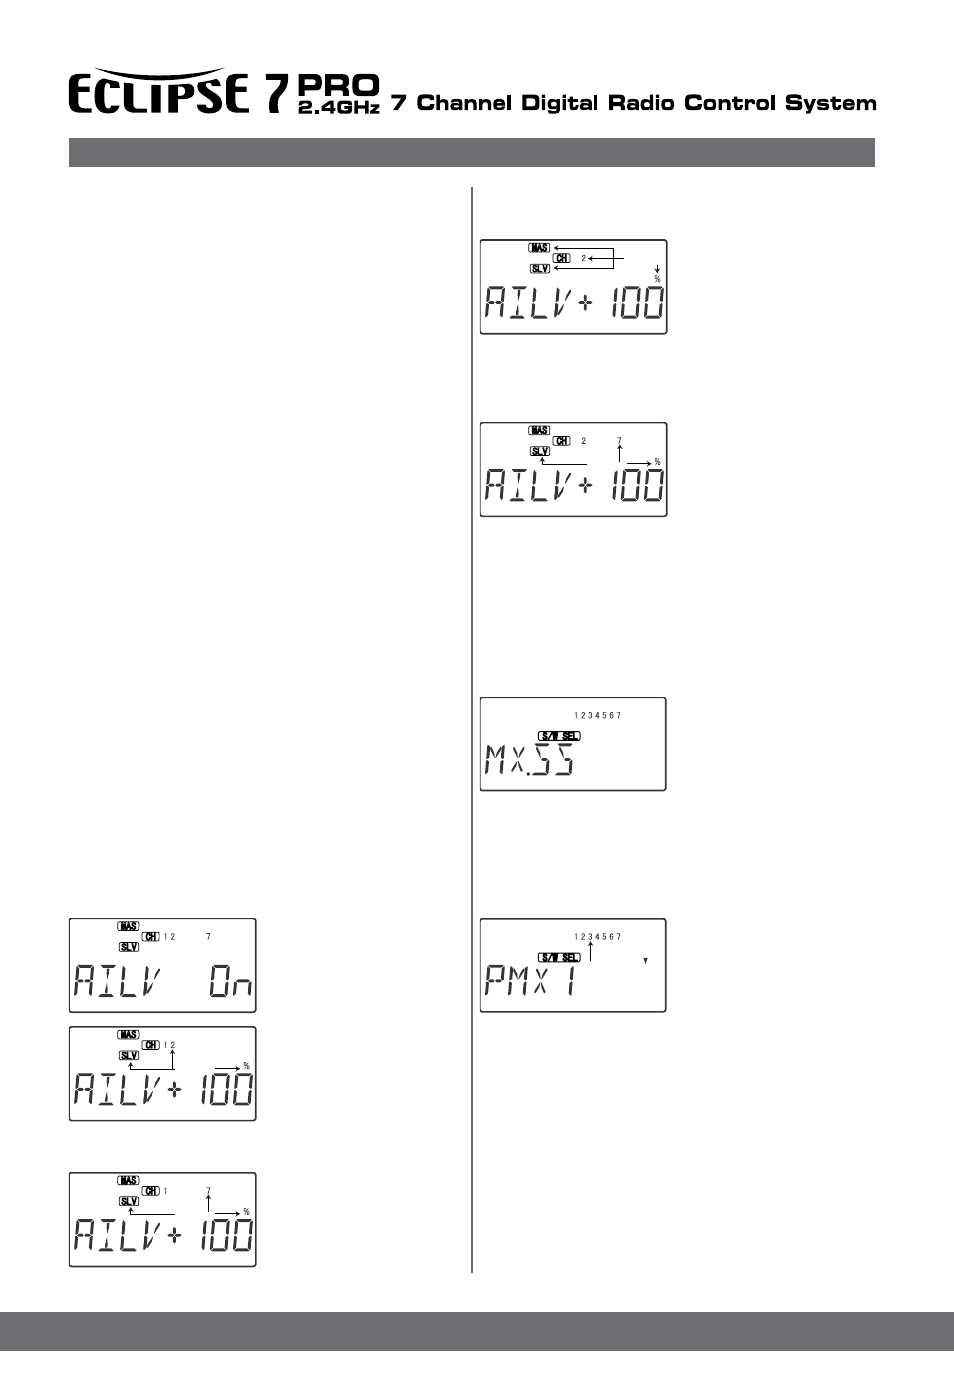
6. Press the Cursor Right
keyonce. Highlighted MAS, SLV
sign and numeral 2 will be flashing
that representing left elevator
direction, and the percent indicator
will blink on and off.
Move the elevator stick all the way to the back(full up position):
CH2 elevator should move upwards. change its travel direction by
pressing the Active/Inhibit (Clear) key,and then adjust amount
of travel by pressing Data +Increase and -Decrease keys
7. Press the Cursor Right key
once, Highlighted SLV sign and
numeral 7 will be flashing that
representing right elevator moving
direction. Move the elevator stick
all the way to the back
(full up position): CH7 elevator should move upwards. change
its travel direction by pressing the Active/Inhibit (Clear) key,
and then adjust amount of travel by pressing Data +Increase
and -Decrease keys
MX.SS Mix Switch Select
Mixing Switch assign.
you can re-assign current mixing switch for your convenience.
1.To set the MX.SS ,get to the
MX.SS screen with the Edit Up
Down keys (press at the same
time. and then search MX.SS by
pressing Edit Up or Down re
peatedly ). In the display has
to be exactly the same as like right diagram, ( all switches
must be positioning on normal )
2. Pressing the Cursor Right to change the assign new Mix
Switch for your convenience .(refer to page ???- Default)
Current mixing switch will be showing by flashing channel
numeral and highlighted On or Off sign.
3.You can be assigned new mix-
ing channel by pressing Data
+Increase, -Decrease keys or
toggle switch . also you can
check the new assigned switch
which being set (by numeral
flashing ) or On or Off status..
4.To go to next switch assigning, current new assigned switch
have to be OFF. Current assigned switch is On, cannot move
next switch to assign.
Ex) After assigned PMX 1 switch, and then press Cursor Right
in order to move PMX 2 . at this time , PMX 1 Switch has to be
OFF. If PMX 1 switch is ON , we cannot move next switches .
Now you may adjust the amount of left flaperon travel with
the Data +Increase and -Decrease keys. Press Active/Inhibit
(Clear) key if you wish to reset to 0% You may need to choose
negative values to get the control to travel the correct direc-
tion.
8. Now you’ll input the amount of flap knob response on the
right (CH1) flaperon by pressing the Cursor Right key once.
Now the numeral 6 and SLV will be flashing, and you may
adjust the amount of right flaperon travel with the Data
+Increase and –Decrease keys.
9. You may wish to set aileron differential. Aileron differential
means that each aileron has more travel in the ‘up’ direction
than the ‘down’ direction. Normally the down travel is reduced
to about half of the up travel, especially on slower-flying mod-
els. Press the Cursor Right key two times, so the little arrows
move over and under the 1 indicating aileron stick is again
the master channel. The arrow under the 1 indicates the right
(CH1) flaperon. Move the stick to the LEFT and press the Data
-Decrease key until you get to 50-75%. If you need even
more differential, you can choose as low as 0% down, and the
ailerons will move up only. This is preferred over reducing the
up travel, which reduces the roll rate.
10. You must repeat this procedure for the left flaperon also.
Press the Cursor Right key one time, so the little arrow moves
under the 6 indicating the left (CH6) flaperon. Move the stick
to the Right and as before, press the Data -Decrease key until
you get to 50-75%.
AILV Ailevator (2Elevon Aileron mixing)
Ailevator Mix
Elivator can be controlled by two servos. When the aileron
move ,elevator surface can be moved like aileron.
This function cannot be use V-TAIL or ELEVON together .
1. The right elevator servo should be plugged into CH7,
and the left elevator servo should be plugged into CH2.
2. Press one of the Up Down Edit buttons repeatedly to select
the AILV window. The INH indicator will show.
3. Press the Active/Inhibit(Clear)
key to activate the Ailevator
function. This will show the On
indicator.
4. Press the Cursor Right key
once. Highlighted SLV sign and
numeral 2 will be flashing that
representing left elevator slave
channel, and the percent indicator
will blink on and off.
if the aileron stick move left or right (surface move up ordown),
elevator working direction should be same as like left aileron.
5. Press the Cursor Right key
once. Highlighted SLV sign and
numeral 7 will be flashing that
representing right elevator slave
channel, and the percent indica-
tor will blink on and off.
Flashing
Flashing
Flashing
Flashing
Flashing