12 charge the batteries – HITEC Eclipse 7 Pro User Manual
Page 14
12
Charge the Batteries!
Charging the Eclipse 7 Pro Ni-MH Batteries
Operating With A Trainer Cord
An optional training cord is available from your dealer.
The cord may be used to help a beginning pilot learn to
f ly easily by allowing a second transmitter, operated by
an experienced instructor, to be connected to this system.
The instructor may override the beginning pilot at any
time to bring the model back under safe control. For
training
To use the trainer cord:
Set up both the student’s and instructor’s transmitters
to have identical trim and control motions.
Plug it into each transmitter, with power
switched off. The trainer jack is
on the back of the transmitter.
Turn the connector until its notches
line up and it fits without having
to be forced.
Turn on the instructor’s transmitter.
DO NOT turn on the student
transmitter power.
Move the controls on the instructor’s transmitter, and verify
each control moves the proper direction.
Now verify that the student’s trims and control travels match
the instructor’s by using the trainer switch (the momentary
Trainer switch on the top left of the transmitter case) and
switching back and forth while leaving the control sticks and
trims alone, then moving the control sticks.
The instructor’s transmitter has normal control over
the model unless the trainer switch is pulled, passing
control to the student’s transmitter. If the student loses
control, the instructor can quickly “take over” by releasing
the trainer switch and controlling the model.
Other Adjustments
Adjustable length control sticks
You may change the length of
the control sticks to make your
transmitter more comfortable to
hold and operate.
To lengthen or shorten your transmitter sticks, first
unlock the stick tip by holding locking piece B and turning
stick tip A counterclockwise. Next, move the locking
piece B up or down (to lengthen or shorten).
When the length feels comfortable, lock the position by
turning locking piece B counterclockwise.
Stick lever tension adjustment
You may adjust the stick tension of your sticks to provide
the “feel” that you like for flying. To adjust your springs,
you’ll have to remove the rear case of the transmitter.
Using a screwdriver, remove the six screws that hold the
transmitter rear cover into position, and put them in a
safe place. Place some padding under the front of the
transmitter and place it face-down on the pad. Gently
ease off the transmitter rear cover and move it to the
right side of the transmitter, carefully turning it as you
would turn the page of a book. Now you’ll see the
view shown. Using a small cross-point screwdriver,
rotate the adjusting screw for each stick for the desired
spring tension. The tension increases when the adjusting
screw is turned clockwise, and
decreases for counterclockwise
motion. When you are satisfied
with the spring tensions, you
may close the transmitter.
Very carefully reinstall the rear
cover. When the cover is
properly in place, tighten the six
screws.
Ratchet change
Some pilots, especially those flying helicopters, prefer a
“softer” or “smoother” ratchet action on the throttle stick.
An alternate ratchet that provides a smoother ratcheting
action is included as an accessory with your Eclipse 7 Pro
system. To change the throttle ratchet, remove the back
of the transmitter case as directed above in the “stick lever
tension adjustment” section. Then, unscrew the ratchet
retaining screw, remove the old ratchet, and replace
with the new one. Tighten the retaining screw gently but
firmly. Then, replace the transmitter rear cover.
If you need to remove or replace the transmitter battery,do
not pull on its wires to remove it. Instead, gently pull on the
connector’s plastic housing where it plugs in to the transmitter.
The battery must be removed to charge it properly with a
“peak” charger.
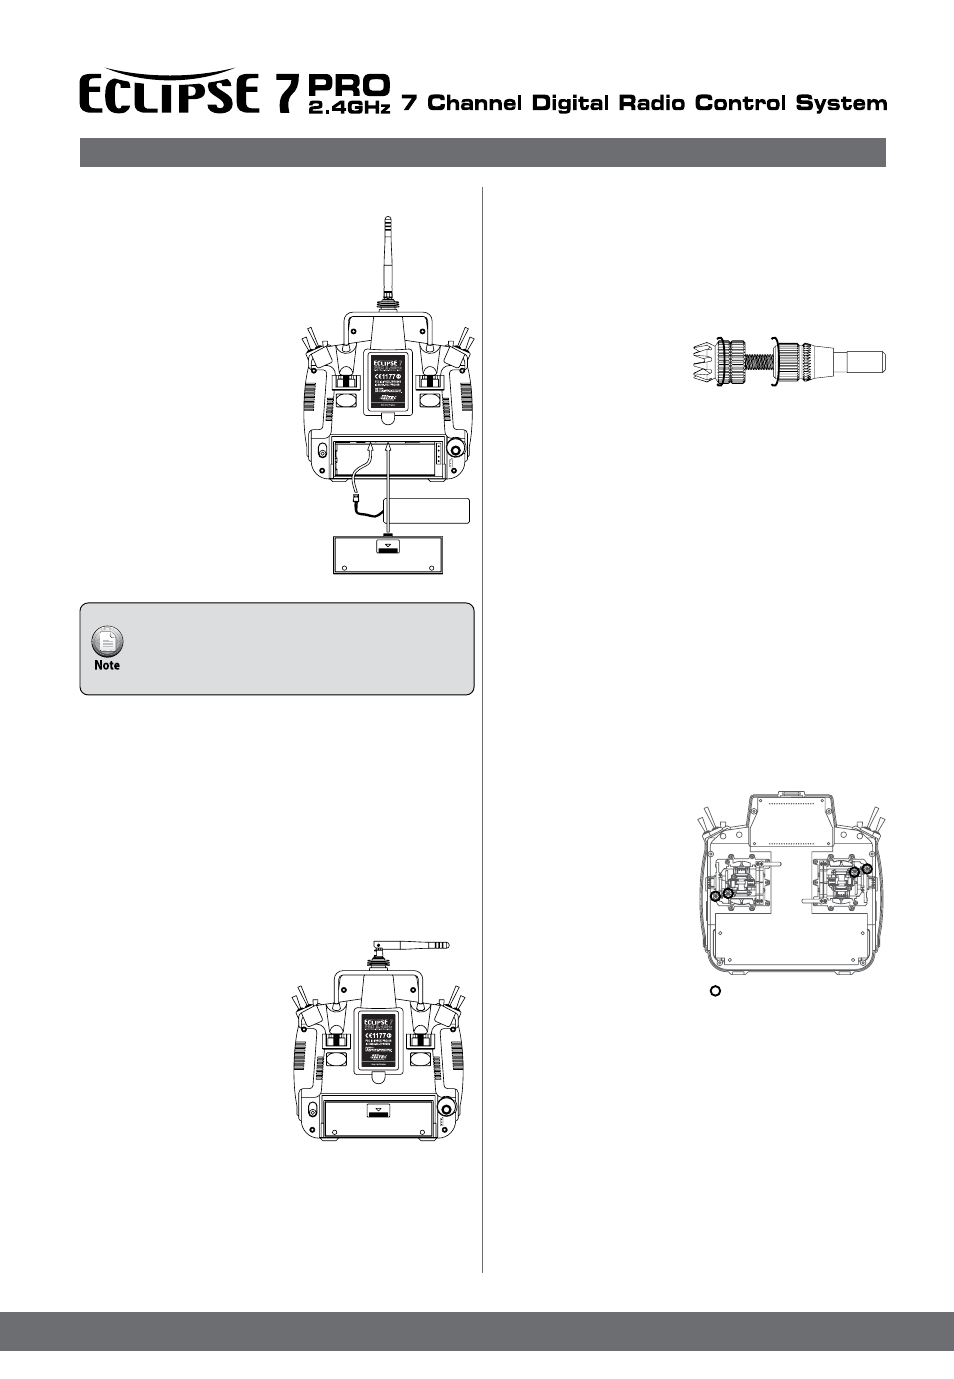
Connect the transmitter charging cord into
the charging socket (on the rear of the case,
left side) and airborne Ni-MH batteries to the
receiver connector on the charger.
Connect the receiver battery to the
charging cord.
Plug the charger into a wall socket.
The charger’s LEDs should light,
indicating charging current is
flowing. The batteries should be
left on charge for about 15 hours.
Try to charge the batteries with the
charger supplied
with your system exclusively.
The use of a fast-charger may
damage the batteries by overheating
anddramatically reduce their lifetime.
A
B
Tension Adjust Screw