Changing the scale of .wmf and .bmp files, Changing scale of .wmf and .bmp, Professional sew-ware – SINGER PSW 1.10-WORKBOOK User Manual
Page 34
Attention! The text in this document has been recognized automatically. To view the original document, you can use the "Original mode".
Professional Sew-Ware
Changing the Scale of .WMF and .BMP Files
.WMF and .BMP files that have been scanned or taken from clip art can be scaled
to the desired size in the Professional Sew-Ware software.
1. Click the left mouse once on Files, then select New.
2. In the Open dialog box that appears, click on File Type and choose the format
{.WMF or .BMP) of the
picture to be scaled.
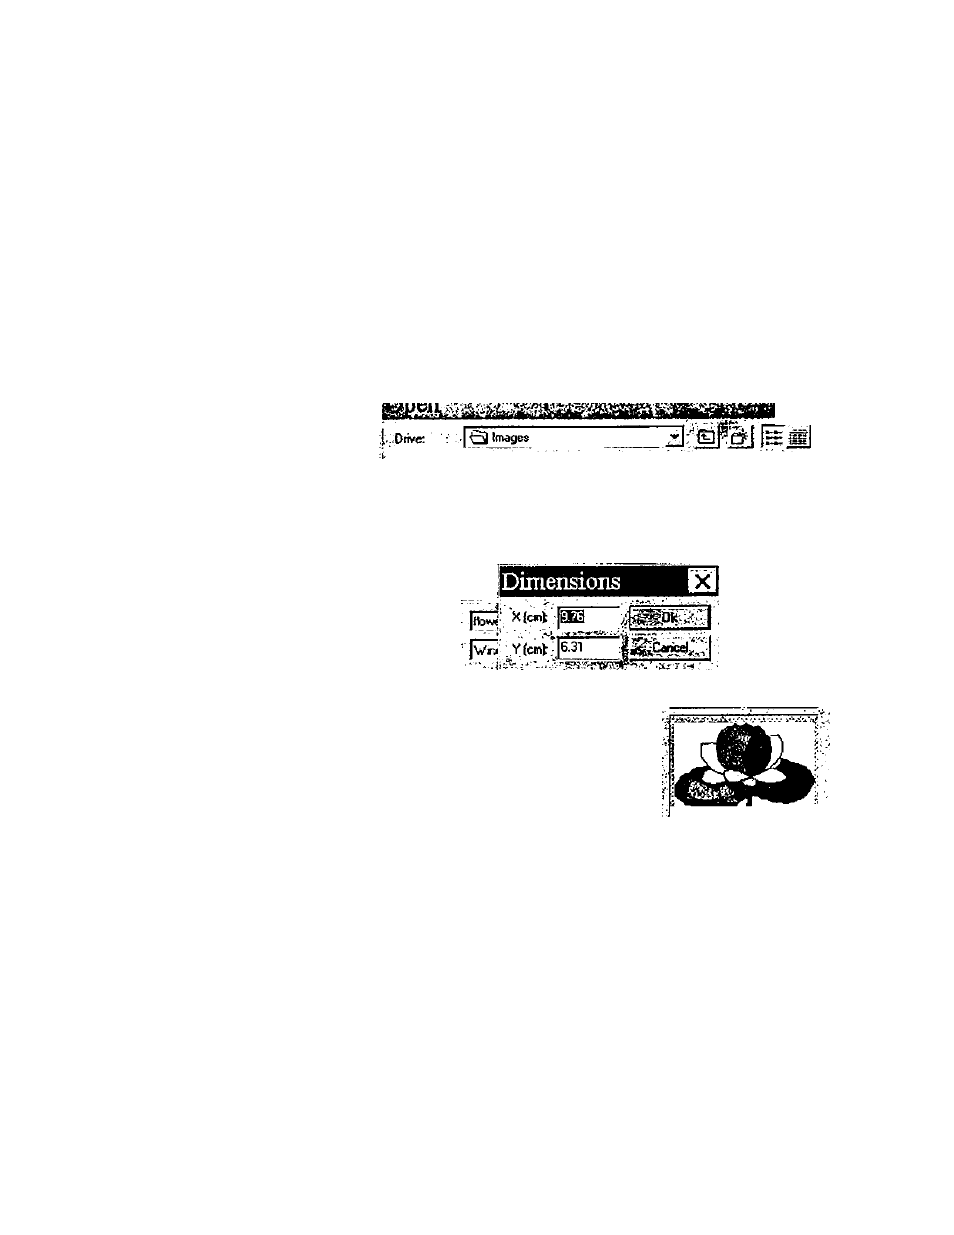
3. Choose the Drive: where
the picture is located.
4. Click the left mouse once
to highlight the design.
5. If desired, click on the
Preview to view the
picture.
6. Click the left mouse once
on the box beside Dpi:.
7. A dimensions dialog box
will appear. Notice the X
dimensions will be
highlighted. Change
either the X or Y
dimensions to scale to the
desired size. X and Y are
in centimeters {cm)
^flower.v»mf
^ outlines, wmf
KRe:
f>;.. • •
; Vile type:
---------------------- /
in Height
l^^-.Dpc
9:7&6t'31 cro
:h' ■ ■
^
-
Size:
- p
Preview '
•
To change centimeters into inches
remember:
Approx. 2.54 cm = 1 inch
Number of cm -s- 2.54 = inches
8. When the X or Y dimensions have been changed to the desired scale, click OK.
9. Click OK in the Open dialog box. The rescaled .WMF or .BMP file will appear.
32