Ontrol, Djustments, Continued – Philips LCD PROJECTOR User Manual
Page 44
Attention! The text in this document has been recognized automatically. To view the original document, you can use the "Original mode".
D
ata
M
enu
C
ontrol
A
djustments
(
continued
)
3.SETUP - HOR. POSITION,
VERT. POSITION, PERSONAL
PREFERENCE, CURTAIN,
COMPUTER IDENT.
T
o adjust die setup of the computer image
displayed, the Projector must be in die
DATA mode (See page 29).
I
BEGIN
I
With the DATA mode selected
press M(enu) on the remote.
The DATA MENU appears on screen.
N
With the DATA MENU selected
press 3 for SETUP.
The first ring-menu (HOR(izontal).
POSITION) appears on screen.
<
3
> :
Press the Jk. ▼ buttons on the
remote to select another ring-menu displayed
(VERT(ical). POSITION, PERSONAL
PREFERENCE, CURTAIN or COMPUTER
IDENT(ification).).
:
Press the (+) or (—) buttons to
adjust the setting of the ring-menu displayed.
Press M(enu) again to return to the
DATA MENU.
Remember. When the bar scale is
centered, control settings are at normal mid
range levels.
PERSONAL PREFERENCE: After pressing
the (+) or (—) button the current setting for
the DATA mode will be stored. The text
"VALUES STORED" will be displayed
briefly.
CURT AN: Press (+) or (—) to change the
curtain color. The following colors can be
selected: red, green blue, yellow, magenta,
cyan, white and black.
COMPUTER IDENT.: The projector is able
to automatically identify the cormected type
of computer signal. However, if the connected
computer signal does not match the known
signal standards, automatic identification can
be overruled. Press the (+) or (-) button to
select AUTOMATIC, VGA 480, VGA 400,
VGA 350 or MAC-11.
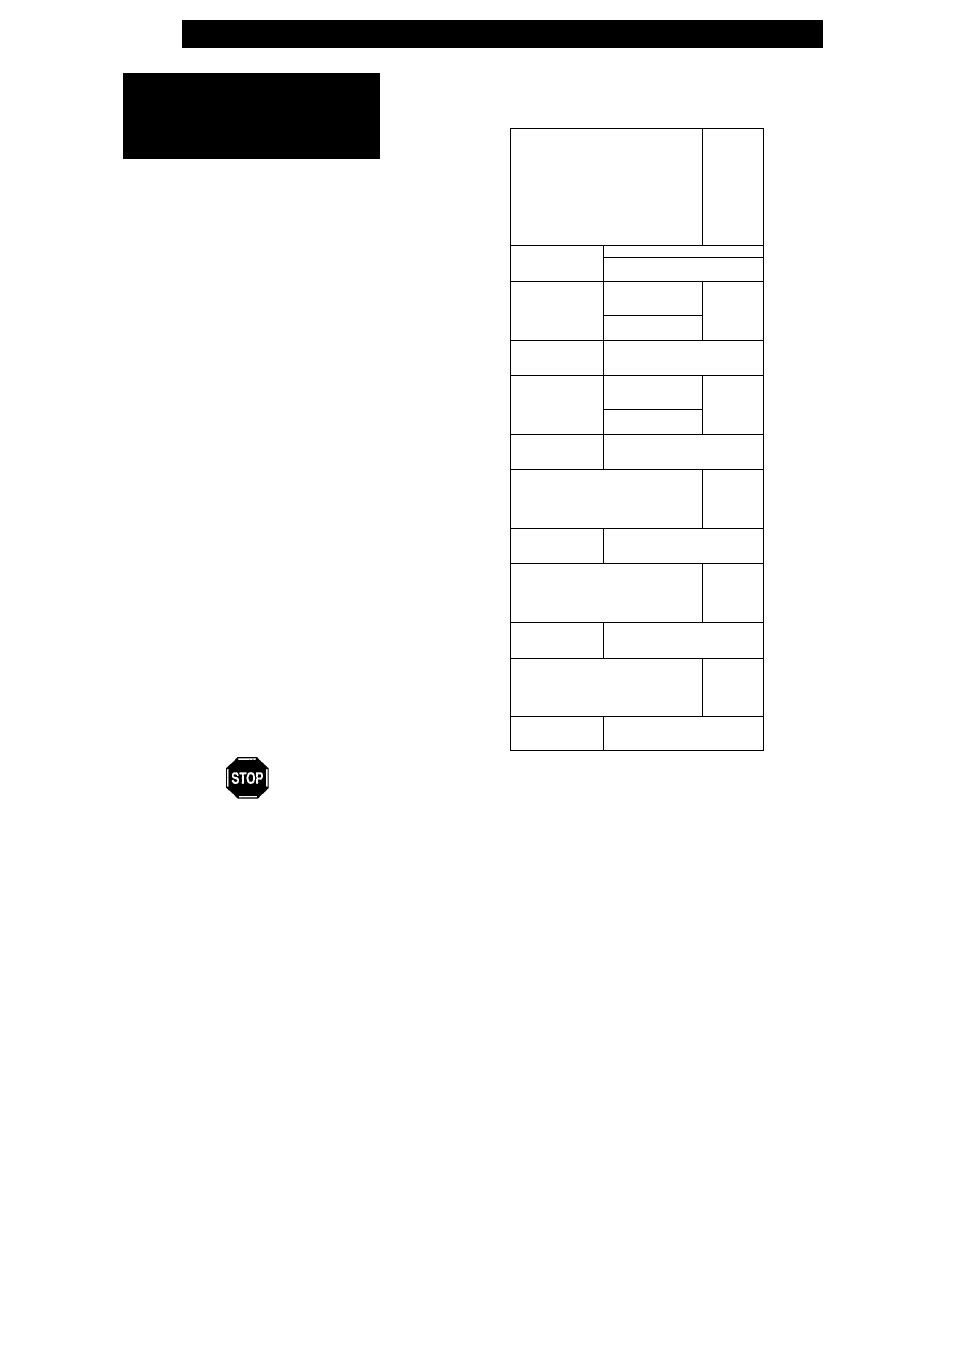
DATA MENU
1. IMAGE
2. AUDIO
|3. SETUP
I
4. DATA EXIT
>
HOR. P(
-
I l l l l l l l l l l
DSITION
>
>
<
f
VERT. P
- I l l l l l l l l l l
OSITION
A
>
>
f
PERSONAL PREFERENCE
- STORE
+
>
>
<
f
CURTAIN
- RED +
>
>
<
f
COMPUTER IDENT.
- AUTOMATIC +
>
>
<
f
44