Ideo, Ontrol, Djustments – Philips LCD PROJECTOR User Manual
Page 23
Attention! The text in this document has been recognized automatically. To view the original document, you can use the "Original mode".
V
ideo
C
ontrol
A
djustments
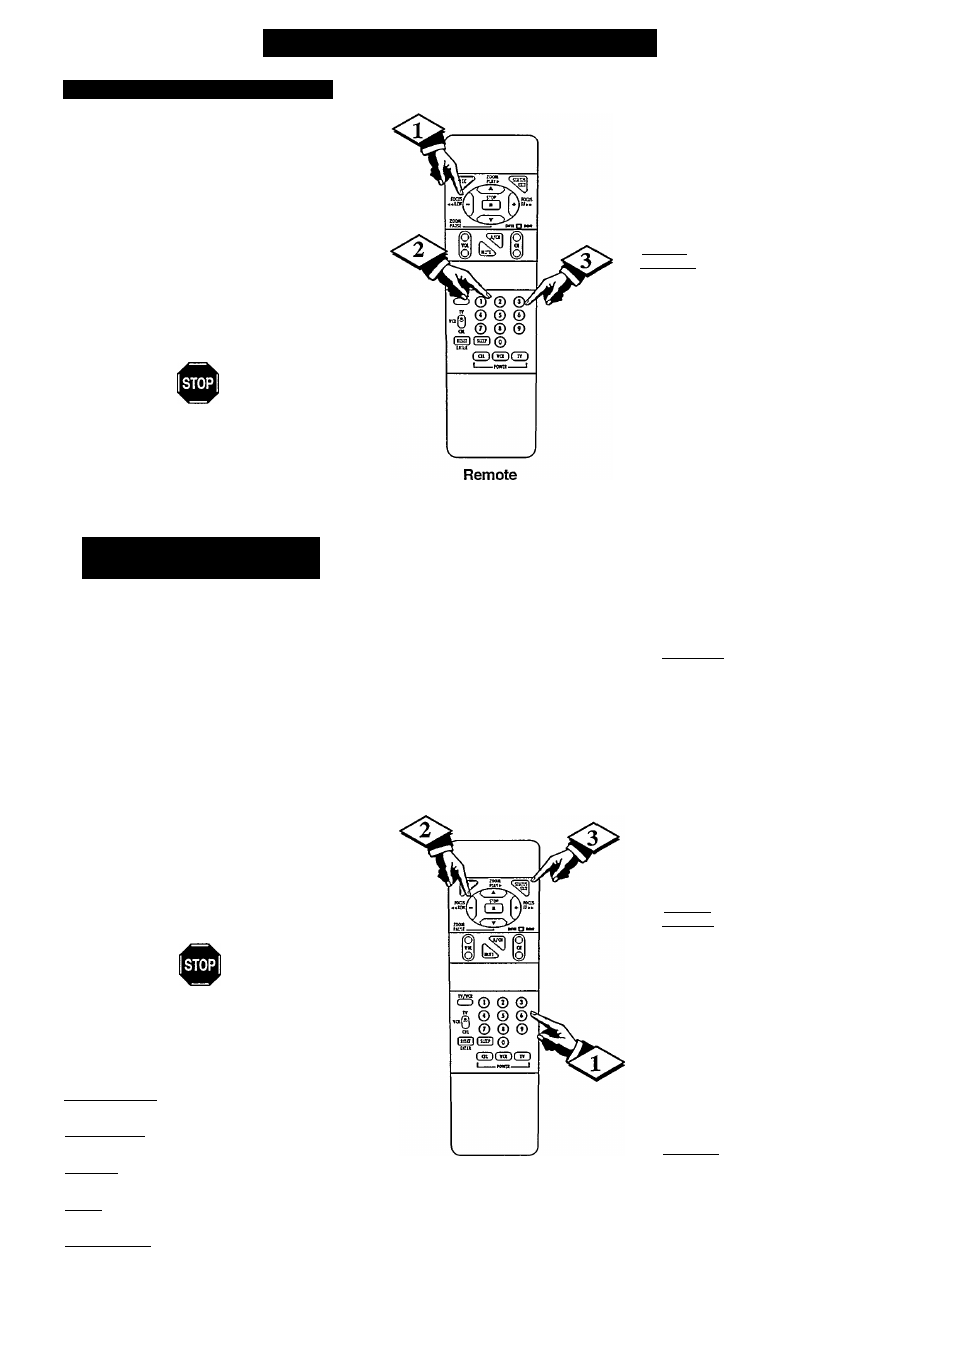
TO SELECT VIDEO CONTROLS
I
BEGIN
Press M(enu) button on the remote
to show the main menu.
Press 2 on the remote to select
VIDEO (on the main menu).
Press number of the desired feature
on the remote.
1^ Remember. The highlighted item is
ready for adjustment.
l.BRIGHT 2.CONTRAST
3.COLOR 4.TINT 5.SHARP
0
adjust your Projector color and picture
controls, select a channel and follow the
T
steps shown below:
I
BEGIN
Select BRIGHT, CONTRAST,
COLOR, TINT, or SHARP picture control.
With the VIDEO Menu displayed, press 1 for
BRIGHT, 2 for CONTRAST, etc.
Press the (+) or (-) buttons to
adjust the selected control.
clear the screen.
Remember, when the bar scale b
centered, control settings are at normal mid
range levels.
BRIGHTNESS; Press (-) or (+) to see more
or less detail in dark scenes.
CONTRAST: Press (-) or (+) to adjust the
white level.
COLOR; Press (-) or (+) to add or
eliminate color.
TINT; Press (-) or (+) to obtain natural
skin tones. (Is not available in RGB)
SHARPNESS; Press (-) or (+) to improve
detail in the picture.
Remote
MAIN MENU Screen
TELEVISION ADJUSTMENTS
1. AUDIO
|2. VIDEO I
3. INPUT
4. DATA INPUT
5. FEATURES
6. LENS CONTROL
7. CLOSED CAPTIONING
|1. BRIGHT
I
2. CONTRAST
3. COLOR
4. TINT
5. SHARP
VIDEO Screen:
BRIGHT Adj'ustment
(Also for PICTURE, COLOR)
1. BRIGHT
2. CONTRAST
3. COLOR
|4. TINT
1
5. SHARP
VIDEO Screen:
TINT Adjustment
Selected
NORMAL
1. BRIGHT
2. CONTRAST
3. COLOR
4. TINT
Is.
SHARP
1
ENHANCED
VIDEO Screen:
SHARP Adjustment
Selected
23