Main menu screen, Remote, Input screen: tuning adj'ustment selected – Philips LCD PROJECTOR User Manual
Page 24: Nput, Uning, Ontrol, Djustments
Attention! The text in this document has been recognized automatically. To view the original document, you can use the "Original mode".
I
nput
(T
uning
) C
ontrol
A
djustments
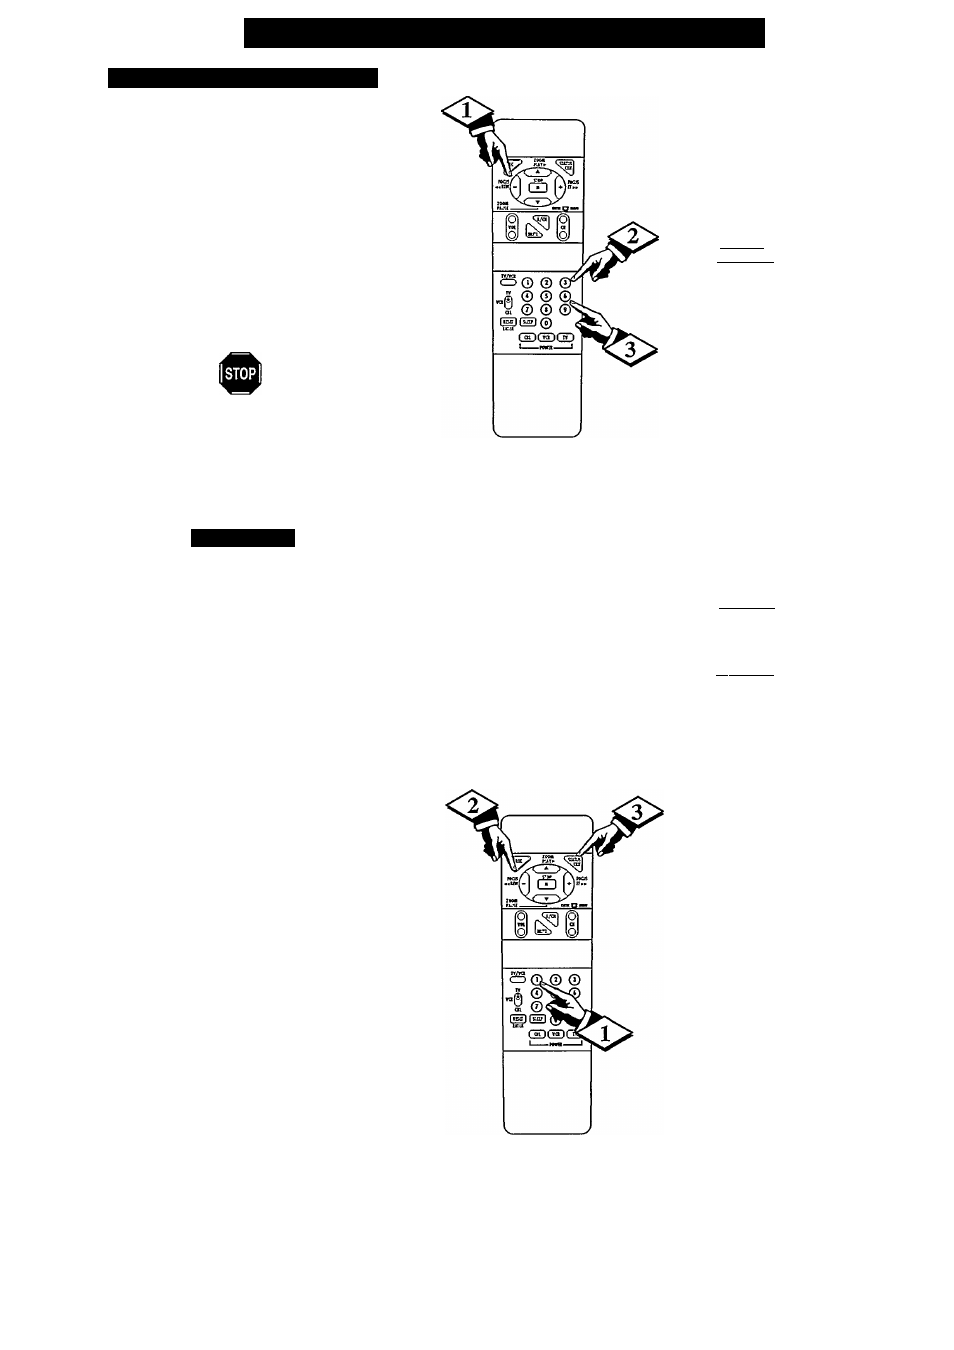
TO SELECT INPUT CONTROLS
I
BEGIN
I
Press the M(enu) button on the
remote to show the main menu.
Press 3 on the remote to select
INPUT (on the main menu).
Press the NUMBER button of the
desired feature on the remote.
Remember. The highlighted item is
ready for adjustment.
MAIN MENU Screen
TELEVISION ADJUSTMENTS
1. AUDIO
2. VIDEO
|3. INPUT
I
4. DATA INPUT
5. FEATURES
6. LENS CONTROL
7. CLOSED CAPTIONING
Remote
1. TUNING
Y
ou need to make sure that the Projector is
set to pick up either Cable TV stations err
Antenm signals. In other words, the Projector
needs to know whether you have connected a
Cable TV signal or a normal antenna to its
ANTENNA plug.
BEGIN
With the INPUT Menu displayed,
press button 1 for TUNING.
Press the (+) or (-) buttons to place
the Projector in either
CABLE if you DO have Cable TV
connected to the Projector.
Channels 1-125 (excluding 95-97)
available
NORMAL if you have an Anterma
connected to the Projector.
Channels 2-69 available.
to clear the screen.
Remember. Certain channel
numbers have been added to the Projector's
program memory at the factory. See the
following page on how to set the Projector to
select only the channel numbers available in
your area.
I
NORMAL
I
CABLE
ll.
TUNING
I
2. CHANNEL SCAN
3. PICTURE SOURCE
INPUT Screen:
TUNING Adj'ustment
Selected
Remote
(Continued on next page)
24