LAARS NeoTherm NTV1000 - Install and Operating Manual User Manual
Page 43
NeoTherm Boilers and Water Heaters
Page 39
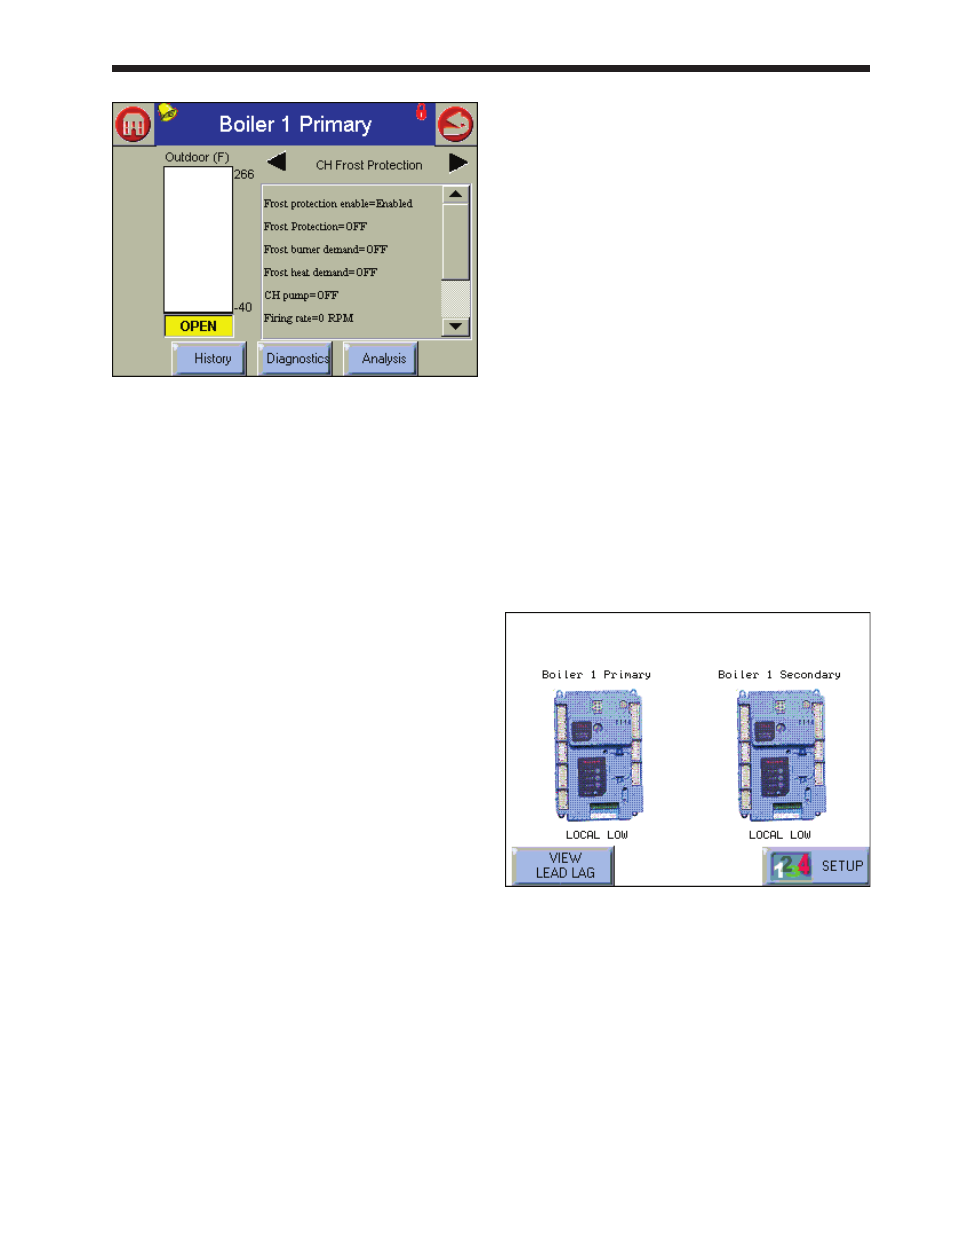
fig. 35 - typical Details Screen – frost Protection
The list presented here is too long to fit onto a single
screen, so you must scroll down to see the rest. The
bar graph on the left side of the screen shows the
current performance in relation to a setpoint or the
total load or signal range.
You can get more detailed information on a
parameter by touching the line for that parameter.
The screens presented under Details are “read
only” – you can read the parameters, but you can’t
change them from these screens. (To go to screens
that allow you to change the parameters, use the
Configure button.)
The screen shown in Fig. 35 is part of a large loop
that covers all of the parameters used by the system.
To go to another part of the loop, press the left-arrow
or right-arrow at the top of the screen. Here are the
screens which are included in the loop:
Domestic Hot Water
Burner Control
Demand and Modulation
Inlet
Fan
DHW Pump
Boiler Pump
System Pump
Flame Detection
Statistics
Stack Limit
DHW Plate Preheat
DHW Plate Tap
CH Frost Protection
Lead Lag Slave
Lead Lag Master
8.7
Configuring Parameters on
Individual Controllers
In this section, we will just give you a quick
explanation of how to change parameters on one of
the controllers. (This is an individual function. You
would set this kind of parameter on one controller at
a time.)
The NeoTherm 1000 is always set up for “Lead/
Lag” operation, so most of your configuration
changes would be made using the Lead/Lag section
of the control software, and this uses a different
procedure. (A Lead/Lag parameter controls a
collective function. You change one parameter that
controls the whole Lead/Lag system, and all of the
controllers at once.) For an explanation of the Lead/
Lag setup, see Section 9.
For now, we’ll explain how to change a setting on
just a single controller.
1. From the Home Page screen (Fig. 36),
press the icon for the controller you want to
configure. In this example, we will change
some settings for the Primary controller, so we
will press the icon on the left.
fig. 36 - Home Page Screen
2. The Status Summary page for that controller
will appear. See Fig. 37.