Install cockpit, Decals and trim glue canopy in place – Great Planes F-14 60 Kit - GPMA0435 User Manual
Page 50
INSTALL COCKPIT
D 1 Assemble your pilot figures, and paint them
with your choice of colors (any hobby enamel may be
used for this).
D 2. Position the canopy in place and hold it down
while you mark its outline on the fuse and wing with a
fine point permanent marker If you are going to use a
different color for the cockpit (we used flat black), it
needs to be taken care of now Black MonoKote, flat
black paint, or 400 grit "Wet or Dry" sand paper works
well for this
D 3. Position the pilots, seats and consoles where
they go The side view of the plans will give you the
approximate locations Tack glue them in place and then
replace the canopy to make sure everything fits OK It is
not unusual to have to sand the base of the pilots so their
heads don't hit the canopy When satisfied with their
location, securely glue them in place.
D 4 It you are going to paint the back of the canopy
(like the prototype on the box) you should do this now.
Replace the wing on the fuse and mask oft the area you
want to paint so you don't get paint on the rest of the
plane.
D 5. To hide the canopy glue joint, you can use 1/8" -
1/4" wide striping tape as a border around the canopy.
DECALS AND TRIM
GLUE CANOPY IN PLACE
D 1 Install the wing on the fuse with the nylon bolts.
Poke pinholes (1/8" apart) through the covenng material
in the area where the canopy will be glued to the fuselage
and the w i n g L i g h t l y sand a strip on the canopy
approximately 1/16" wide along the edge to help the glue
stick to it. Carefully clean the canopy and the cockpit to
remove any dust.
D 2. Apply a bead of thick CA around the CB
(canopy back) and the TF (turtle deck face) Accurately
place the canopy on the fuselage and the wing and very
carefully apply small amounts of medium viscosity CA
glue around the edges To control the amount of CA, it is
very helpful to use the small diameter teflon applicator
tubing, supplied with most CA glues, or use a "Z End"
applicator tip Allow plenty of time for the CA to fully
cure Do not use accelerator spray on the canopy.
Take your time on this step!
D 3 When the glue has completely cured, use a razor
saw and/or a hobby knife to carefully cut between CB
and TF. Carefully remove the wing from the fuselage
and lightly sand the cut edges of the canopy smooth. Do
not sand too much or the gap will be excessive.
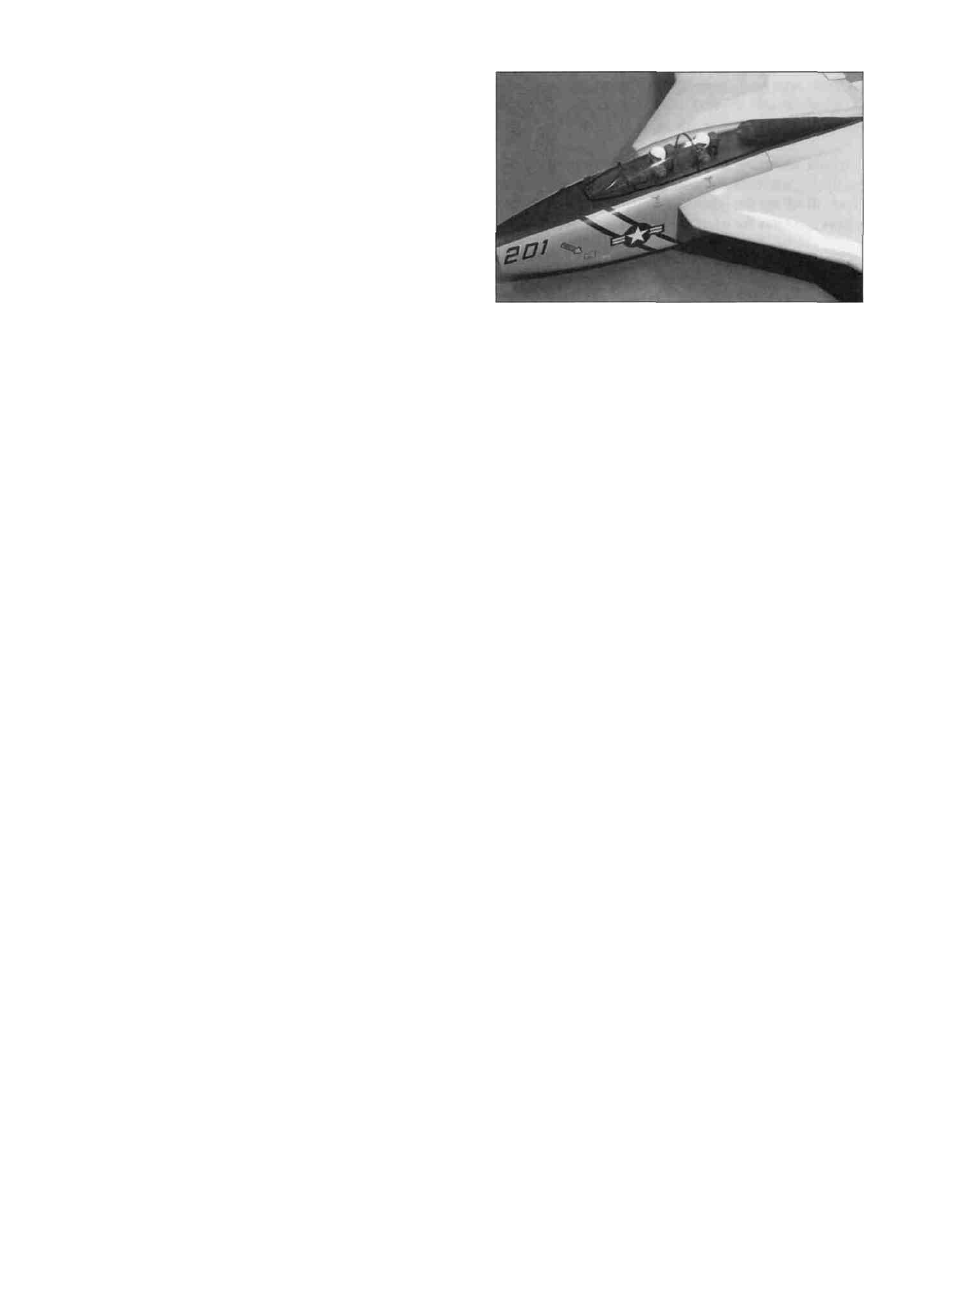
D 1. The decal sheet included gives you everything
you need to trim your model the way our prototypes
were done Study the photos on the box to determine
where to place the decals.
D 2 Thoroughly clean your airplane before applying
decals
D 3 Cut out the individual decal items and apply
them in the locations shown or wherever you prefer
HINT: To apply decals accurately, peel only a small
portion of backing from one end, cut off the backing with
a scissors, position the decal carefully, press down the
exposed portion of the decal, peel off the rest of the
backing, then (working from the already stuck down end)
carefully press down the rest of the decal.
D 4. Determine how you would like to paint the
exhaust nozzles, and test the paint you are going to use
on a scrap piece of ABS You should check to make
sure it won't harm the plastic and test it to see that it's
fuel proof. Lightly sand the ABS with 400 grit paper and
thoroughly clean the surface before painting Apply
masking tape (Great Planes EZ Mask works well tor this)
around the front edges of the nozzles Make sure both
nozzles are evenly masked so they will look alike and
allow the paint to slightly overlap the covering If you
are going to spray the paint, mask oft the entire plane so
50