Assemble the two panels – Great Planes F-14 60 Kit - GPMA0435 User Manual
Page 12
cut the notch. Make sure you cut the notch perpendicular
to the LE and notice that it does not need to go all the
way through the LE.
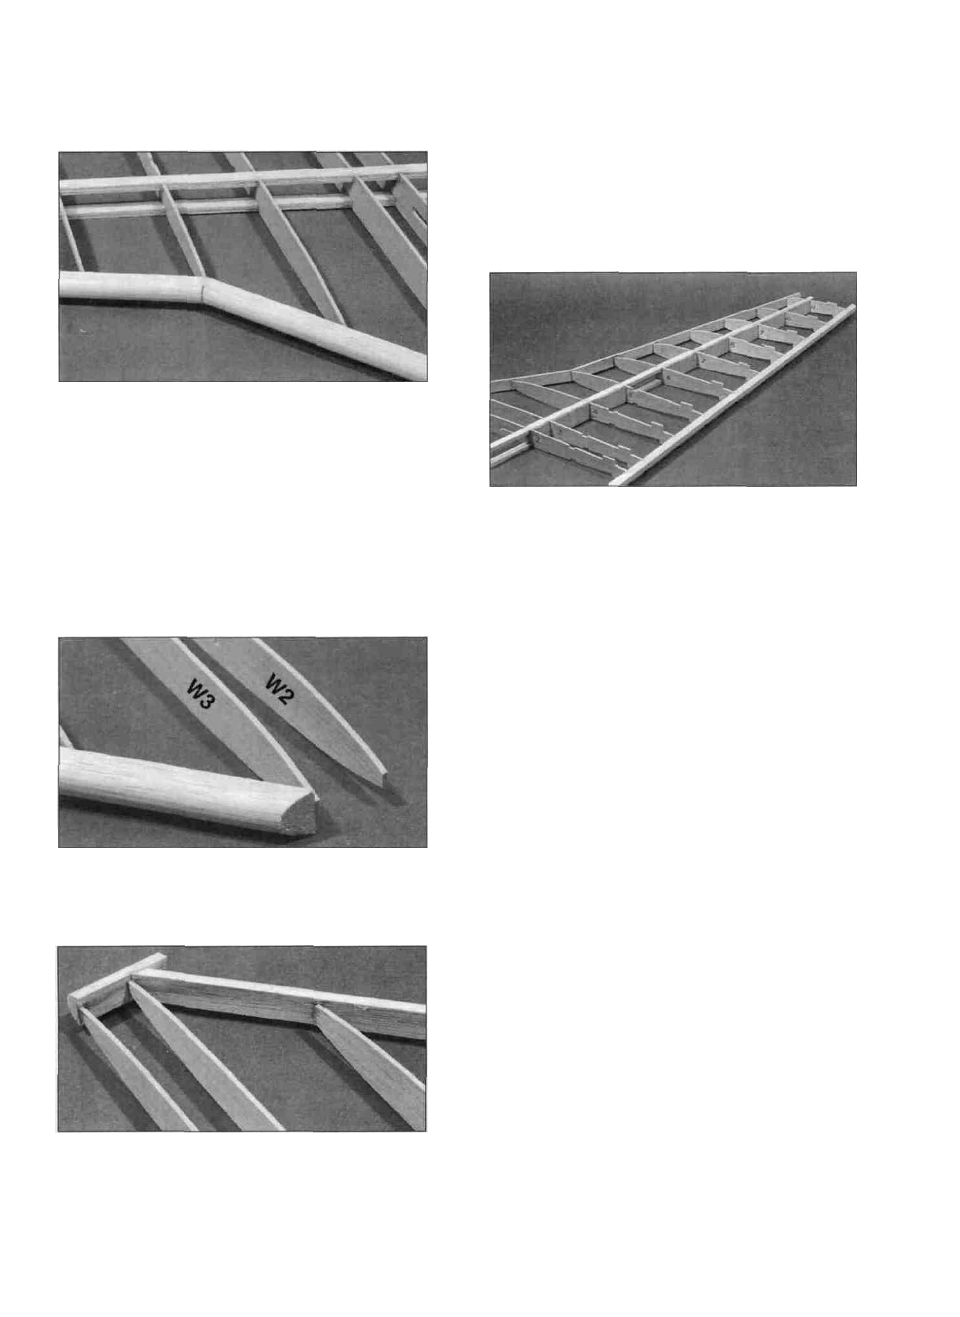
W3 and the slanted piece of LE already installed. Trim
the LE flush with W2 and the slanted piece of LE.
D D 8. G l u e the LE to r i b W5 so t h e notch is
positioned as shown on the plan and the LE is centered
(up and down) on the rib. Center the LE on ribs W6
through W 1 1 and glue it in place with thin CA. Next,
glue the LE to rib W3 and lastly to rib W4. The LE may
break in two during this step, but this is OK, just glue it
back together as you perform the step. IMPORTANT -
Use the plans as a guide to keep the front of rib W3
positioned correctly.
D D 9. Cut the excess LE off flush with the front of
rib W3. Sand it if necessary to get the face of the LE cut
aligned with rib W2.
D D 10. Glue the remaining piece of LE to ribs W2,
NOTE: In the following steps you'll find it necessary to
remove some of the pins holding the wing down to your
building board. As you do, take other steps as necessary
to continue holding the wing down, such as by applying
weight to the top of the wing, or by relocating the pins.
D D 1 1 . Glue the pre-cut 1/16" balsa vertical grain
shear webs to the rear edge of the spars in all rib bays
except inside of rib W2 and between ribs W5 and W6.
Also glue shear webs on the front edge of the spars in
the first 5 rib bays starting with the W2-W3 bay.
NOTE: You may wish to trial fit, mark, and trim each
web before gluing it in. The webs must be securely
glued to the spars.
D D 12. Trim the tip end of the LE, TE and spars off
flush with rib W11.
D D 13. Trim off the root end of the spars and TE
slightly longer than their correct length (approx. 1/64"
longer). Later, when the two wing halves are joined,
they will be sanded to the correct length. Remove the
wing panel from the work surface.
D 14. Go back to step 1 and assemble the other wing
half. Be sure to build a right wing and a left wing!
ASSEMBLE THE TWO PANELS
D 1. Cut out the two dashed semi-circles on the left
wing plan. Place the left wing plan over the right wing
plan and carefully line-up the centerlines of each plan.
Tape the two plans together. Test fit the two panels
together over the plans and sand the spars and TE as
necessary until you achieve the proper spacing and wing
sweep. Insert the die-cut 1/8" ply front wing plate
(F146F15) and the 1/4" x 1" x 4-13/32" ply front wing
12