Great Planes F-14 60 Kit - GPMA0435 User Manual
Page 22
D 4. Snap former F-5 into place and glue it to the
fuse sides only. Keep the fuse bottom pushed down for
now.
D 5. Slide formers F-6 (F146F16) and F-7 (F146F17)
into their respective slots and pull the fuse sides out
against the formers. Push the fuse bottom up against the
bottom of F-5, F-6 and F-7 to lock the fuse sides in
place. Glue the fuse sides and the fuse bottom to the
formers below the fuse bottom but do not glue the sides
above the bottom yet.
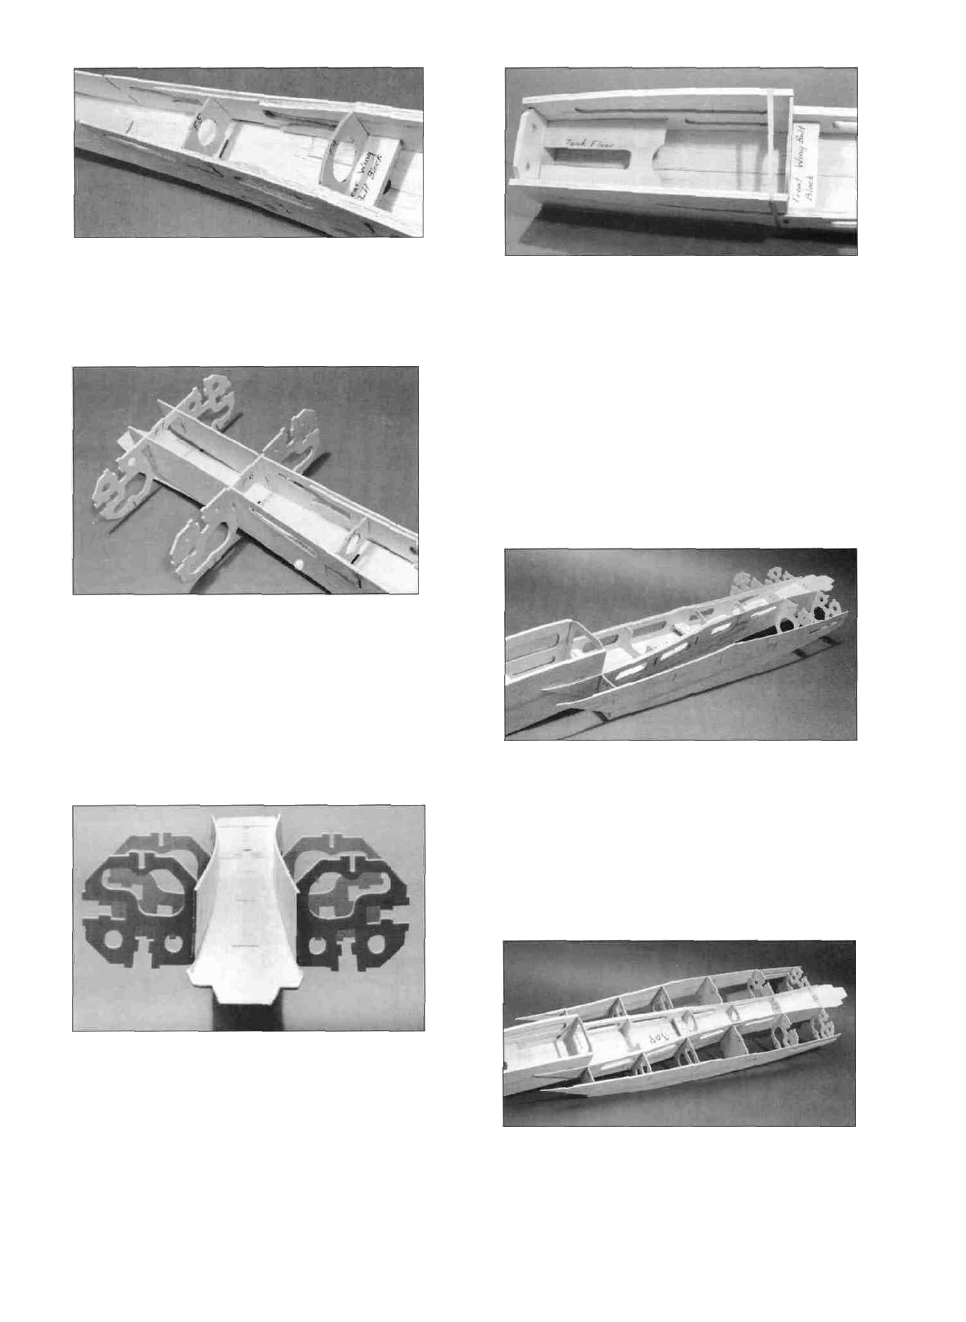
fuselage. Sand the tank floor if necessary to get a good
fit around the firewall and glue these in place with epoxy.
Before the epoxy cures, p u l l the f u s e bottom up into
place and center the fuse sides with the bottom. Glue the
bottom into place with CA The triangular gaps formed
are for 1/2" triangle stock which w i l l be added later.
NOTE: If you are not installing retracts and would like
to use a larger than 10oz. fuel tank, you can leave the
fuel tank floor out. It does add some rigidity to the front
but it is not absolutely necessaiy. Although the fuselage
will hold a much larger tank, the balance of the plane
may be greatly affected by the extra fuel in the nose.
D 6. Sight along the rear portion of the fuse bottom
to make sure it lays smoothly and then add thin CA along
the fuse bottom from F-2 back to F-7.
D 8. Tack glue former F-2E (F146F13) into place on
the turbine inner side with one drop of thin CA. Tack
glue a turbine outer side onto F-2E, F-6 and F-7 with the
doubler facing the fuselage. Install the opposite turbine
side the same way. Do not securely glue around F-2E
until the rest of the formers are installed.
D 7. Test fit the 1/8" ply fuel tank floor (F146F15)
and the firewall (F-l) into place in the front of the
D 9. Snap formers F-3E. F-4E and F-5E (F146F18)
into place on both sides of the fuselage. Do not glue
22