Cut the main gear retract openings – Great Planes F-14 60 Kit - GPMA0435 User Manual
Page 46
so you can compare how they fit in relation to each other.
They should both be located the same distance forward
and when compared from the side and above, they should
be aligned with each other.
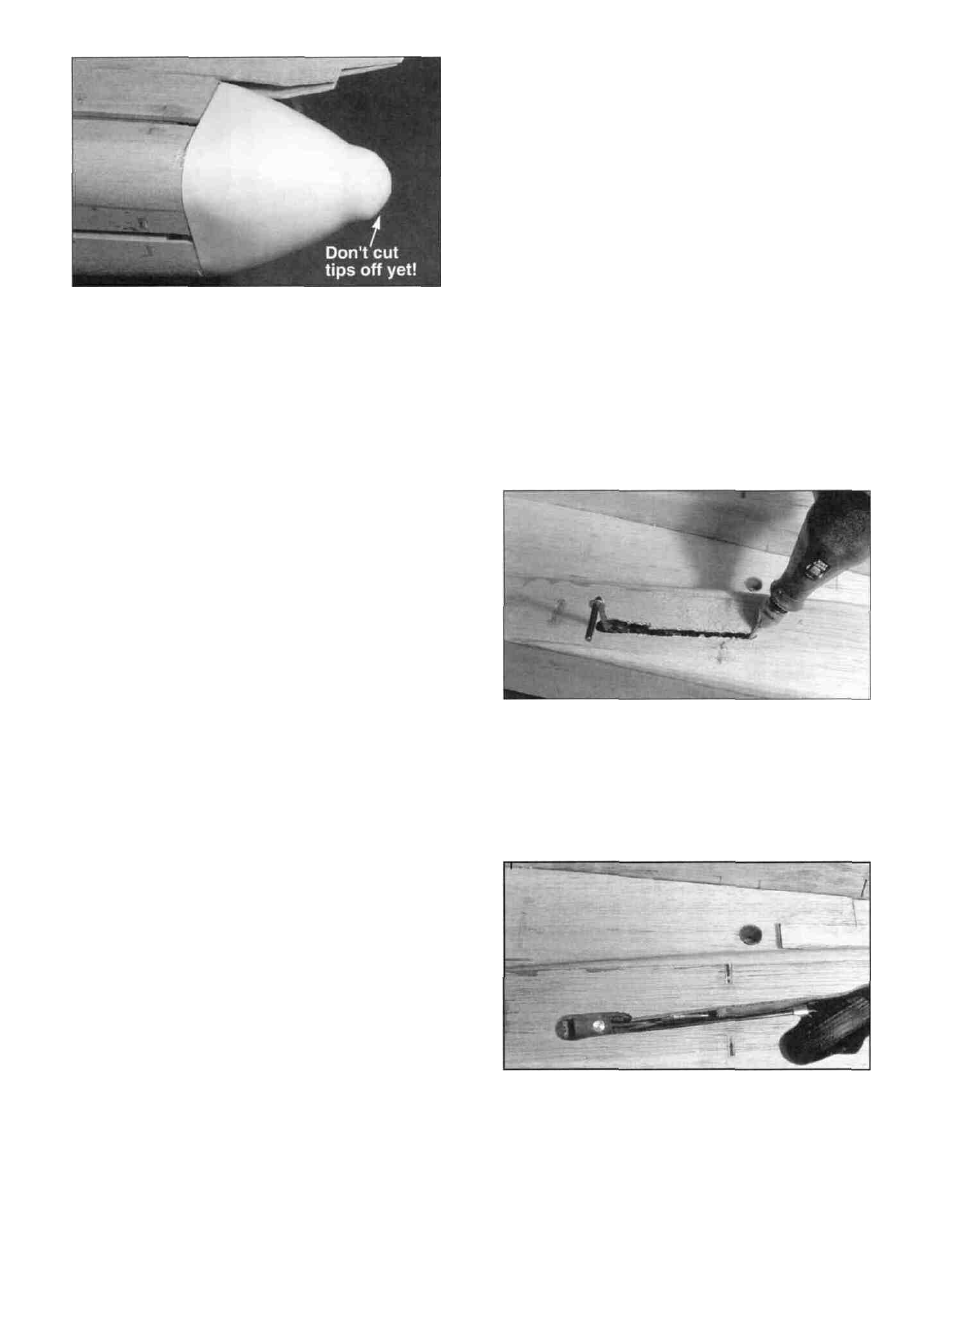
CUT THE MAIN GEAR RETRACT
OPENINGS
The retract openings are made using a fit and cut type of
operation that will take a little time but is not hard to do.
D D 1. Insert the right main gear strut in the right
side retract to the proper depth and tighten the set screw.
This is tough to do because the ball driver is way down
inside, but it can be done. A long nose pliers may come
in handy.
D D 2. Retract the strut until it hits the edge of the
opening and notice where it touches the wood. Cut a
small notch there and allow the strut to retract a little
farther. Make another small notch and allow the strut to
retract a little farther. A Dremel tool with a small carbide
grinder will make this process much easier.
D 5. When satisfied with the fit of the nozzles, rotate
the rudder and elevator torque rods and insert them in the
f i n and stab slots so they w i l l be out of the way.
Correctly position the nozzles and then add thin CA
around the edges of the nozzles.
D 6. Cut the tips off both nozzles by trimming them
along the scribe line and then lightly sanding them to
match each other in length. Save the tips to test paint
and iron temperatures on later. NOTE: If you prefer a
larger outlet in the tail cones, you can trim and sand them
closer to the fuselage. Add thick CA around the inside
of each nozzle where the fuse wood stops.
D 7. Insert the fins, stabs and die-cut 1/8" ply ventral
fins (F146F32) into their appropriate slots. Sand the fins
and stabs if necessary to get them to fit all the way down
into the slots. Install the torque rods in the fins and
stabs. Carefully trim the ABS nozzles if needed to get
these items to fit. IMPORTANT - When trimming the
nozzles, do not leave any "corners" in the cut outs.
Always make nice circular cuts and sand the edges of the
cut with fine sandpaper. A corner will eventually allow a
stress crack to form. While these surfaces are inserted in
the fuselage, lightly draw a line on the fins, stabs and
ventral fins marking where the fuse joint is. This will
tell us how far to cover these surfaces later. The nozzles
can be painted after the plane has been covered
D 8. Use scraps of wood and lightweight wood filler
to fill in between the rear of the fuse top and the fuse
bottom. Use the filler to blend the exhaust nozzles into
the fuse and sand this area smooth.
D D 3. Continue this process until the strut can fully
retract into the fuselage. Install a 2-1/4" wheel on the
strut and perform the same type of fit and cut procedure
until the wheel will fit into the fuselage.
D D 4. C a r e f u l l y trim the edges of the retract
opening to smooth them out and make them look nice
and symmetrical. A Dremel tool with a small sanding
drum or a fine grit carbide drum works well for this.
46