Great Planes F-14 60 Kit - GPMA0435 User Manual
Page 20
side (F146F09) together over the plans Carefully sand
them if needed to achieve close fitting joints When
satisfied with the fit. add thin CA to all joints After the
glue has cured, apply thick CA to any loose-fitting joints.
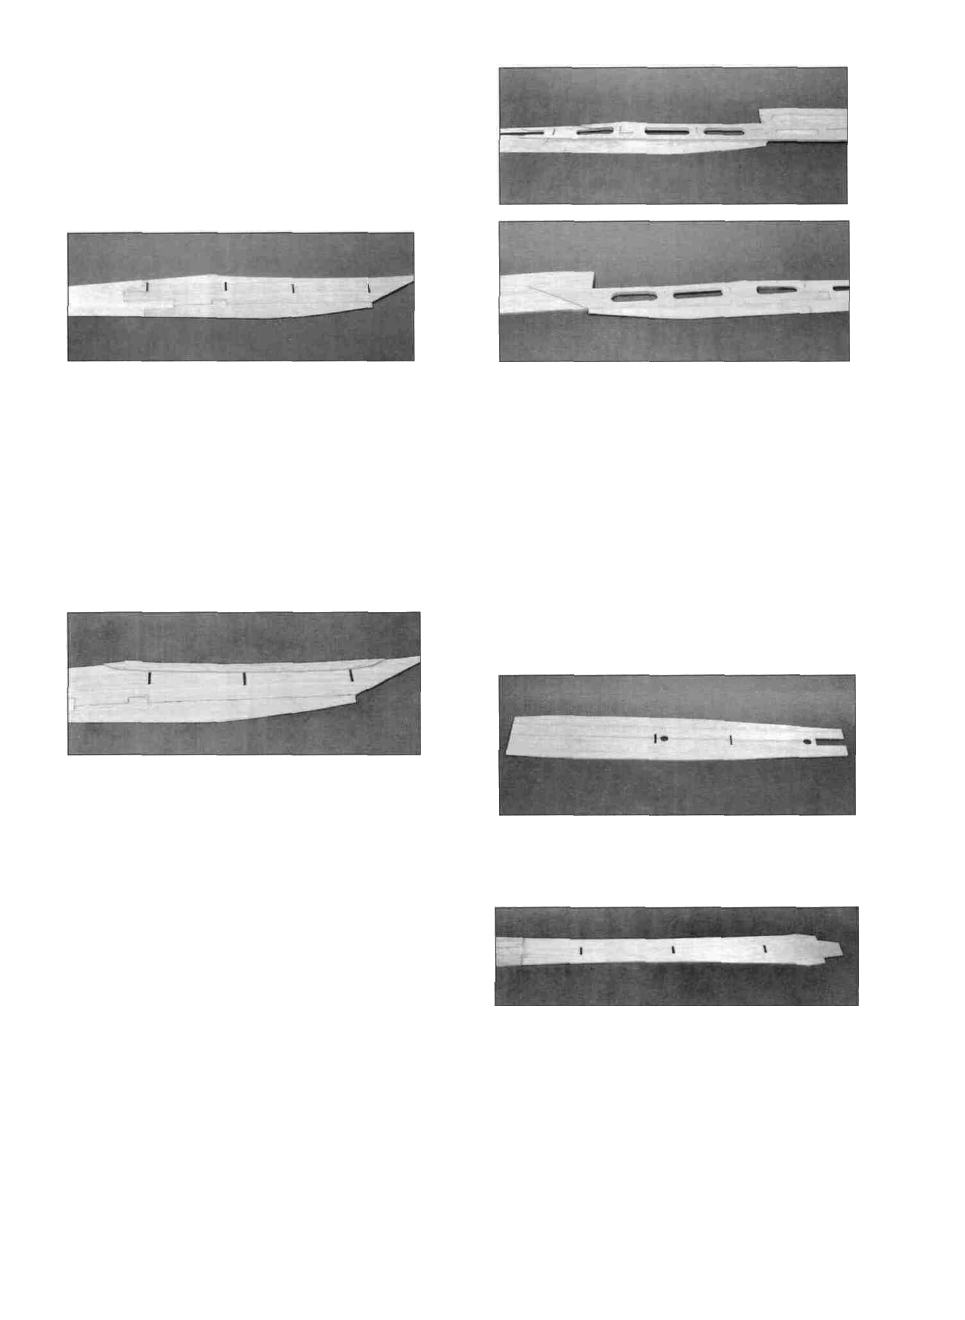
D D 5. Assemble a turbine outer side by test fitting a
die-cut 3/32" balsa turbine outer side (F146F26),
turbine side bottom (F146F08) and turbine outer aft
side (F146F10) together over the plans Carefully sand
them if needed to achieve close fitting joints When
satisfied with the fit. add thin CA to all joints After the
glue has cured, add thick CA to any loose fitting joints.
Sand both sides smooth with a fine sanding block.
D 9 Carefully position a turbine inner side on each
fuse side Do this over the fuse side view on the plans
and use the wing saddle to help align them Make sure
they are correctly positioned and add thin CA around the
edges, l i g h t e n i n g holes and f o r m e r notches.
IMPORTANT - Be very accurate when doing this.
Make sure the two turbine sides are installed at the same
angle and position in relation to the sides To check this,
hold the two f u s e sides together and compare the
alignment of the turbine sides before securely gluing the
second side NOTE: The turbine inner side is attached
to the fuse side, not the doubler
D D 6 Glue a die-cut 3/32" balsa turbine side
doubler (F146FOS) to the outer turbine side Line if up
with the wing saddle and add thin CA around the edges
When doing this step for the second side, make sure you
glue the doubler to the opposite side, making a right and
a left set
D 10 Test fit the two die-cut 1/8" balsa front fuse
bottom halves (F146F05) together Sand them slightly
if needed and glue them together Test fit the die-cut
3/32" balsa rear fuse bottom (F146F06) in place
D D 7 Inspect all glue joints for gaps and add thick
CA if necessary to strengthen the joints Repeat the
above steps to make another set of sides. Make sure
you assemble a RIGHT and a LEFT set of sides!
D 8 Place the two assembled fuse sides together.
Lightly sand the edges as necessary to make the two
sides identical Do the same for the turbine sides Also
sand the sides of each assembly smooth with a fine
sanding block It is rather hard to do this later'
Line up the entire bottom over the plans to keep if
straight and glue the rear onto the front Make sure both
pieces are pressed flat against the work surface Write
the word "TOP" on the side facing up (this will keep the
smooth side towards the outside of the fuse) When the
glue has cured, flip if over and sand the bottom smooth
with a tine sanding block.
20