Configuring profibus from the web interface, Initialization process – Hardy HI 6500 Series User Manual
Page 56
48 Chapter
4
•
•
•
•
•
•
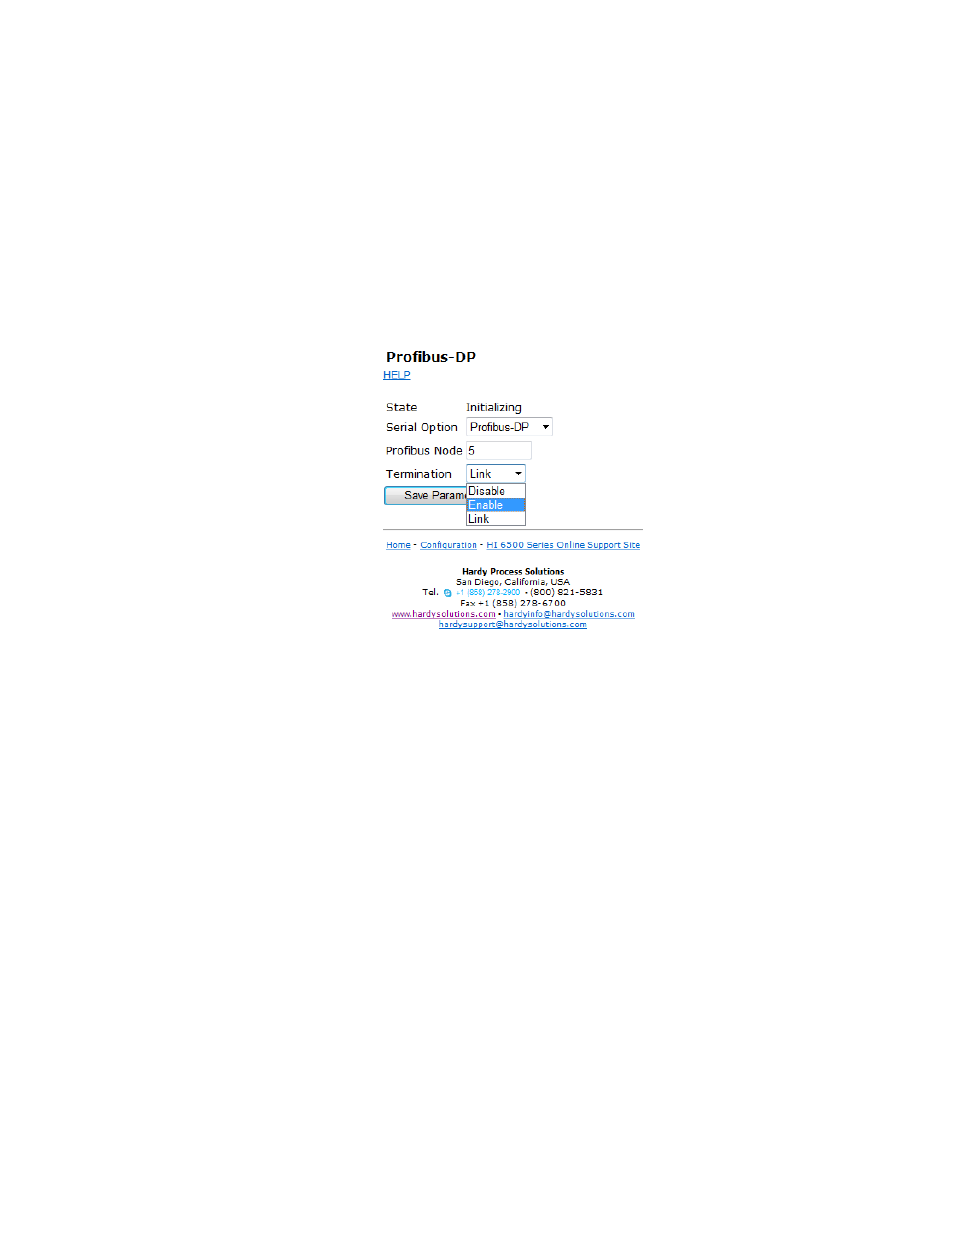
Configuring PROFIBUS From the Web Interface
Step 1. Step 1. From the Configuration menu select Options to open the Options menu;
then Click on Profibus Card. to open then Click on Profibus Card form. Double
click in the Node text field to highlight the current entry. Type in the HI 6500 OR
HI 6510 Node address. Range:1-125 (default 5) Our example uses the default
address #5.
NOTE
Profibus Node Address #5 is the lowest number that can be used by a slave device.
Step 2. Select termination drop down and select termination condition. Termination
maybe be set to Enable, Disable or Link. Link means that the termination is set on
or off depending on whether pin 2 of the connector is low (on) or high (off). There
is an internal pull up on pin 2 that will set the termination off if nothing is
connected to it.
Step 3. Click Save Parameters to save the entry.
Step 4. You can also read the communication status of the instrument.
Step 5. Click Home to return to the Home Page.
Initialization Process
To be able to add an HI 6500 OR HI 6510 to a Profibus-DP network, you need a PC or a
PLC and software such as Siemens Step 7™, Simatic Manager or equivalent, that allows
the Profibus-DP PLC and the HI 6500 or HI 6510 to exchange data