Exporting – DgFlick BookXpress User Manual
Page 97
User Manual 6.0
3. Save the other elements used in the book, such as cliparts, borders, shapes, and so on, by checking the
box against.
4. Click on ‘Ok’ to save a copy of the project or on ‘Cancel’ to abort the process.
5.2 Exporting
1. After a book project is saved, it needs to be ‘exported’ so that it can be printed as the final output.
2. Once the saving process is done, click on next to start the ‘exporting’ process.
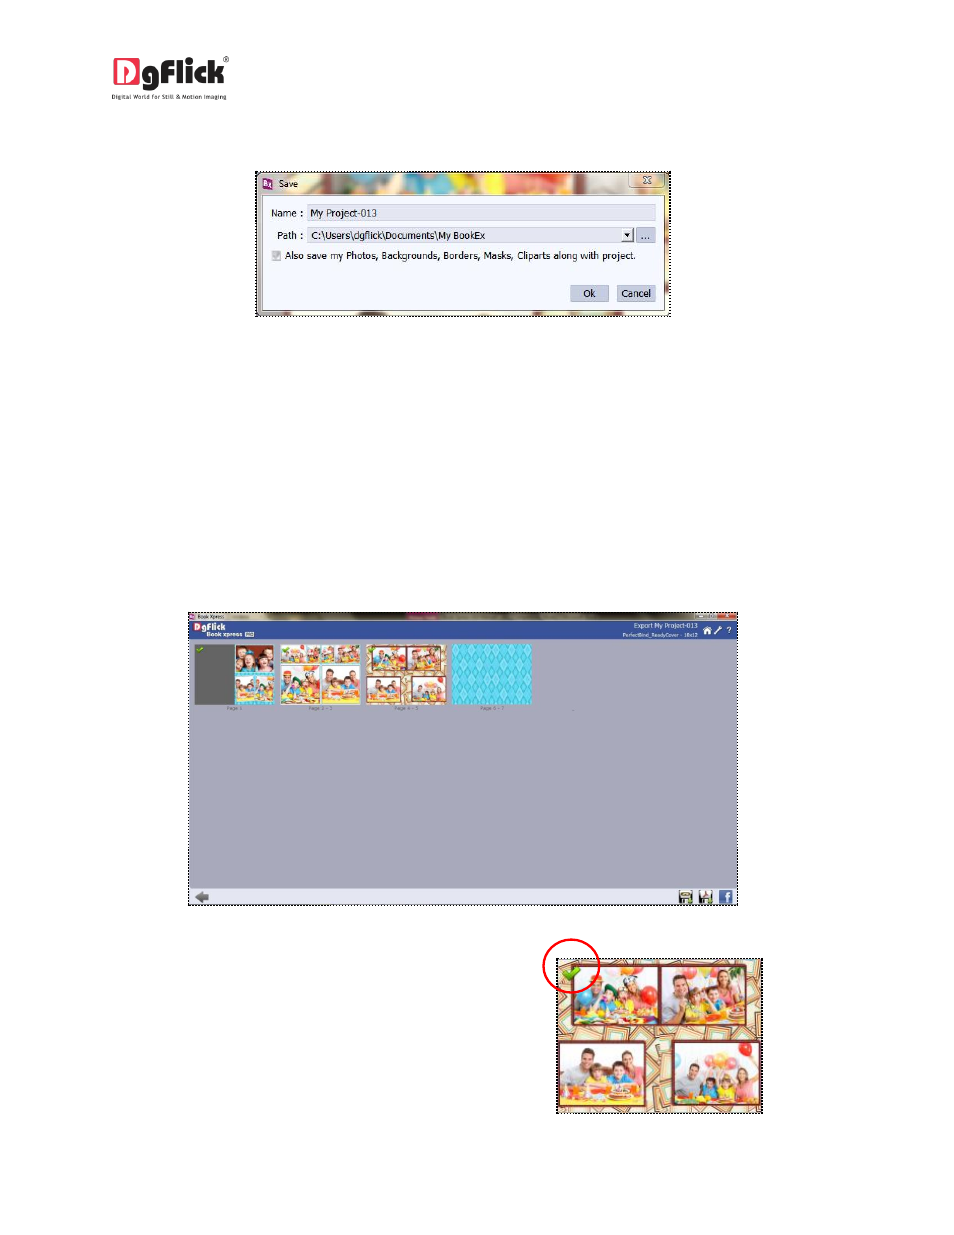
3. on the next screen, the ‘Export’ page (Image 5.2.1), you can see all the pages of your book with little
green ‘tick’ marks on them.
Image.5.2.1: The Export Window
2. In case you do not wish to include any page in
the ‘exporting’ process, simply uncheck the
page by clicking on it. The green tick now
disappears and the page will not be included in
the final book.