Initiate autoscan via the 193-dnct terminal – Rockwell Automation 1769-SDN Compact I/O DeviceNet Scanner Module User Manual User Manual
Page 51
Publication 1769-UM009E-EN-P - August 2009
51
Automatically Configure a DeviceNet Network Chapter 4
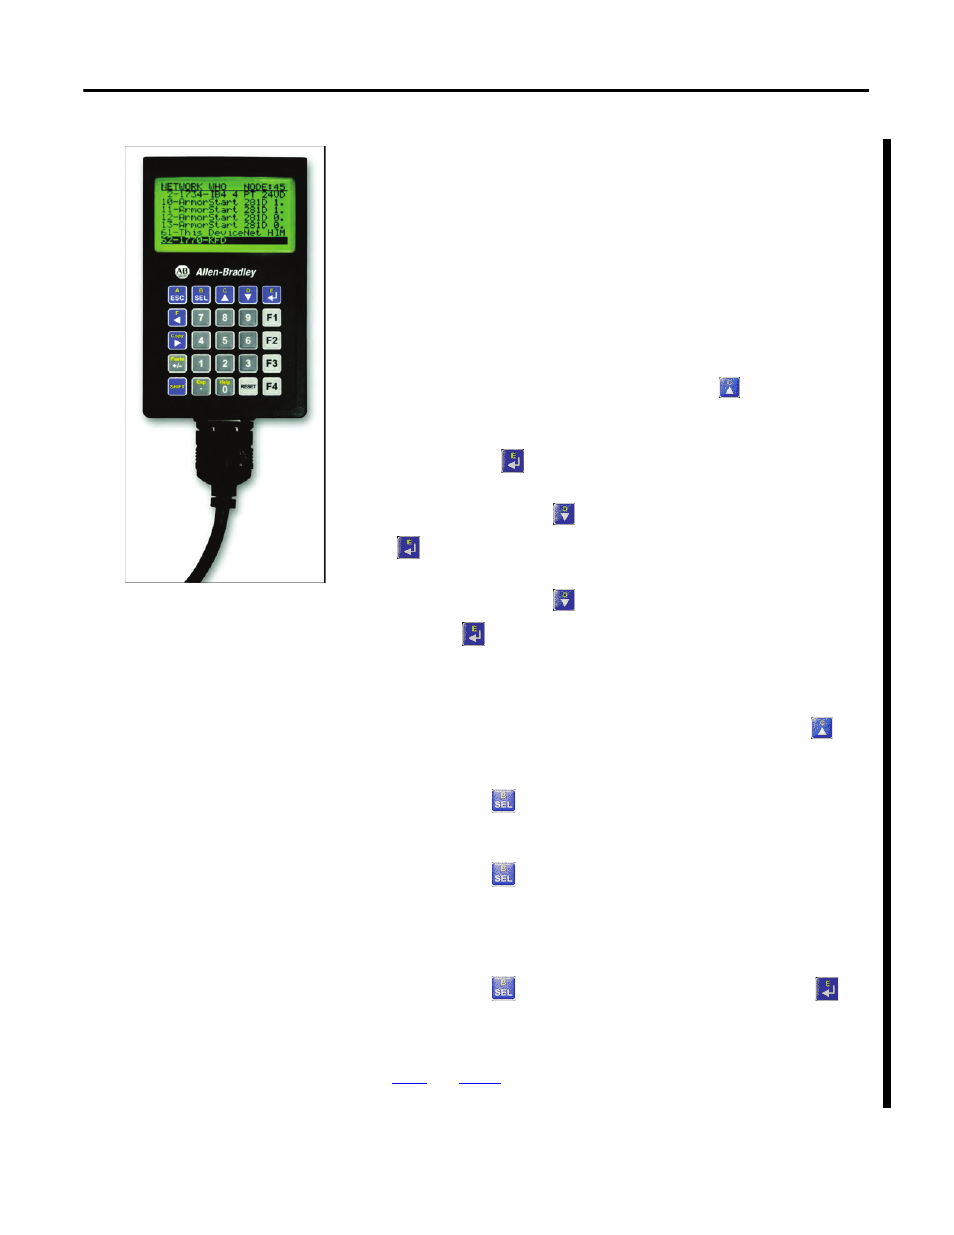
Initiate AutoScan via the 193-DNCT Terminal
Follow these steps to enable AutoScan using the 193-DNCT terminal, version
2.1 or higher.
1.
Put your controller into Program mode, and verify that the scanner is in
Idle mode (CommandRegister.Run = 0) and that all slave nodes are
connected and communicating on the DeviceNet network.
2.
Plug the 193-DNCT terminal into the DeviceNet network.
3.
In the Network Who dialog, press
to navigate to and
select the first line (0 - 1769-SDN DeviceNet Scanner).
4.
Press
to go to the scanner’s configuration dialog.
5.
Press
to navigate to Scanner and press
.
6.
Press
to navigate to AutoScan and press
The AutoScan Setup dialog appears.
7.
If AutoScan is selected and set to Enable, press
to
change the setting to Disable.
8.
Press
to scroll down to Save. This disable the AutoScan
feature.
9.
Press
to scroll down to Mapping.
10.
Type in the number of bytes that you want to automap to each
DeviceNet node, that is, 1…32. The default is 4 bytes.
11.
Press
to scroll down to Save, and press
to
commit your byte size selections.
The AutoScan feature is now configured with the byte size entered in
and
. For the 1769-SDN scanner to remap the network with
this new setting, the AutoScan feature must be re-enabled.