Rockwell Automation 1769-SDN Compact I/O DeviceNet Scanner Module User Manual User Manual
Page 40
40
Publication 1769-UM009E-EN-P - August 2009
Chapter 4 Automatically Configure a DeviceNet Network
3.
Connect the rest of your devices to the network one at a time.
• Out of the box, a DeviceNet device is preset for address 63. Connect
and set the devices one at a time to set the scanner’s DeviceNet
address. Otherwise the address conflicts may prevent communication
with them.
• If a device has a switch to set its baud rate, set the switch to
autobaud, if available. Otherwise, set the device to the baud rate of
the network.
• After you change the address or baud rate of a device via a switch,
cycle power to the device.
• If a device has no switch or pushbutton for its address or baud rate,
see
Set the Baud Rate of a Device Via a DeviceNet Configuration Terminal
below.
• After you set the address of a device, check its network status
indicator. Typically, a solid red indicator means an address conflict or
problem with the baud rate.
Set the Baud Rate of a Device Via a DeviceNet
Configuration Terminal
Follow these steps to set the baud rate for your DeviceNet network via the
DeviceNet Configuration Terminal, catalog number 193-DNCT. For the rest
of the chapter, the terminal is referred to as the 193-DNCT terminal.
1.
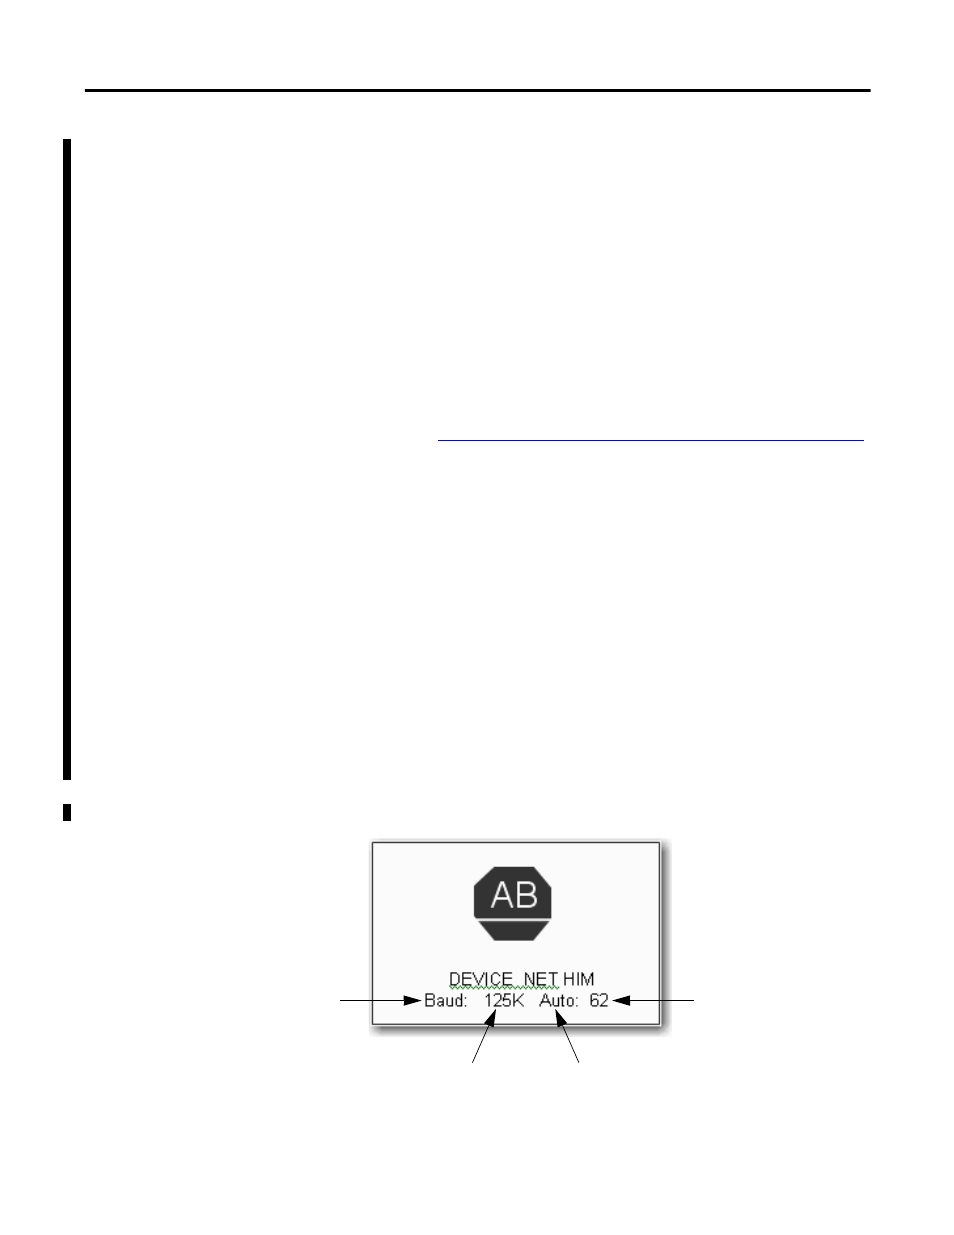
Connect the 193-DNCT terminal to the network. The following display
appears for 10 seconds which shows the unit setup and the baud rate
and node number values it has determined.
Actual Terminal
Node Address
Address = Fixed HMI MacID
Auto = Auto Addressing
Actual Baud Rate
baud = Fixed Baud Rate
Auto = Autobaud