How to use temperature presetting function, Register preset temperature – Yamato Scientific HC200 Cool Block User Manual
Page 30
28
How to Use Temperature Presetting Function
Register Preset Temperature
♦
You can register preset temperatures any time, except during the remote operation option and a
problem. Follow the procedure below when you register the temperatures.
♦
You can register up to 10 different preset temperatures.
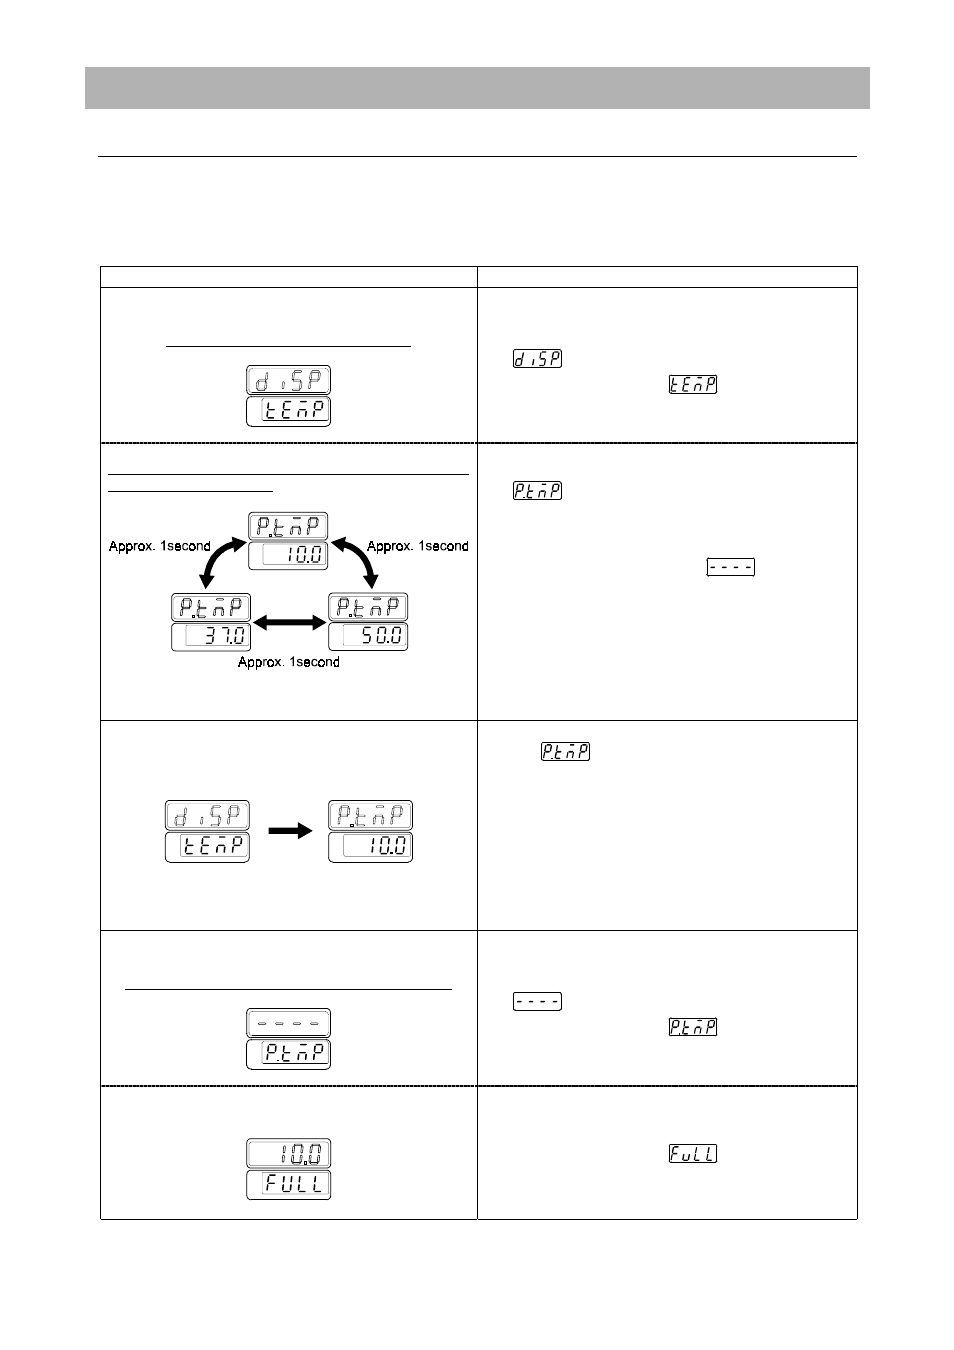
Indication after Step/Step Procedure
Explanation
1. Push
the
MODE key.
(Pushing the key during the operation)
•
Push the MODE key.
⇒
⇒
⇒
⇒
The controller turns to the sub display screen
switching mode. The main display flashes (display)
.
⇒
⇒
⇒
⇒
The sub display shows
temperature.
(Pushing the key when HC200 is ready for operation or
after finishing a program.)
Ex., 10
o
C, 37
o
C, and 50
o
C have been registered.
⇒
⇒
⇒
⇒
The controller turns to the preset temperature
registration mode. The main display flashes
(preset temperature).
⇒
⇒
⇒
⇒
The sub display shows the registered preset
temperatures, one after another in descending order
every 1 second. If there is not temperature
registered, the display shows
.
! If this is the case, proceed to Step 3.
2.
On the sub display screen switching mode.
Push either the ▼key or the ▲ key.
•
Push either the ▼key or the ▲ key several times to
flash
on the main display.
3. Push
the
ENTER key.
(When the registered temperatures are less than 9)
•
Push the ENTER key.
⇒
⇒
⇒
⇒
The controller turns to the preset temperature
registration mode. The main display flashes
.
⇒
⇒
⇒
⇒
The sub display shows
.
•
Proceed to Step 6 and register temperatures.
(When the registered temperatures are already 10)
⇒
⇒
⇒
⇒
The controller turns to the preset temperature
overwriting mode. The main display flashes a
registered temperature.
⇒
⇒
⇒
⇒
The sub display shows
(full).
Indication on the
sub display screen
switching mode