Det-Tronics EagleVision - PC User Manual
Page 32
7. Click on the Defaults button to set the update rate default value. If a
different update rate value is desired, enter the value in the box
labeled “Milli-Secs.”
8. Enter the Destination Address. (Refer to step 7 under “DCU
Configuration” for instructions regarding selection of destination
addresses.)
9. Click on Accept. Click on Close to exit and return to the Point
Configuration screen, or use the scroll arrows to select the next point
for configuration.
P
OWER
S
UPPLY
M
ONITOR
C
ONFIGURATION
1. Highlight the desired address on the Point Configuration screen.
Click on the Modify Point button.
2. Click on the Define button.
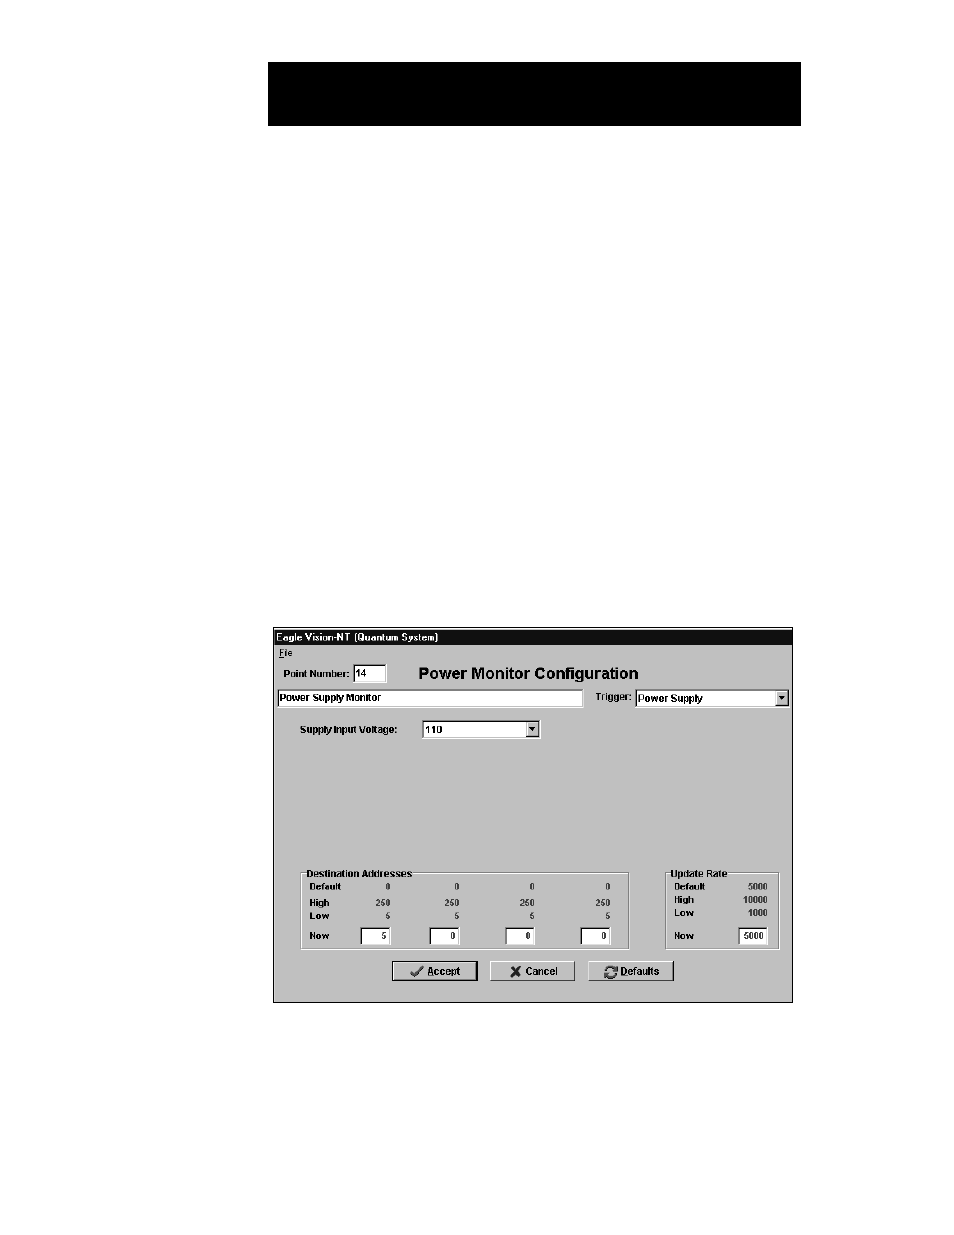
3. Click on the Power Supply button, then click on OK. The Power
Monitor Configuration screen will be displayed. See Figure V–12.
4. Type a tag name for the point in the space provided.
5. Assign a trigger for the point.
6. Select the power supply input voltage.
5.16
E
AGLE
Q
UANTUM
S
YSTEM
C
ONFIGURATION
FIGURE V-12
Power Monitor
Configuration Screen