Audio unit location configuration, Bus connection – 2N Lift8 v1.5.2 User Manual
Page 54
54
1.
2.
3.
Audio Unit Location Configuration
Audio Unit location means configuration of jumpers (see the cover print). You do not
have to change the jumper configuration if you are installing the Audio Unit at the shaft
bottom. Otherwise, proceed as follows:
Procedure
Loosen the screws on the jumper-protecting door and open the door.
Configure the required change according to the printed figure below the door
(this Audio Unit
be configured as common for multiple).
cannot
Close the door and tighten the screw.
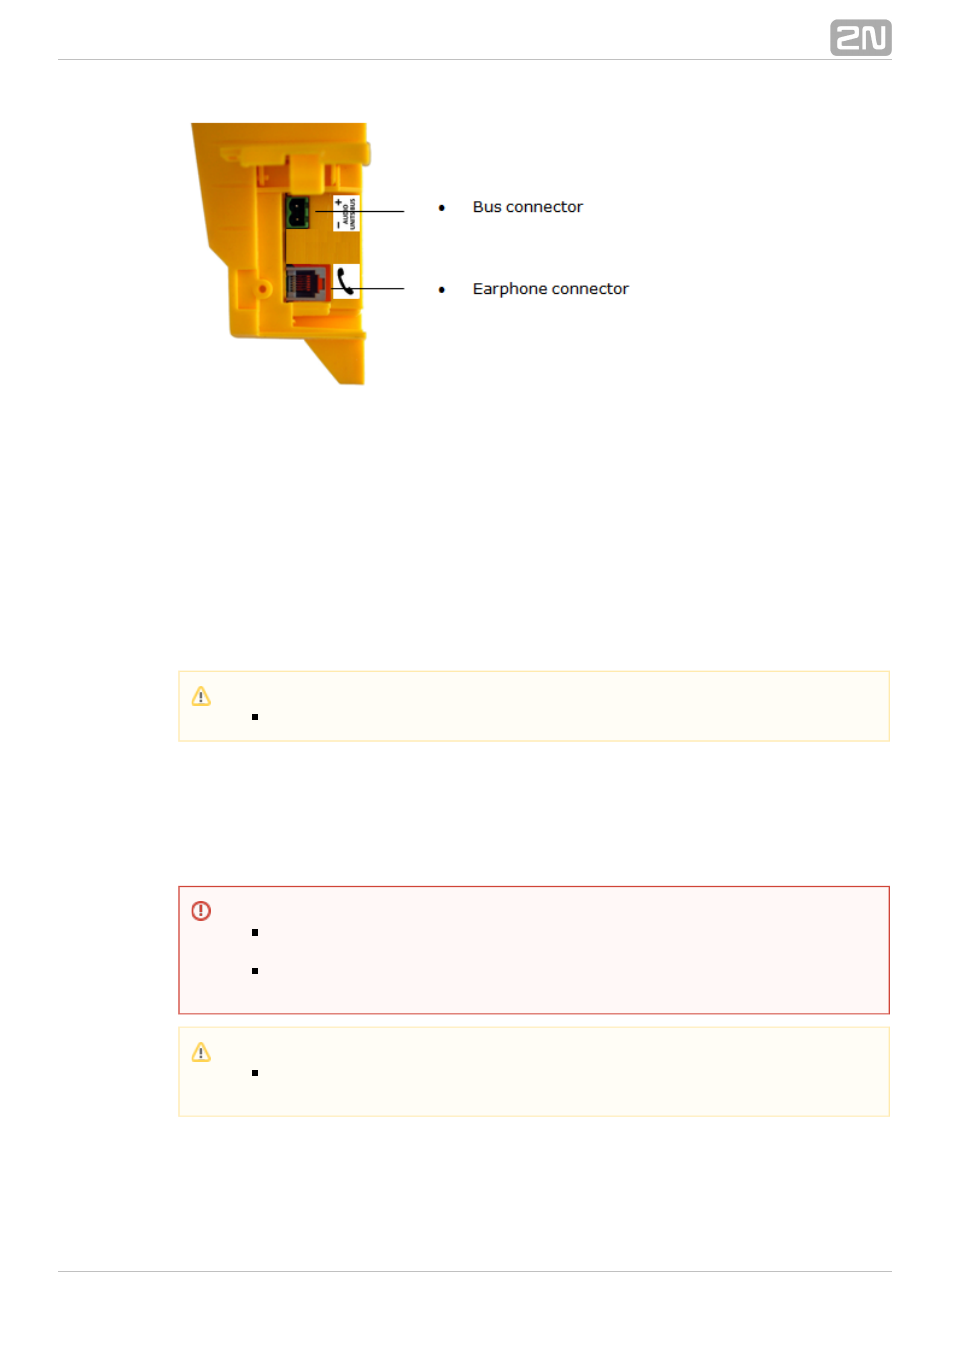
Bus Connection
Loosen the screws to the right and open the connector cover. There is just one
connector under the cover: a bus connector. Pull out the terminal from the connector,
connect the wires and replace the terminal. Make sure that the polarity is maintained.
Caution
Avoid the Audio Unit address duplicity.
Warning
Connection to different, e.g. higher-voltage, cables leads to damage or
destruction of the Audio Unit.
Maintain polarity while connecting the Audio Unit to avoid Audio Unit error
.
Caution
The Audio Unit is powered via a 2-wire bus. Disconnection of these wires
results in the Audio Unit switch-off.
- Analogue GSM gateway 2N EasyGate - Manual, 1575 v1.1.0.2 (69 pages)
- Fixed line replacement with 2N EasyGate - Quick Start, 1129 v1.5E (2 pages)
- Fixed line replacement with 2N EasyGate PRO - Quick Start, 1711 v1.01 (2 pages)
- Analogue GSM gateway 2N EasyGate PRO - Manual, 1749 v1.03 (79 pages)
- Fixed line replacement with 2N EasyGate PRO UMTS - Quick Start, 2018 v1.00 (2 pages)
- Analogue UMTS gateway 2N EasyGate UMTS USB - Quick Start (9 pages)
- Analogue UMTS gateway 2N EasyGate UMTS USB - User Manual, v1.00 (38 pages)
- Wireless 3G router 2N EasyRoute_old design - Quick start, 1526 v2.00 (2 pages)
- Wireless 3G router 2N EasyRoute_new design - Quick start, 1664 v1.00 (2 pages)
- Wireless 3G router 2N EasyRoute_new design - User manual, 1670 v1.06 (101 pages)
- Wireless 3G router 2N EasyRoute_old design - User manual, 1571 v1.06 (99 pages)
- Entrance guard 2N Helios - Manual - antivandal installation (2 pages)
- Design intercom 2N Helios - Guide mounting (2 pages)
- Door camera for 2N Helios - Installation manual - camera 9135210E (2 pages)
- Home intercom 2N Helios - Manual - display installation (5 pages)
- Electric lock for 2N Helios - Secondary switch - installation manual, 1360 v2.0 (2 pages)
- Door intercom 2N Helios - Manual, 1322 v3.0 (76 pages)
- Helios IP User manual, 1510 v1.13 (143 pages)
- Helios IP User manual, 1510 v1.12 (127 pages)
- Helios IP User manual, 1510 v1.11 (119 pages)
- Lift emergency phone 2N LiftNet - Manual, 1446 v1.8.3 (97 pages)
- Mobile Audio Gateway public address system - Quick start manual (2 pages)
- IVR Editor manual v1.0.2 (43 pages)
- Omega Lite PBX Assistant - manual v1.2 (57 pages)
- Omega series - Configuration Tool manual v1.10 (114 pages)
- IVR Editor manual v1.0 (43 pages)
- Omega series - Configuration Tool manual v1.9 (114 pages)
- Omega series - VoIP manual v1.4 (113 pages)
- Omega 48 - Basic Services v1.0 (60 pages)
- Omega 48 - Installation Manual v1.0 (48 pages)
- Omega 48 - Operator Services v1.0 (48 pages)
- StarPoint 500 - manual v2.0 (32 pages)
- Omega Lite - Configuration Tool manual v1.6 (101 pages)
- Omega Series - Voicemail v1.0 (31 pages)
- Omega Lite - Installation Manual v1.9 (58 pages)
- Omega Lite - Configuration Tool manual v1.8 (112 pages)
- Omega Lite - Configuration Tool manual v1.7 (112 pages)
- Omega Series - Basic Services (60 pages)
- Omega Lite - Installation Manual v1.5 (53 pages)
- Omega Series - Operator Services (48 pages)
- Omega Lite Panel - manual v1.0 (34 pages)
- Omega Lite PBX Assistant - manual v1.0 (49 pages)
- Omega Lite - Quick Guide v1.0 (1 page)
- Omega Series - VoIP manual v1.2 (88 pages)
- Lift emergency phone 2N SingleTalk - Manual, 1514 v6.3.0 (73 pages)