JLG X20JP - X600AJ Service Manual User Manual
Page 230
SECTION 6 - JLG CONTROL SYSTEM
6-14
– JLG Lift –
3121623
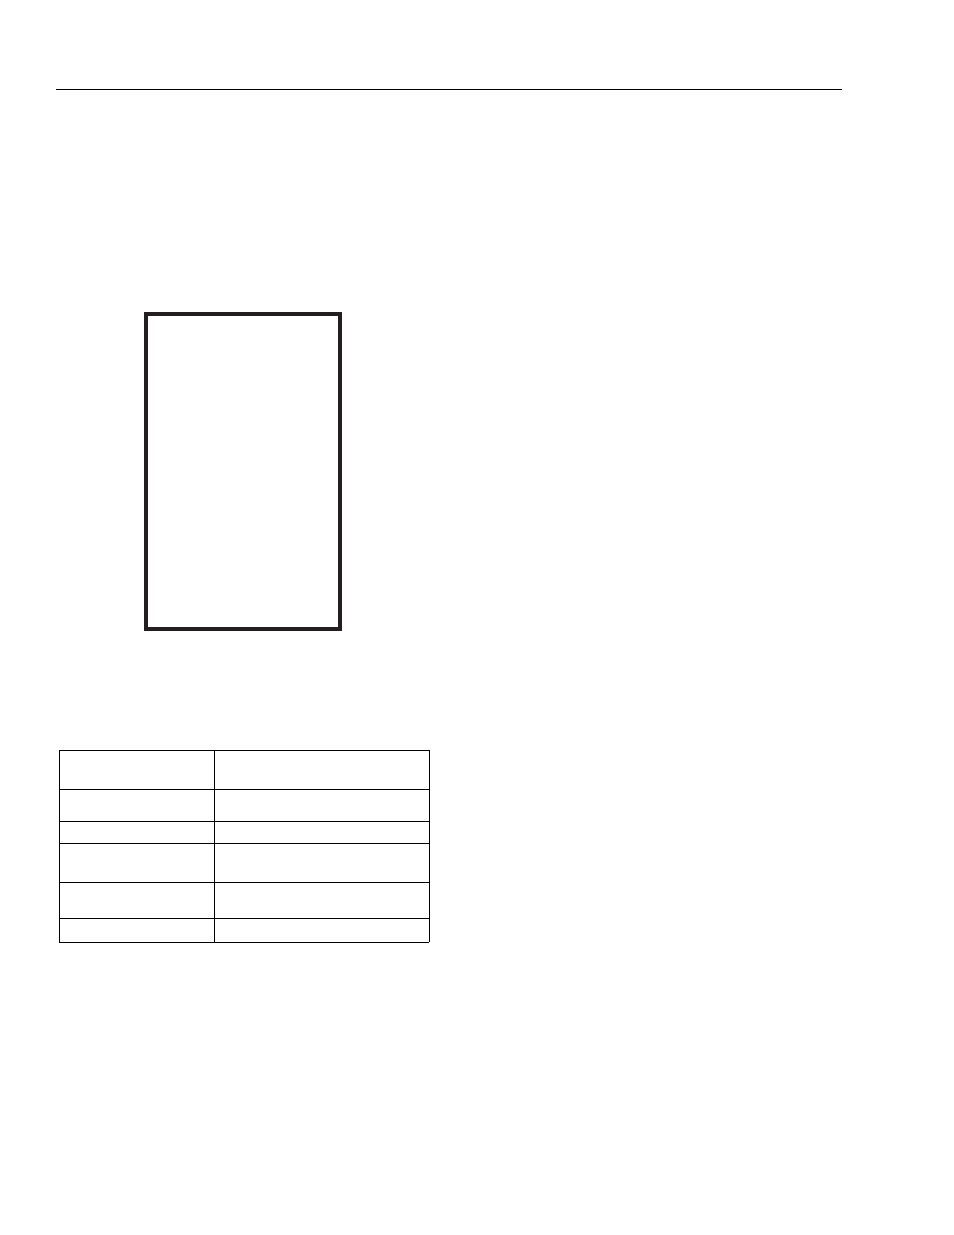
CAN TIMEOUT MENU’
As soon as you have CAN BUS error shown on the dis-
play, check the error list on page 4, pushing the buttons 6
– MENU --> 3 – ERRORS and then pushing 2 times NEXT
till page 4 CAN TIMEOUT, the display will show the follow-
ing screen on (left side) with the followings meaning (right
side).
Figure 6-36.
This page with OK indicates the correct presence of the
signals in the CAN BUS line of the different connected
devices. The indication shall always be OK, if the indica-
tion is NO it means that the device is not communicating
by CAN BUS line and therefore it is not considered in
function by the other devices.
If it results some NO within this error page, try to check the
connection, afterward if it doesn’t fix the problem check
and eventually replace the device, if otherwise there are
only YES it’s requires to go on with a software check.
SOFTWARE CHECK
Only ff the problems occurred after a software updating,
check if the platform’s devices are compatibles with the
new software, in this case, if necessary contact Hinowa
with the serial number and the release number of the soft-
ware install.
CAN BUS DEVICES AND CONNECTIONS
If you didn’t fix the problem it’s requires going on with
CAN BUS devices and connections check that requires
the following schematics:
1. CAN BUS DEVICES CONNECTIONS (here below).
2. CAN BUS DEVICES LAY-OUT (here below).
3. CAN NETWORK sheet on the electric wiring diagram
(“E3”).
Proceed step by step as follows:
a. DEVICES CHECK: Always with ignition switch
turned OFF and the battery cutter disconnected,
disconnect one by one every CAN BUS devices,
the blue lines indicated in the CAN BUS devices
connections here below, starting with the
modem and continue with load cell board
(ECM3) on the jib arm and so on. Anytime that
you have disconnected one device, connecting
the battery cutter and turning ON ignition switch,
check if CAN BUS error disappears. To know
which are the CAN BUS contacts on the devices,
consult the relative page on the electric wiring
diagrams
b. CONNECTIONS CHECK: Always with ignition
switch turned OFF and the battery cutter dis-
connected, connect 2 external wires to create an
alternative CAN BUS line from green connectors
(example picture here below) of ECMs and dis-
connect the original wires. To know which are
the CAN BUS contacts on the devices, consult
the relative page on the electric wiring diagrams
Table 6-2.
SAFETY
Safety lines on master board
(ECM1-2) software error
REMOTE
Remote control error
CIL1-2
Do not consider
CIL3
Position sensor for 3 arm cyl-
inder error
LOAD
Load cell board or ECM3 error
ROTA
Do not consider
CAN TIMEOUT
SAFETY OK
REMOTE OK
CIL1-2 OK
CIL3
OK
LOAD
OK
ROTA
OK
1 PREV
2 NEXT
9 ESC