Konica Minolta Printgroove User Manual
Page 106
Start Printgroove POD Ready
4
Printgroove POD Ready
4-25
2
Click [Close].
3
Select the job which you want to open from [Repository Panel].
–
To display [Repository Panel], select [View] - [Repository Panel] or
clicks [Show Repository] at the left bottom of the main window.
4
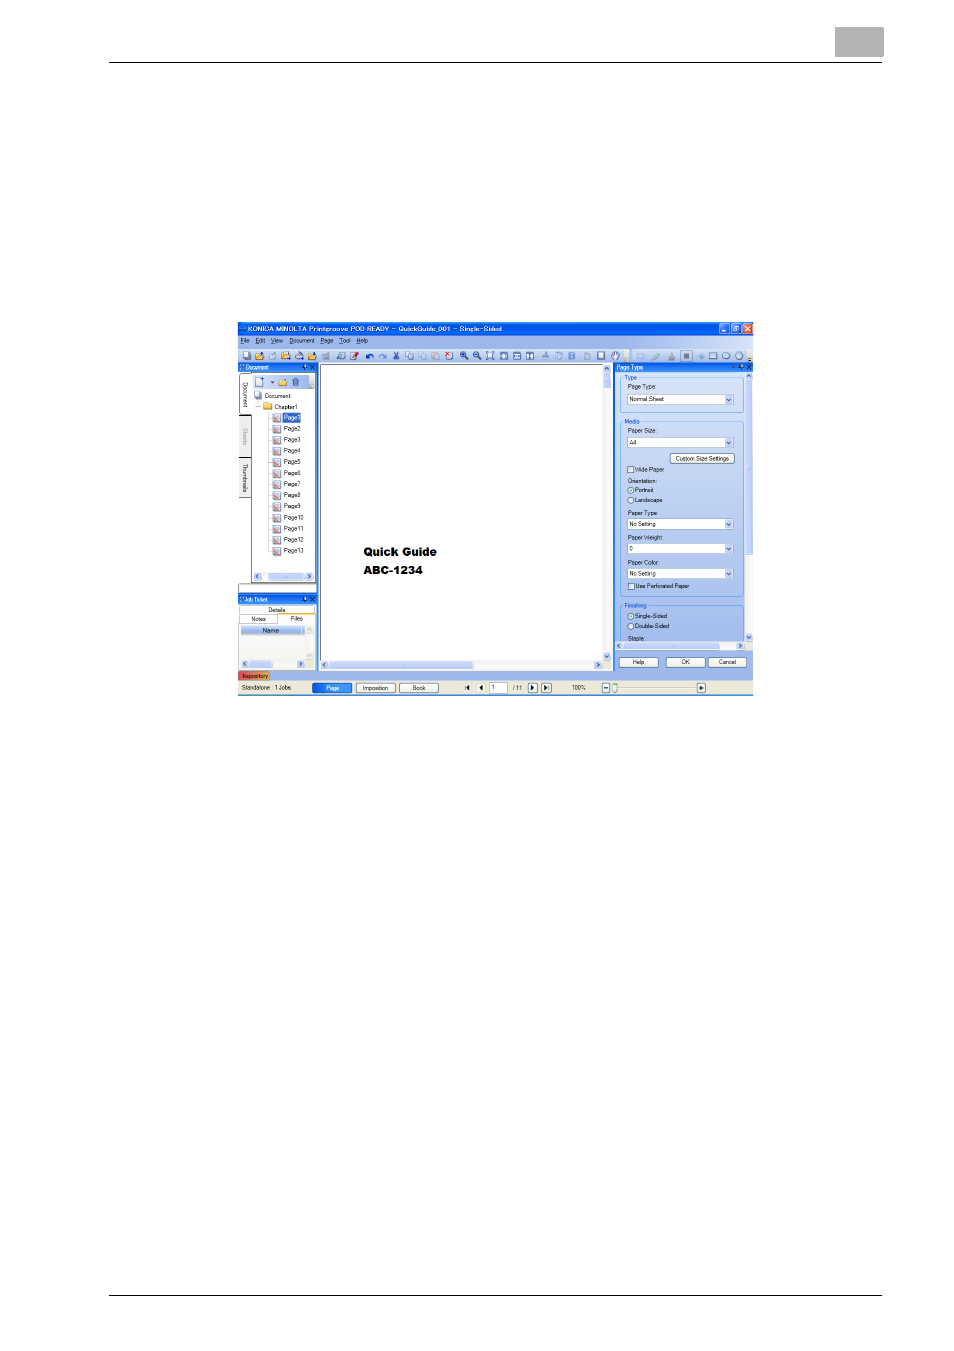
Select [File] - [Open Project] menu.
The selected job opens to edit in main window.
–
If there is an already opened modified job in the editor then the
message to prompt to save the job appears.
When you save the job, click [Yes].
The job is saved to the [Repository Panel] and the selected job
opens to edit.
When you discard the job, click [No].
The job is discarded and the selected project opens to edit.
5
If necessary, edit the job.
–
To import scanned images, follow the procedures of “Import and
Add Files” on page 4-27.
–
To edit the job, follow the procedures of “Editing Document” on
page 5-1.
–
To import an already job which is exported from Printgroove POD
Ready and exists in the local disc, follow the procedures of “Import
Project From Local Disc” on page 4-30.
–
To view the print preview, follow the procedures of “Print Preview”
on page 4-33.
–
To print proof, follow the procedures of “Proof Print” on page 4-35.