Konica Minolta Printgroove User Manual
Page 105
Start Printgroove POD Ready
4
Printgroove POD Ready
4-24
–
To import an already job which is exported from Printgroove POD
Ready and exists in the local disc, follow the procedures of “Import
Project From Local Disc” on page 4-30.
–
To view the print preview, follow the procedures of “Print Preview”
on page 4-33.
–
To print proof, follow the procedures of “Proof Print” on page 4-35.
9
To save the job, follow select [File] - [Save] menu.
The job is saved to the [Repository Panel].
–
To export the job, follow the procedures of “Export Project To Local
Disc” on page 4-32.
10
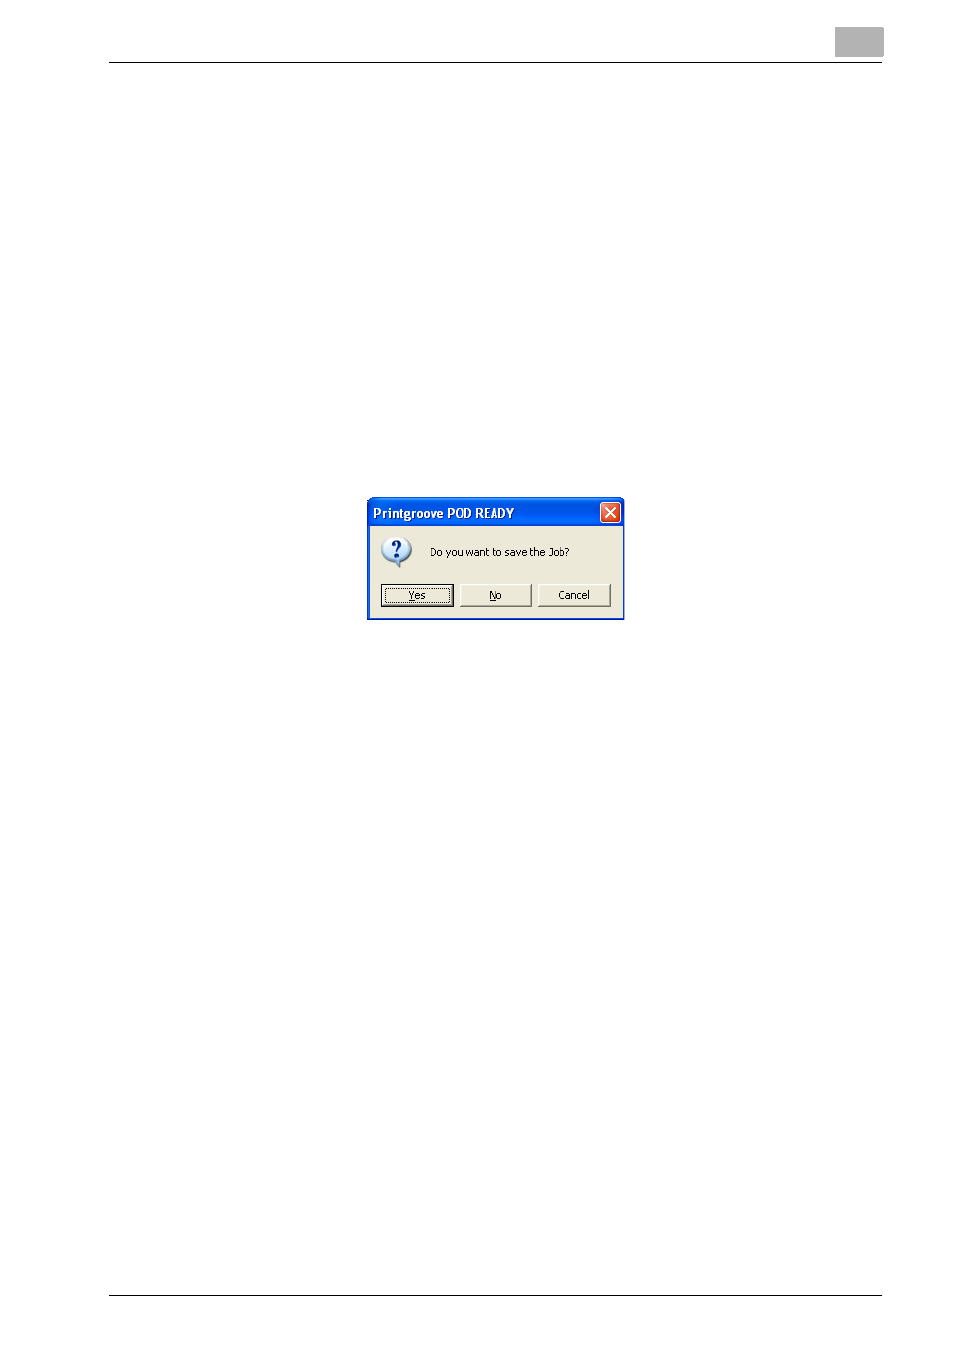
To close the job, select [File] - [Close Project] menu.
When the job is not saved, the message to prompt to save the project
appears.
–
When you save the job, click [Yes].
The job is saved to the [Repository Panel] and closed.
–
When you discard the job, click [No].
The job is discarded and closed.
11
To exit from Printgroove POD Ready, select [File] - [exit] menu.
When the job is not saved, the message to prompt to save the project
appears.
–
When you save the job, click [Yes].
The job is saved to the [Repository Panel] and you can exit from
Printgroove POD Ready.
–
When you discard the job, click [No].
The job is discarded and you can exit from Printgroove POD Ready.
4.3.2
From Opening Job To Exiting
To start in Standalone Mode and open job, follow these steps:
1
Launch Printgroove POD Ready.
[Startup] screen appears.
–
When [Startup] screen is not appeared, go to Step 3.
–
If you check [Don’t show this dialog on startup], [Startup] screen will
not be appeared at the next launching.