11 i/o card hardware installation instructions, I/o card hardware installation instructions, Figure 15: inserting the card into a slot – Kramer Electronics VS-1616D User Manual
Page 47
I/O Card Hardware Installation Instructions
43
43
10.4.3 Testing the Input and Output Signal Path to the Projector
Signal path: c to e; e to f; f to b; b to projector
To test the input and output signal path to the projector:
1. Configure Input 17 to Output 17 (see
Section 7.4
2. Connect Output 17 to Input 1.
3. Configure Input 1 to Output 1.
4. Connect Output 1 to the projector.
5. Set the generated video resolution (see
Section 10.2
6. Set the pattern for the generated video (see
Section 10.3
7. Verify that the projector output is as expected.
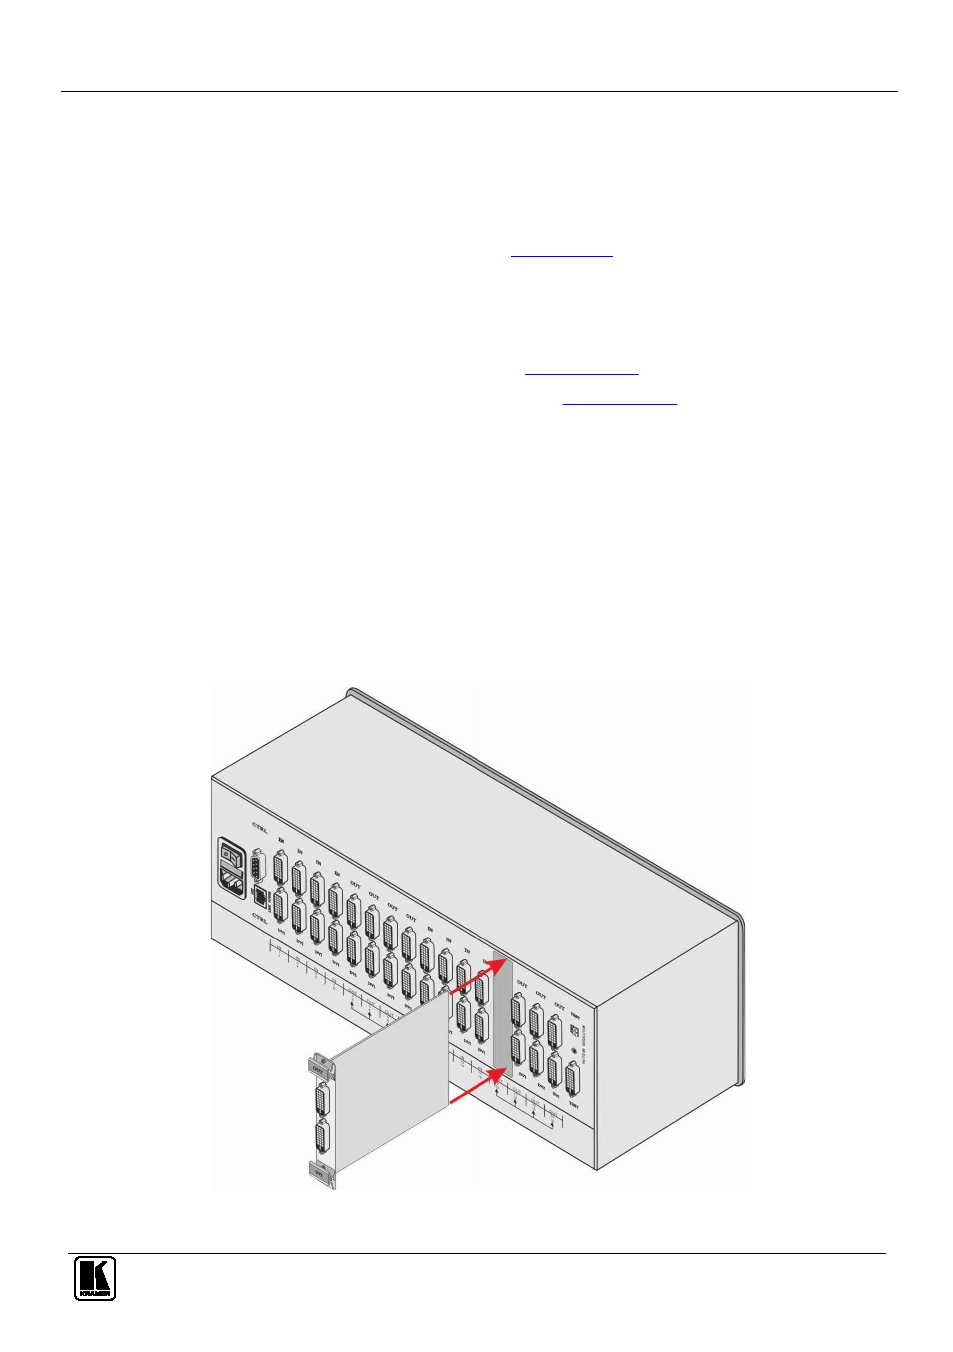
11 I/O Card Hardware Installation Instructions
The VS-1616D I/O cards mount in one of the 16 slots on the rear of the VS-1616D
chassis. Slots are numbered from left to right and must be filled consecutively from
left to right, without leaving empty slots.
WARNING: An input card must only be mounted in a slot designated for input
cards (slots 1 to 4 and 9 to 12) and an output card must only be mounted in a slot
designated for output cards (slots 5 to 8 and 13 to 16).
Figure 15: Inserting the Card into a Slot