3> recording the patterns, Using realtime recording, Recording the drum part – Roland DR-3 User Manual
Page 65: Using realtime recording • recording the drum part, Ch ap ter 7
65
Chapter 7 Creating Styles
Ch
ap
ter
7
<3> Recording the Patterns
■ Using Realtime Recording
The following explains the Realtime Recording
procedure, in which you record by pressing the
pads in time with the tempo provided by the
metronome.
*
When you record to a pattern which has already been
recorded, the sounds are layered without the previously
recorded sounds being erased.
*
You cannot record to the Preset Styles (P001–P100).
*
The tempo, Sound Shape, and Ambience settings that are
set at the time of recording are saved to the recorded
pattern.
• Recording the Drum Part
*
With the drum part, you cannot record multiple notes
from the same pad number at the same step (timing).
Make sure you have pressed [MANU] to switch
to Manual mode.
1. Hold down [
] and press any of the
pattern pads to specify the pattern to be
recorded.
The pattern pad flashes when pressed.
2. Hold down STEP REC [
] and press
START [
].
STEP REC [
] lights up, and START
[
] flashes. Recording begins after one
measure metronome count. The “MEAS-
BEAT” indication counts in time with the
metronome count.
[INST] lights up, and the pads are enabled for
performing instrument sounds.
fig.07-08d
3. Turn the VALUE dial to set the
quantization.
This corrects mistakes in the rhythm played
to the closest selected note value.
*
For more detailed information about the Quantize
function, refer to the column on p. 66.
4. Press [INST] to select either “DRUM” or
“PERC” as the instrument to be recorded.
5. Record the performance, pressing the
pads while following the rhythm provided
by the metronome.
The force used to tap the pads is recorded as
velocity (the strength or stress of the sound).
Recorded sounds are played back repeatedly.
Sounds continue to be layered as the sounds
that have already been recorded are played
back.
6. Repeat Steps 3–5 as needed.
7. To stop recording, press STOP [
].
Erasing Previously Recorded Sounds
As You Continue Recording
You can use the following procedure to erase
specified instrument sounds in the pattern
currently being recorded.
1. Hold down STEP REC [
] and press the
pad to which the instrument whose
sound you want to erase is assigned.
For example, when recording with “DRUM”
selected for [INST], holding down STEP REC
[
] and pressing [VERSE A (SNR 2)] erases
the SNR 2 sounds that have already been
recorded.
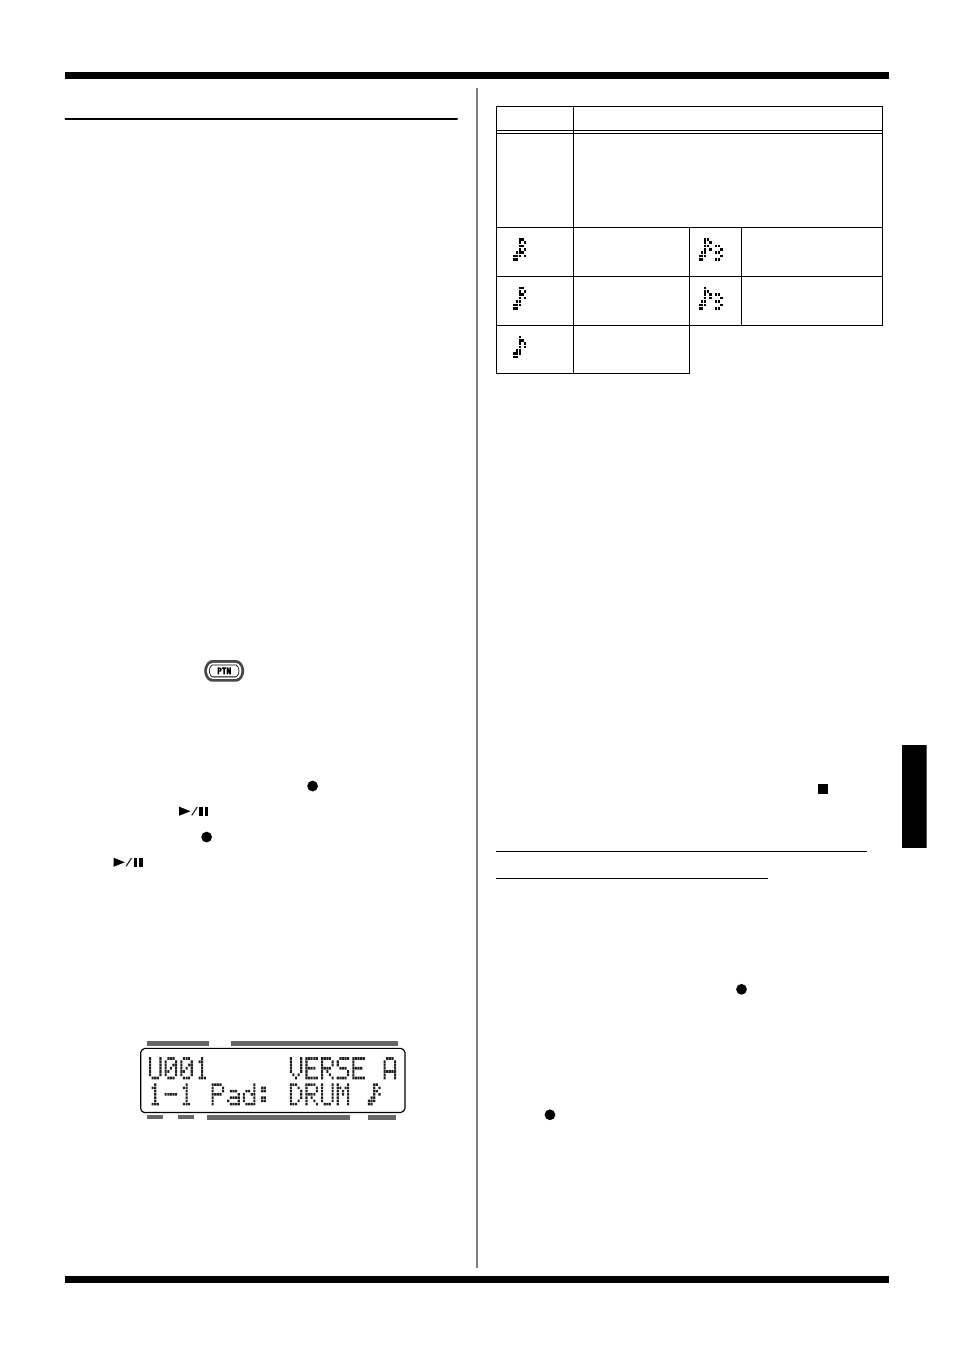
Beat
Measure
Style No.
Pattern Name
Sound Group
Quantize
Display
Description
– –
Off
Sounds are recorded without quantiza-
tion, with the same timing used in tapping
the pads.
32th note
16th note triplets
16th note
8th note triplets
8th note