Kohler Command Pro CV980 User Manual
Page 80
8.4
Section 8
Disassembly
Remove Fuel Pump
WARNING: Explosive Fuel!
ȱȱ¡¢ȱĚȱȱȱȱȱ¡ȱ
ȱǯȱȱȱ¢ȱȱȱǰȱȱ
ȱǰȱȱǰȱ ¢ȱȱȱȱ
Ěǯȱȱȱęȱȱȱȱ ȱȱȱȱȱȱ
running, since spilled fuel could ignite if it comes in contact
with hot parts or sparks from ignition. Do not start the
engine near spilled fuel. Never use gasoline as a cleaning
agent.
NOTE: Based on the style of fuel pump used, refer to
the following.
Pulse Style Fuel Pump
The pulse style fuel pump is mounted to the side of
the control bracket. It may be removed separately or
with the bracket.
To remove separately:
ȱ ŗǯȱ ȱȱ ȱ¡ȱĚȱȱ ȱ
securing the fuel pump to the control bracket.
2. Disconnect the inlet, outlet, and pulse (vacuum)
ȱȱȱȱȱǯȱȱȱŞȬŗŘǯȱ
¢ȱȱ¢ȱȱǯȱ
Figure 8-12. Removing Pulse Pump.
Electric Fuel Pump
1. Removal will be determined based on mounted
location and application. Disconnect the lead
connections, fuel line connections and mounting
ȱȱǯȱ¢ȱȱ¢ȱ
remaining fuel.
Remove Control Bracket, Governor
Springs and Lever
1. Unhook the governed idle and governor springs
from the controls on the main bracket and the
governor lever. Note the color, location, and
ȱȱǯȱȱȱŞȬŗřǯ
ȱ Řǯȱ ȱȱĴȱȱȱȱ
spring from the governor lever at the small
ǯȱȱȱŞȬŗřǯ
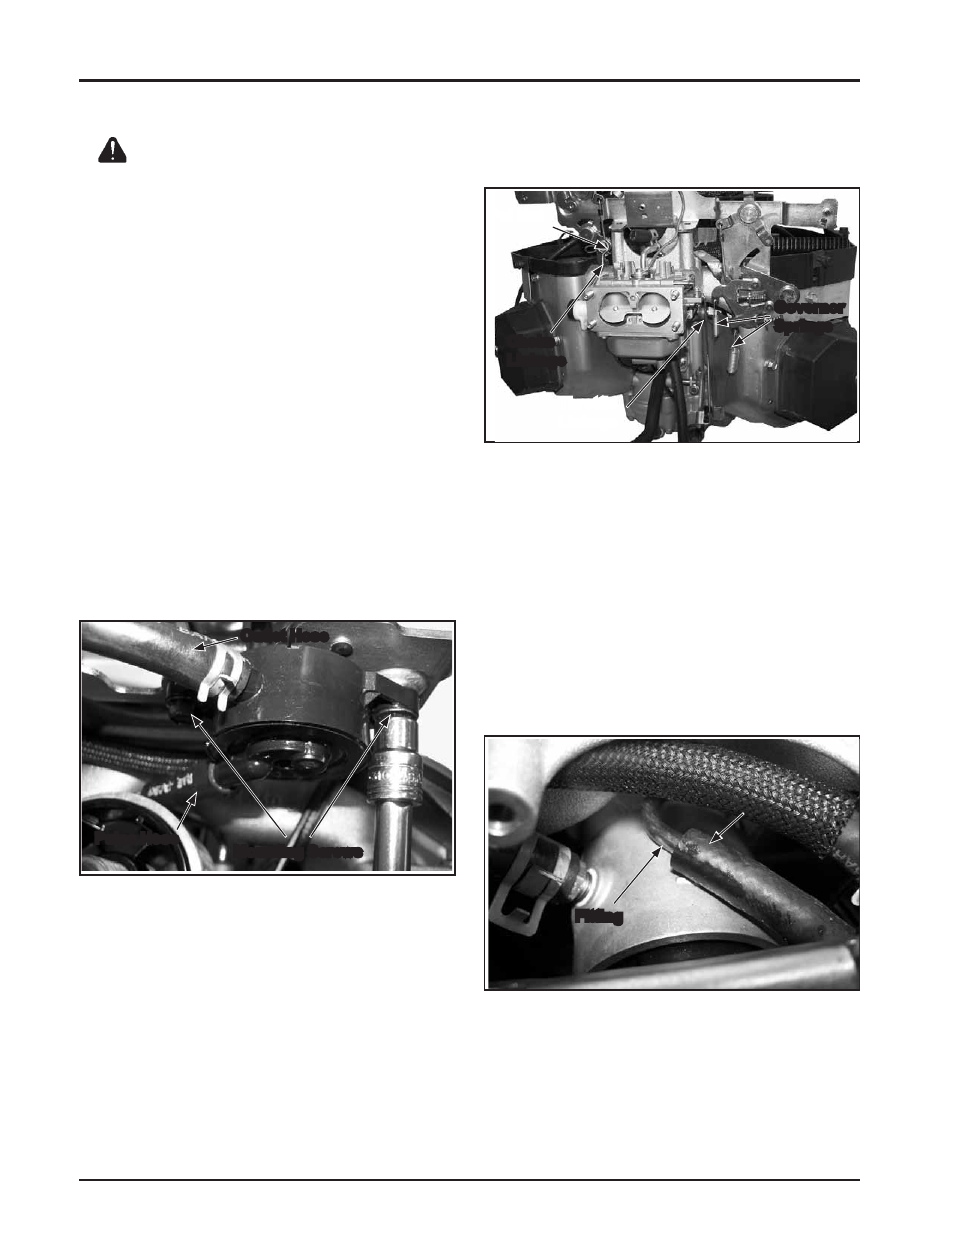
Figure 8-13. Disconnect Linkages and Governor
Springs.
ȱ řǯȱ ¢ȱ¢ȱěȱȱȱǰȱȱȱ ȱ
washers (note assembly order), and disconnect
the choke linkage from the pivot lever. Do not
lose any parts. Secure the remaining pivot parts
with tape, to avoid losing them. Always use a
new pal nut during reassembly.
4. If the fuel pump is being removed with the
bracket disconnect the pulse (vacuum) hose and
ȱȱȱȱȱȱǯȱ¢ȱ
ȱ¢ȱȱǯȱȱȱŞȬŗŚǯ
Figure 8-14. Disconnecting Pulse Hose.
5. Remove the lower mounting screw going into
the intake manifold and remove the main control
ǯȱȱȱŞȬŗś
Governor
Springs
Throttle
Linkage
Pal Nut
Choke
Linkage
Pulse Hose
Mounting Screws
Outlet Hose
Fitting
Pulse
Hose