Installing an accessible 5.25-inch drive, 2 installing an accessible 5.25-inch drive – FUJITSU TX300 User Manual
Page 58
58
Options Guide
TX300 S6
Accessible 5.25-inch drive
Accessible drives and LSD/LSP
7.2.2
Installing an accessible 5.25-inch drive
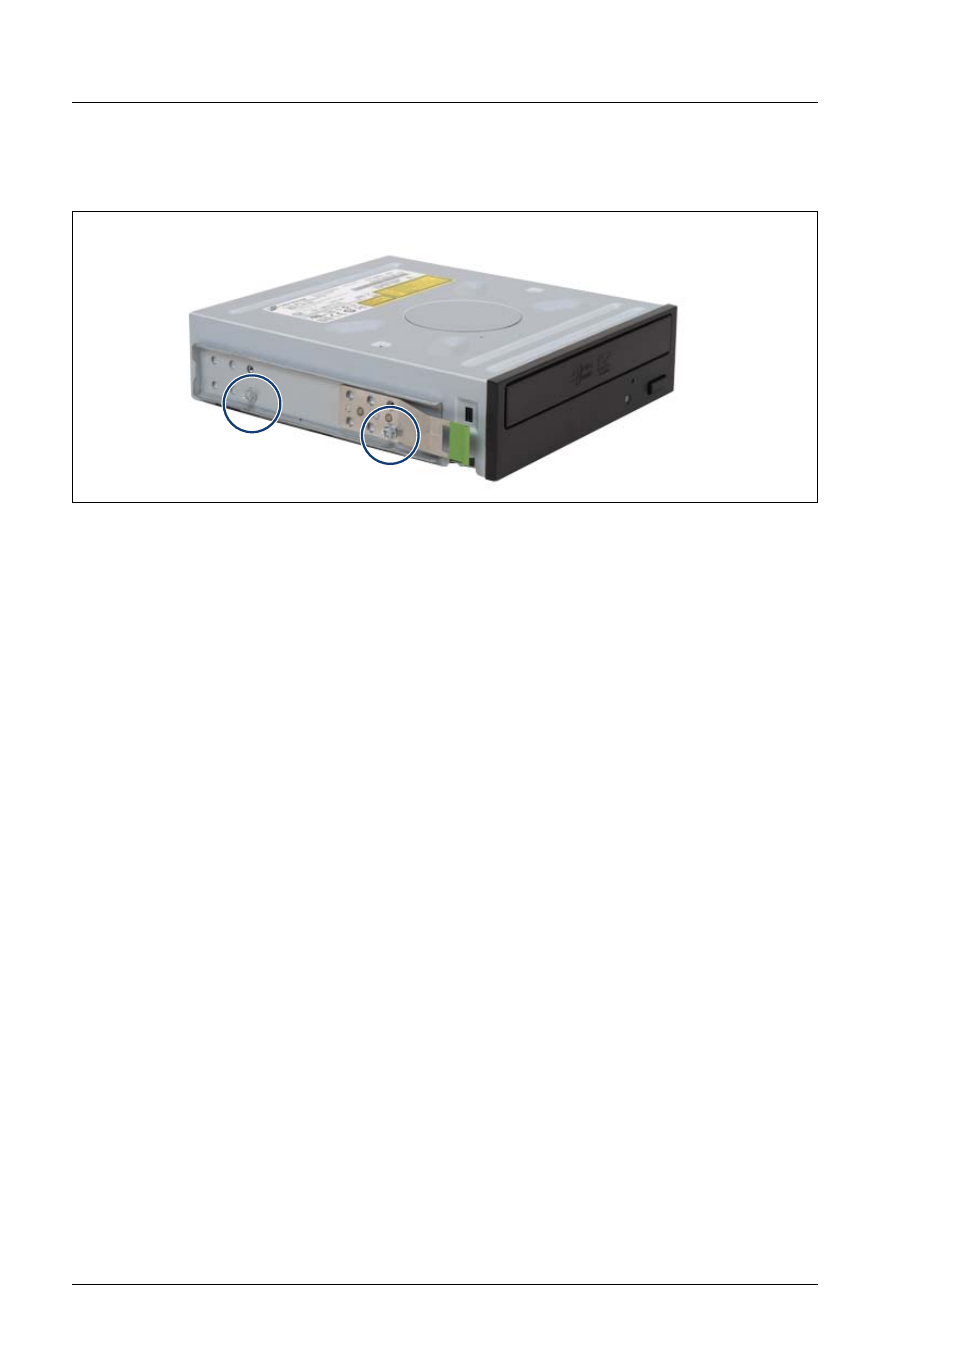
Figure 28: Attaching the EasyClick rails - example: DVD drive
Ê
Screw the EasyClick rails onto either side of the new 5.25-inch drive using
two M3x4.5mm screws.
Use the first hole in each lower row of holes as shown in the figure.
I
Keep the remaining screws for future use. The different drives are
fastened using different screws.
Please use the screws which are provided with the packaging
contents of the tape drive.
Ê
Push the new drive about halfway into the bay.
Ê
Connect the data cable to the accessible drive (see the cabling plans in the
Appendix).
Ê
Connect the power cable to the accessible drive (see the cabling plans in the
Appendix).
Ê
Push the drive fully into the bay until the EasyClick rails lock in place.
Ê
Attach the front cover or the rack front cover as described in the
"Attaching the front cover" on page 108
.
Ê
Close the server, connect it to the power outlet, and switch it on as described
in the
chapter "Completion" on page 105
.