5 connecting the indoor-to-outdoor cable – Alvarion BREEZEACCESS SW VERSION 5.1 User Manual
Page 81
Installing the Outdoor Unit
Installation
49
2.3.5 Connecting the Indoor-to-Outdoor Cable
2.3.5.1
Units with an Installed Waterproof Seal (not applicable to
new ODU)
To connect the indoor-to-outdoor cable:
1
Remove the two screws holding the waterproof seal to the outdoor unit and
remove the waterproof seal.
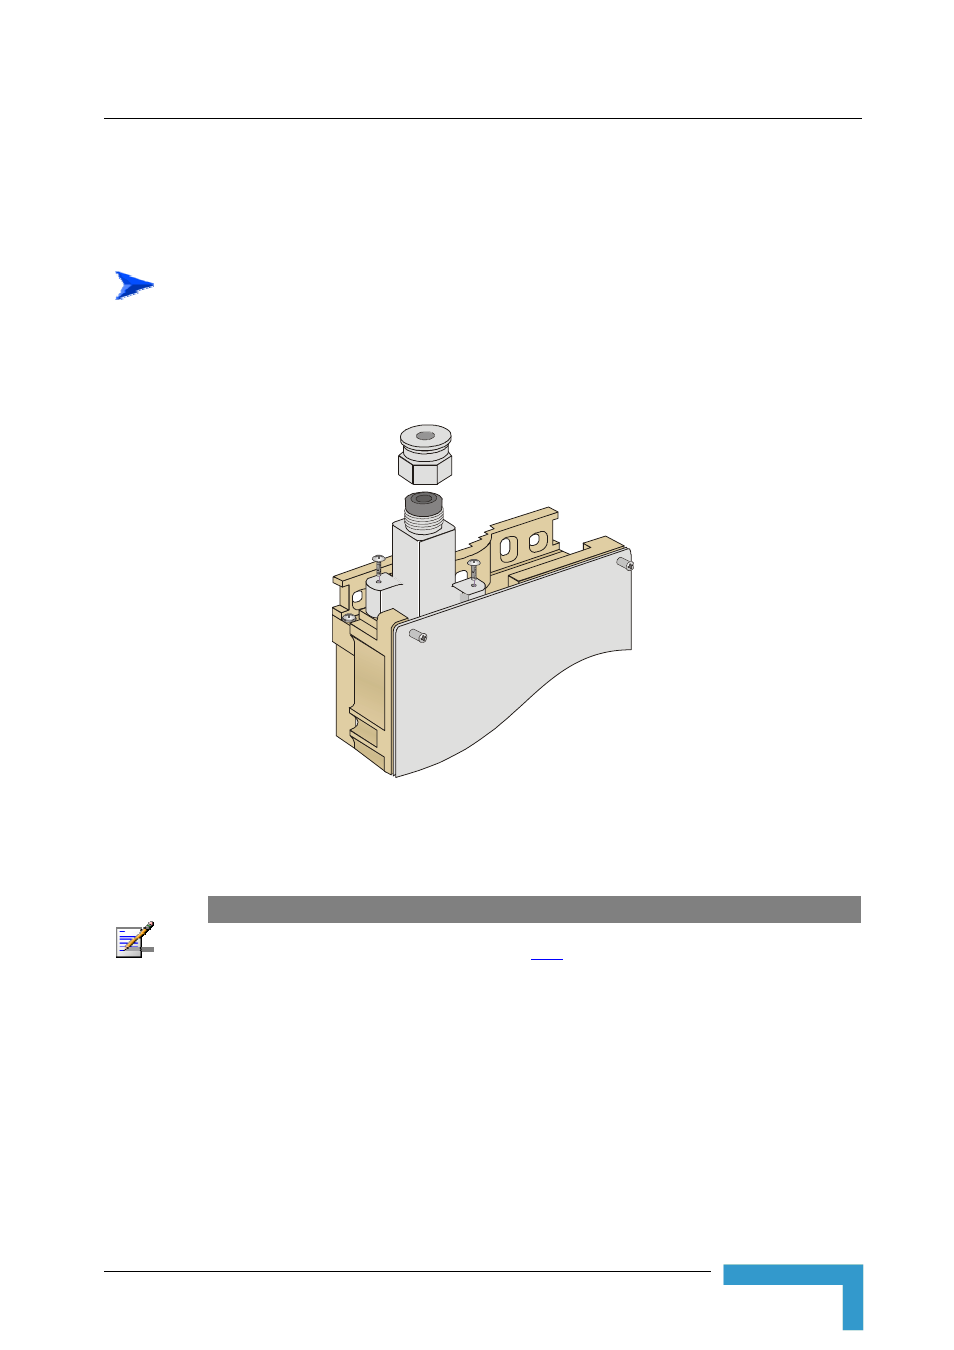
2
Unscrew the top nut from the waterproof seal.
Figure 2-10: The Waterproof Seal
3
Route a straight Category 5E Ethernet cable (8-wire, 24 AWG) through both
the top nut and the waterproof seal.
NOTE
Use only Category 5E 4x2x24# FTP outdoor cables from an approved manufacturer. See list of
approved cables and length limitations in section
2.1.2
.
4
Insert and crimp the RJ-45 connector. Refer to Appendix D for instructions
on preparing the cable.
5
Connect the Ethernet cable to the outdoor unit RJ-45 connector.
6
Replace the waterproof seal and then the top nut. Make sure that the external
jack of the cable is well inside the waterproof seal to guarantee a good seal.
7
Route the cable to the location selected for the indoor equipment.
8
Assemble an RJ-45 connector with a protective cover on the indoor end of the
indoor-to-outdoor cable.