Consolidating media – Blackmagic Design DaVinci Resolve Studio (Dongle) User Manual
Page 425
410
Lesson 16
Managing Media and Databases
Consolidating Media
NOTE
The following exercise uses a second hard drive for consolidating media.
It is not recommended that you perform these steps on this project. However, you
are urged to read through the lesson to gain an understanding of the process.
Before we explore database management, let’s start with a topic that is a bit more down
to earth: media management.
Almost every project will need some kind of media management. It might be just to copy
media from one drive to another, or to convert files from one format to another. The media
manager is the tool that performs these types of tasks in DaVinci Resolve. You can use it
to copy, move, and even consolidate media.
When your hard drive cannot accommodate a complete copy of the original media,
consolidating can help remove media that is no longer needed in your project. Using the
media manager, consolidating gives you the option to copy only those pieces of media that
are actually in use. For long-form projects with lots of media, consolidating is a great way
to free up disk space and make backing up a project a quicker task.
Because the media manager can be used only when you are within a project, we will use
the Age of Airplanes project.
1
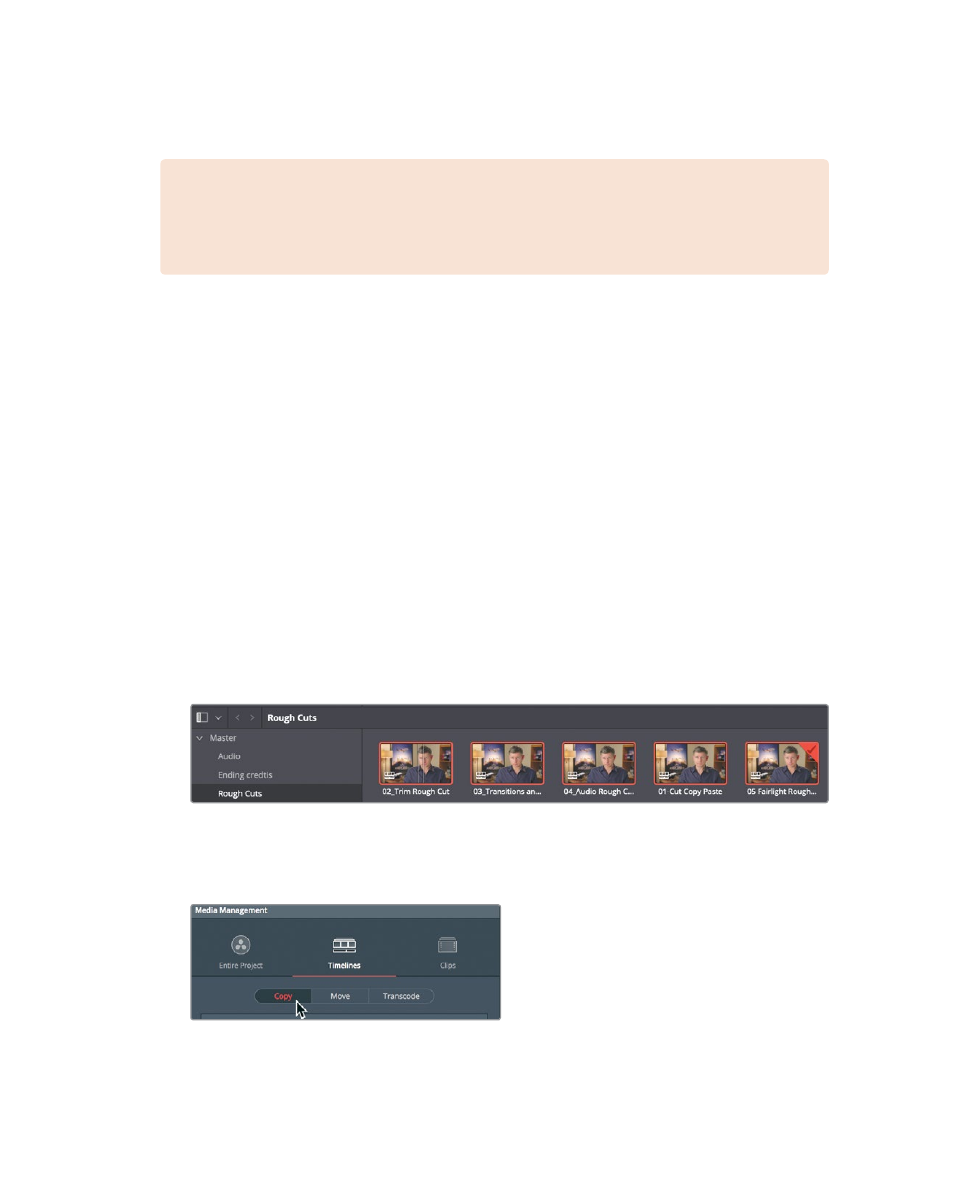
With Age of Airplanes still open, click the Media page button; and in the Media pool,
click the Rough Cuts bin. Select all the timelines.
2
Choose File > Media Management.
When timelines are selected, the Media Management window opens with the Timelines
button selected.
3
Click the Copy button.
Choosing Copy first creates a duplicate set of media files on the portable hard drive,
but leaves the originals in place.